


 My Orders


11071652020 Kenmore Dryer - Overview

Enter a part description. DIY Heroes keep it simple, eg. "belt" or "pump".
Search filter:
Clear Filter
Your search term must have 3 or more characters.

$56.05
In Stock
Dryer Repair Kit
Part #4392067
This dryer repair kit consists of five commonly replaced dryer parts: one multi-rib belt (part #661570V and measures 93 1/2 inches long), four drum support rollers, one idler assembly, nine tri-rings, and one washer. This universal maintenance kit is an all-encompassing kit for fixing a noisy dryer, among other symptoms, but noisy being t...Read morehe most common. It is compatible with 27-inch wide dryers built from 1965 onwards. Be sure to disconnect the dryer or shut off the house circuit breaker for the appliance before you begin your repair. To access these parts, you will need to remove the dryer drum. For this installation you will need a 1/4-inch nut driver, a long flat-blade screwdriver, a short flat-blade screw diver, and a Phillips screwdriver.
Read less

$41.95
In Stock
Outlet Screen Door Grille
Part #W11086603
Protect your clothes and keep your dryer running smoothly with this replacement screen door grille. As the top cover for the lint filter, it helps prevent snags and supports proper airflow. If your current grille is cracked or broken, it could lead to damaged clothing or reduced drying performance. This plastic cover is sold individually ...Read moreand does not come with mounting screws, so be sure to check your existing setup before ordering.
Read less

$108.88
In Stock

$22.95
In Stock
Motor Pulley
Part #W10837625
This part is the replacement motor pulley for your dryer. The motor pulley allows the dryer belt to run straight while the dryer is operating. If your motor pulley is damaged, your dryer may not tumble, and may not start altogether. A damaged motor pulley can also damage the dryer belt, and it may need to be replaced as well. Be sure to d...Read moreisconnect power from the dryer before you begin this repair. This motor pulley is a genuine OEM part sourced directly from the manufacturer.
Read less

$98.48
In Stock
Side and Bottom Vent Kit
Part #W10470674
This kit is used for the bottom and side exhaust. The kit includes both the straight and elbow vent.

$63.75
On Order
Metal Vent Periscope - 0-18 Inch - with Clamps
Part #4396037RP
The actual physical measurement of this part is 23 3/4 inches and has a 2 1/2 inch clearance. If there is any excess length, it can be trimmed to fit according to your specific needs.

$10.95
In Stock

$29.63
In Stock
Dryer Vent Elbow
Part #4396006RW
Dryer elbow with a 90 degree turn. To be used for turns within 4 and a half inches.

$68.10
In Stock
HOUSNG-OUT
Part #W11129408
This dryer lint screen housing keeps the lint screen in place and helps trap lint before it enters the exhaust system. It’s made for select models and plays a key role in keeping your dryer running efficiently. If you’re noticing lint escaping, trouble fitting the screen, or longer drying times, the housing may be cracked or damaged. Inst...Read moreallation is simple—just remove the old part and snap the new one into place to restore proper airflow and performance.
Read less

No Longer Available
Spray Paint - 12 oz. - White
Part #350930

$14.63
In Stock
Wiring Harness
Part #WPW10298258
Yes, we have the cure to your dryer woes! The Whirlpool Dryer Wire Harness is here to breathe new life into your dryer. This is a genuine OEM part that plays a crucial role in powering the electrical components of Whirlpool, KitchenAid, Maytag, Jenn-Air, Amana, Inglis, and Magic Chef clothes dryers. Why is it so important? The wire harn...Read moreess is like the heart of your dryer, supplying it with the power it needs to get your clothes perfectly dry. Without it, your dryer simply can't function as wonderfully as it should. So, if you've noticed your dryer isn't doing the job properly, it might be time for a replacement. Replacing the wire harness is an easy task, as long as remember to turn off your dryer beforehand (safety first!) and wear work gloves for protection. One thing to note, while this part might look similar to others due to its size and shape, it does have slight differences. So, make sure you've got the right part by confirming your appliance model's compatibility before purchasing. That way, there won't be any frustrating surprises, and you can look forward to your dryer working like new again! We are here to make sure your appliance delivers peak performance ? time after time.
Read less

$35.73
In Stock
SWITCH
Part #W10847984
Common Symptoms of the 11071652020
How this model fails, and the parts that fix it.
Noisy
Fixed by
these parts
these parts


Show All
Drum Not Spinning
Fixed by
these parts
these parts
Show All
Won’t Start
Fixed by
these parts
these parts
Show All
Marks left on clothes
Fixed by
these parts
these parts

Show All
Not Heating
Fixed by
these parts
these parts
Show All
Watch our pros, then fix it yourself.
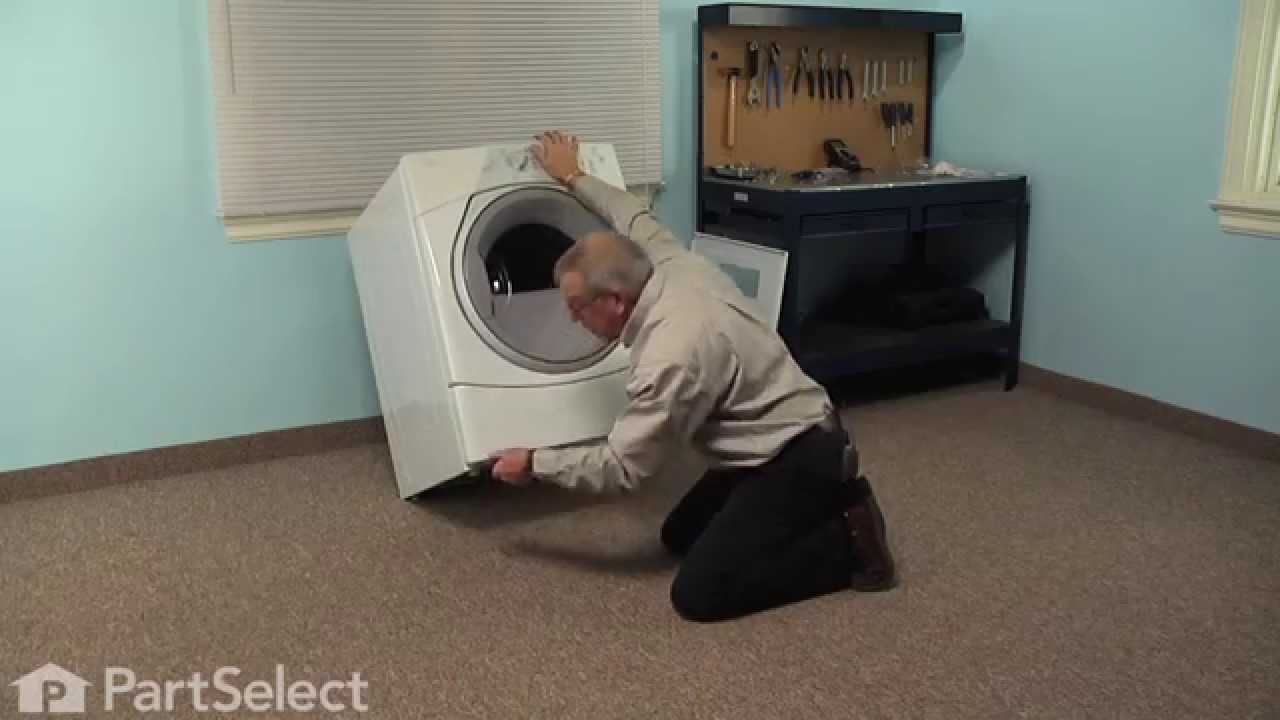
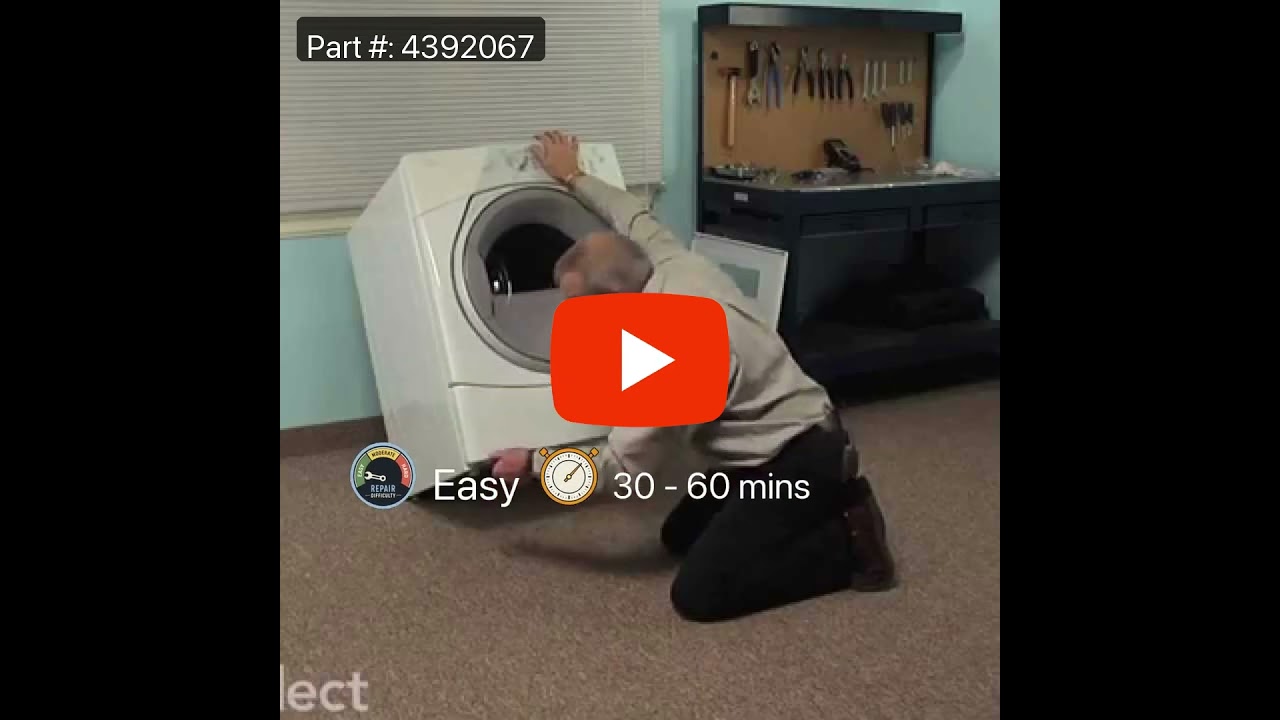
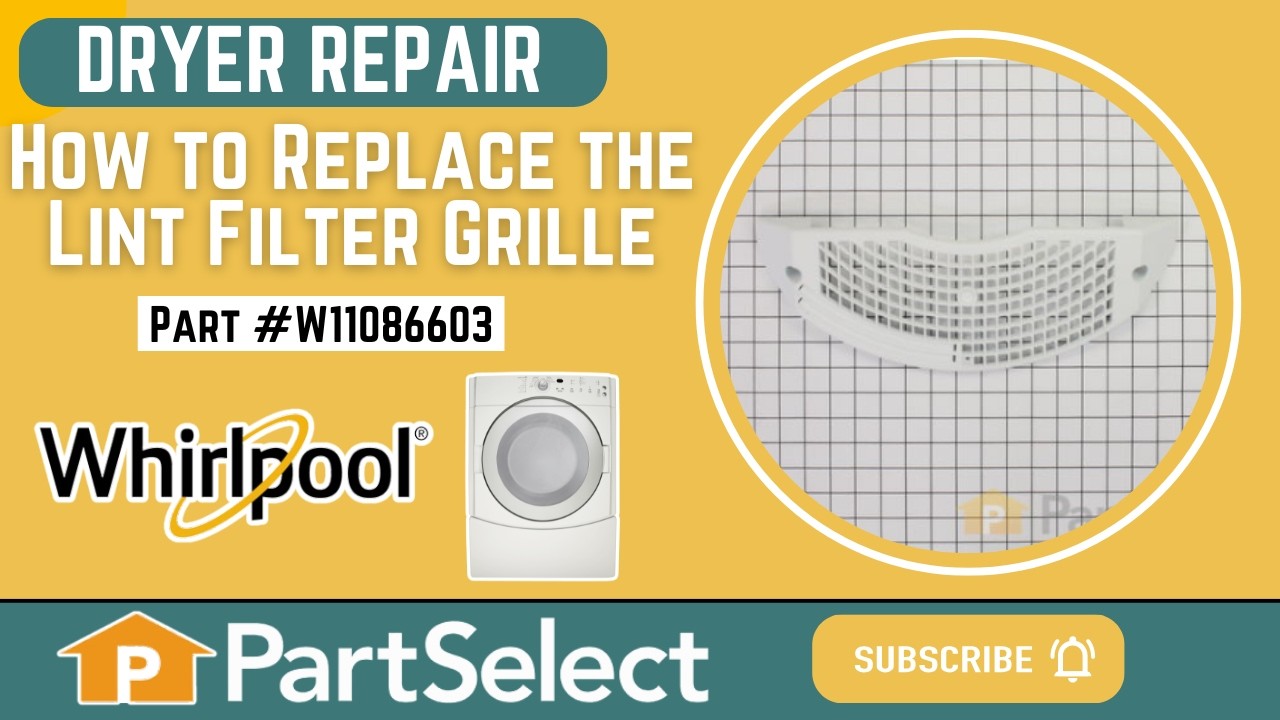
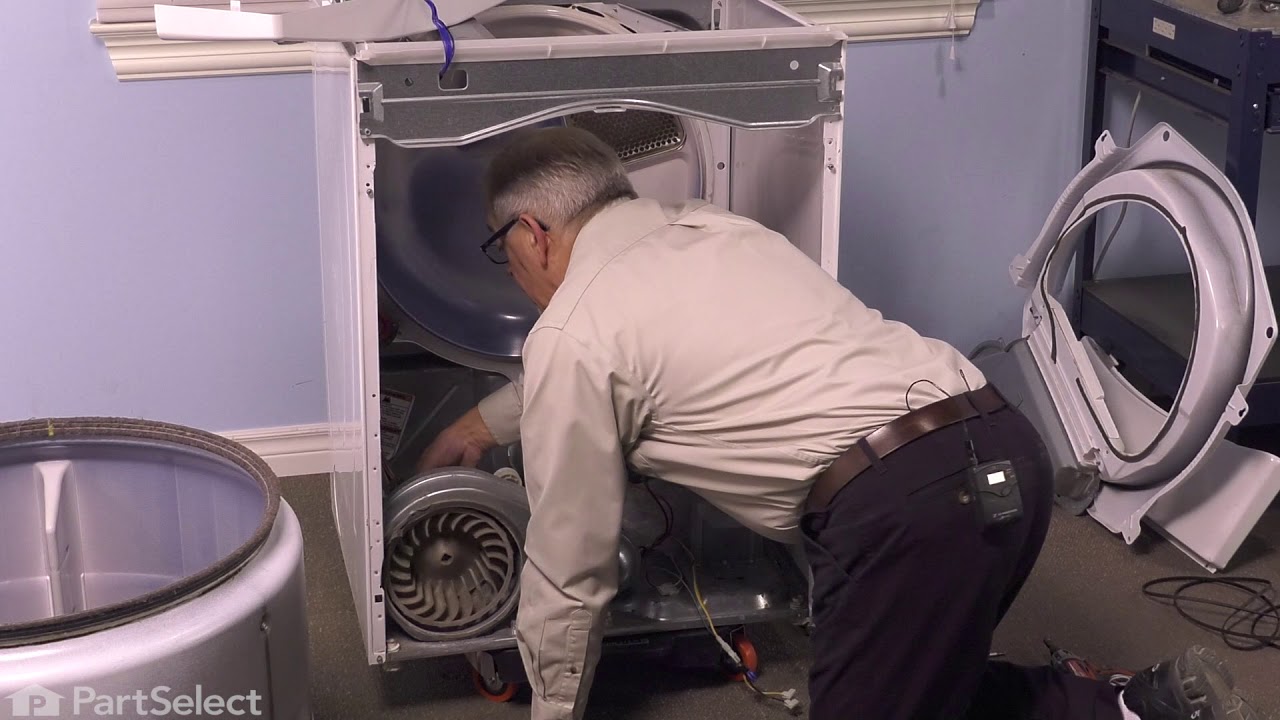
See how others fixed this model. Time, tools, difficulty, and steps that lead to victory!
View More