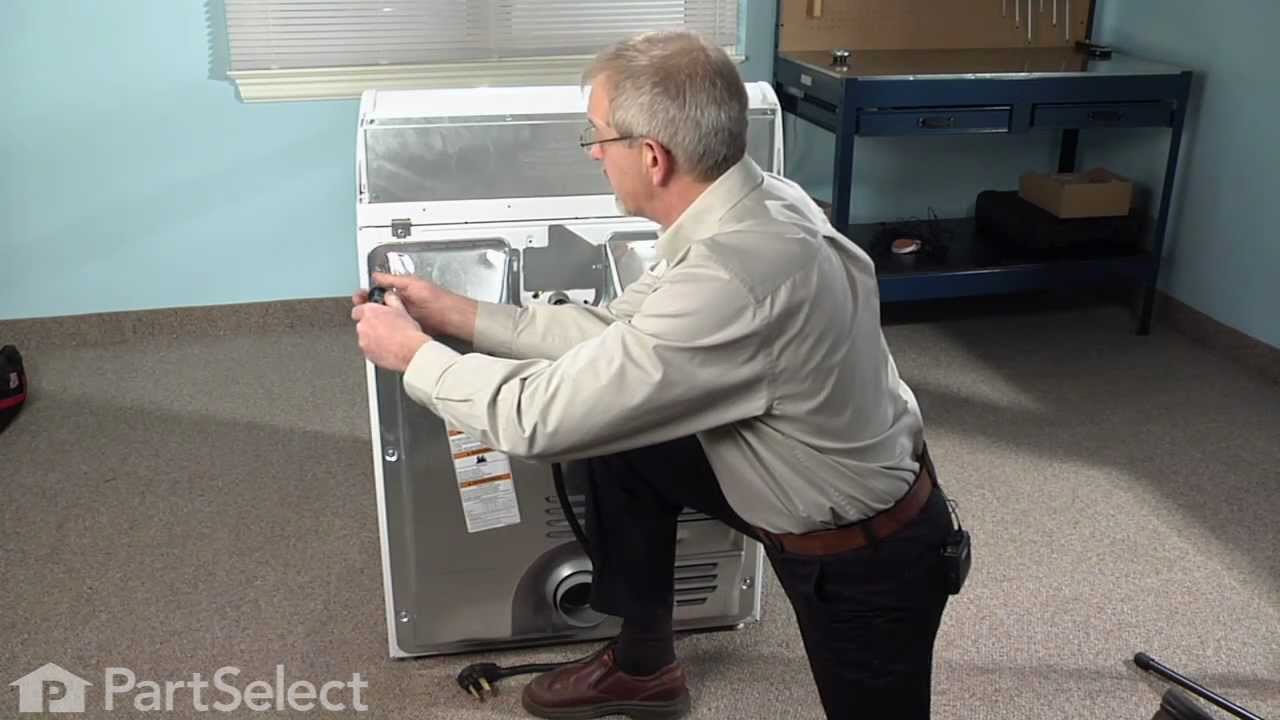
This part is a one-time use thermal fuse which attaches to the blower wheel housing of your clothes dryer. It cannot be re-set and must be replaced when there is no longer continuity between the pins. Terminal size is 3/16".
This Idler Pulley includes the tri-ring and gasket and everything included here is manufacturer-certified. This part maintains correct tension on the drive belt in order to spin the drum properly. If damaged or broken the dryer will not dry properly, will not tumble properly, or may not even start. Installation is rated as "Medium" diffic...Read moreulty. This part is located on the dryer drum, around the tension pulley. Refer to your user manual and model number for repair instructions and to ensure this part is right for you. For this repair project, the tools needed are a Phillips screwdriver, 1/4 inch nut driver, putty knife, small flat blade screw driver, and needle nose pliers.
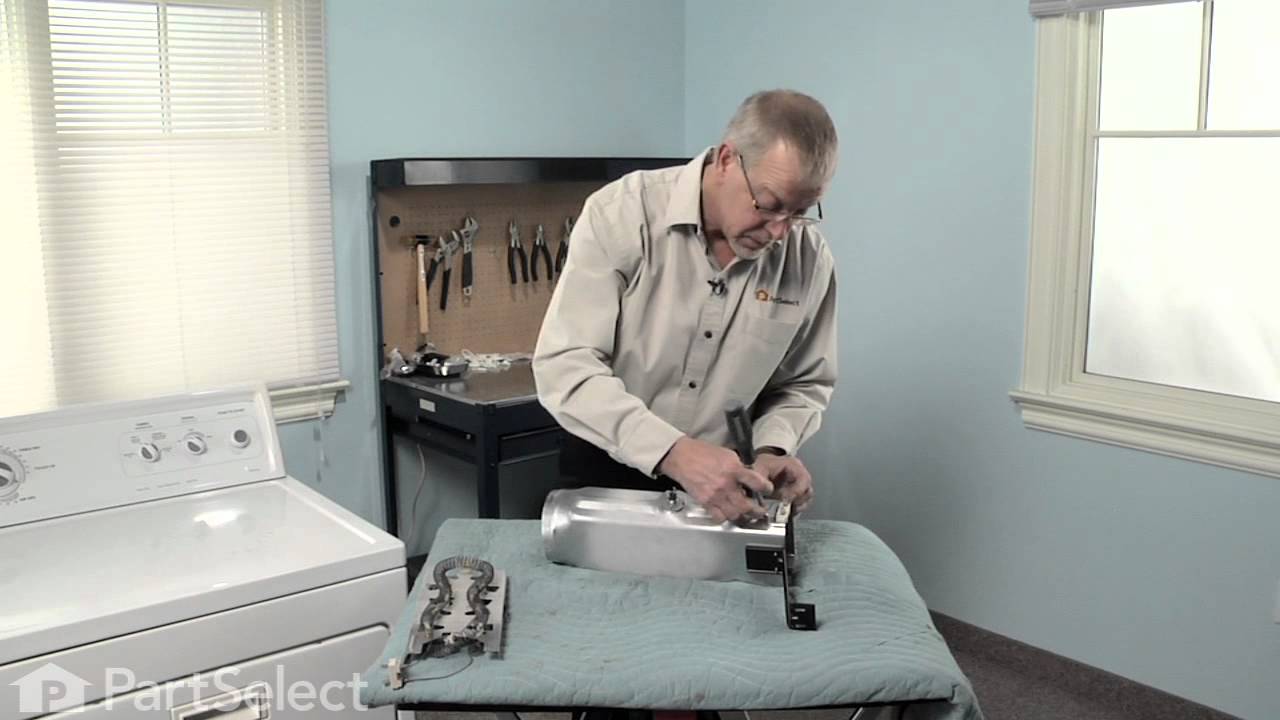
When connected to electricity the dryer heating element glows red hot and generates heat. When air is blown over it, it heats the air which is used to dry the clothes. The heating element fits inside the heater housing inside the dryer. Wear and tear on the heater coil from use will eventually cause the coil to break and the element to fa...Read moreil. When this part fails it can cease to produce any heat. Alternately, the coil could break and short to ground allowing the dryer to continue to heat even when turned off. The latter is a fire hazard and the dryer should be disconnected from power until the element is replaced. If the element coil breaks, the element needs to be replaced. This model is 11 by 5 inches with 5/16” terminals, metal and ceramic, and comes in black. It is sold individually.
This genuine OEM dryer drum support roller is designed to hold the drum in place while allowing it to rotate smoothly and quietly during operation. Built for durability and reliable performance, it helps reduce noise and ensures consistent tumbling. Ideal for replacing worn or damaged rollers, it resolves issues such as squeaking, rumblin...Read moreg, or poor drum movement, helping restore efficient and dependable dryer operation.
This dryer lint filter is designed to capture lint and debris during the drying cycle, helping maintain airflow and prevent potential fire hazards. Measuring approximately 12.5 inches wide by 10.5 inches deep, it fits securely into the designated slot within compatible dryer models. Regular inspection and replacement of the filter are ess...Read moreential for optimal performance. Installation is tool-free—simply remove the old filter and insert the new one. During replacement, it's recommended to check the filter slot for any accumulated lint, which should be cleared to ensure safe and efficient operation.
The Drive Belt is a 93 1/2" belt which wraps around the dryer drum to allow tension and movement. If broken the dryer will not turn properly, or there may be loud noises. The part is rated as "medium" difficulty to install. Refer to your model number and user manual to ensure this part is correct for you. To complete this repair you will ...Read moreneed a Phillips screwdriver, 1/4 inch nut driver, a putty knife, and a pair of needle nose pliers. Ensure you disconnect your power to the dryer before beginning this repair, which should take between 30 and 60 minutes maximum to complete.
This thermostat may differ in appearance, but functions the same as the original part. This part controls the temperature of the inside of the dryer drum and prevents the dryer from overheating.
This is the moisture sensor for your dryer. It helps detect the amount of moisture in your clothes during the dryer cycle. If you notice your clothes are still wet after an automatic dryer cycle is done, you may need to replace the sensor. You will find the moisture sensor behind the lint screen. Be sure to disconnect the power source fro...Read morem the dryer before you begin this repair. Note: Some model's require two sensors, please order quantity needed. Sensor only, harness is not included. This part is sold individually.
If you notice that your dryer is noisy or will not tumble, you may need to replace the tri ring. This part is triangular, and is less than an inch in size. Tri rings can be found both on the idler pulley shaft, or on the rear drum roller shaft. In either case, you will need to remove the front panel of the dryer and the drum to access the...Read more part for repair. Once you have accessed the damaged tri ring, you will simply need to slip it off and replace it with the new one. This part is sold individually. Be sure to disconnect the power source from the dryer before you begin this repair.
Ask our experts a question about this model and we'll get back to you as soon as possible!
We may have answered a similar question already! Search questions and answers left by others using simple keywords like "fit", "broken", "easy", or "quality" to find questions that match.
Search filter:
Clear Filter
Your search term must have 3 or more characters.
Sort by:
Prev
1
2
Next
Sorry, we couldn't find any existing answers that matched.Try using some different or simpler keywords, or submit your new question by using the "Ask a Question" button above!
John - For model number 11069822801
May 9, 2022
How do I remove the control panel on this model
Hello John, Thank you for your inquiry. To remove the control panel, undo the screws on the back of the panel with a nut driver, and remove the knobs from the front of the panel. Use a putty knife to release the console clips from the end caps and remove the end caps. We hope this helps and if you need a part in the future and need help placing an order, customer service is open 7 days a week. Please feel free to give us a call. We look forward to hearing from you!
1 personfound this instruction helpful.
Was this helpful?
Thank you for voting!
Terry - For model number 11069822801
March 25, 2023
Dryer just beeps when start button is pushed.
Hi Terry, thank you for reaching out. Based on the description that you have provided, we would recommend checking the following parts: thermal fuse, part number PS11741460, door switch, part number PS11741701, and start switch, part number PS11742178. We hope this sorts out your problem!
The dryer stops before the timer runs down. And, the timer has to be in a certain place before it starts up.
Hi Jimbob, thank you for your inquiry. We have concluded that the issue is with the timer, part number PS11749834, and you may need to replace it. Let us know if you have further questions!
where can I order the part I need, which is PS11741460. Thermal fuse.
Hi Diane,
Thank you for your question. You may order the part online on our website or by calling our customer service line and anyone will be happy to assist you. We look forward to hearing from you!
1 personfound this instruction helpful.
Was this helpful?
Thank you for voting!
Lincoln - For model number 11069822801
October 14, 2025
When on the Auto Moisture Sensing mode dryer turns off when dial reaches between More Dry and Normal Dry. It runs fine on the Timed Dry mode
Hi Lincoln, thank you for reaching out. The auto moisture sensing mode is managed by the moisture sensor. We would recommend inspecting it. The part number is PS11741408. We hope this helps.
See how others fixed this model. Time, tools, difficulty, and steps that lead to victory!View More
Search repair tips from other customers using simple keywords like "replace", "fit", "remove", "inspect". DIY doesn't mean you have to do it alone!
Search filter:
Clear Filter
Your search term must have 3 or more characters.
Dryer was working, but no heat.
3070 of 3494 peoplefound this instruction helpful.
ANTHONY from CHESHIRE, CT
Easy
15 - 30 mins
Nutdriver, Pliers, Screw drivers
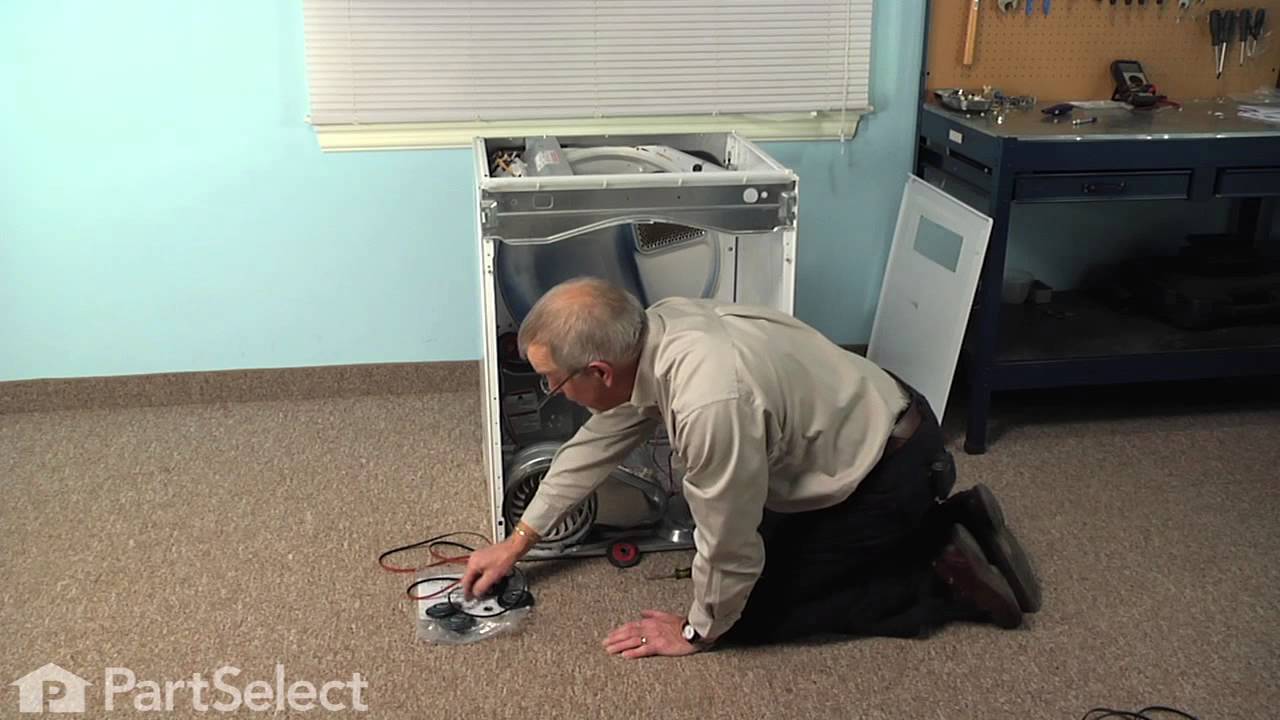
First I unplugged the dryer, then removed the back panel, this exposed most all of the wiring and I could see the heater coils. Not knowing what the problem was I started looking at the coils and could not see any broken parts. So then checked the thermal fuse for continuity I removed the two wires from it with a small pair of
... Read moreneedle nose pliers, it was held in place by two screws, once they were removed the fuse came out easily, I checked continuity with a volt meter placing the meter on X1 Ohms and could not get a reading. I replaced with a new one and put it all back together the way I took it apart. Then I plugged it in and it worked first time, I now have warm dry clothes.
Read less
Was this helpful?
Thank you for voting!
door switch was bad
1036 of 1098 peoplefound this instruction helpful.
pat from lisbon,, OH
Really Easy
15 - 30 mins
Screw drivers, Wrench set
i was able to go on line with your company , find my dryer, order the part and had it the next day. fast , great , service
Was this helpful?
Thank you for voting!
No heat but would run otherwise
928 of 1024 peoplefound this instruction helpful.
Dana from Grassvally, CA
A Bit Difficult
More than 2 hours
Screw drivers
Cleaning the lint out of the whole machine took quite a bit of time--it was everywhere. Underneath the lint trap was a collection that ultimately ruined the thermal fuse where it restricted the air flow considerably.
Ascertaining the problem was the most time consuming part.
The actual repair was quite simple and did
... Read moren't take but 15-20 minutes.



 My Orders