


 My Orders


1106618241 Kenmore Dryer - Overview
Diagrams for 1106618241
See every part. Know exactly what you need.

Enter a part description. DIY Heroes keep it simple, eg. "belt" or "pump".
Search filter:
Clear Filter
Your search term must have 3 or more characters.

$10.58
In Stock
Door Catch Kit
Part #279570
This kit contains two door strikes, and three door catches to service dryer doors that have one or two catches.

$29.23
In Stock
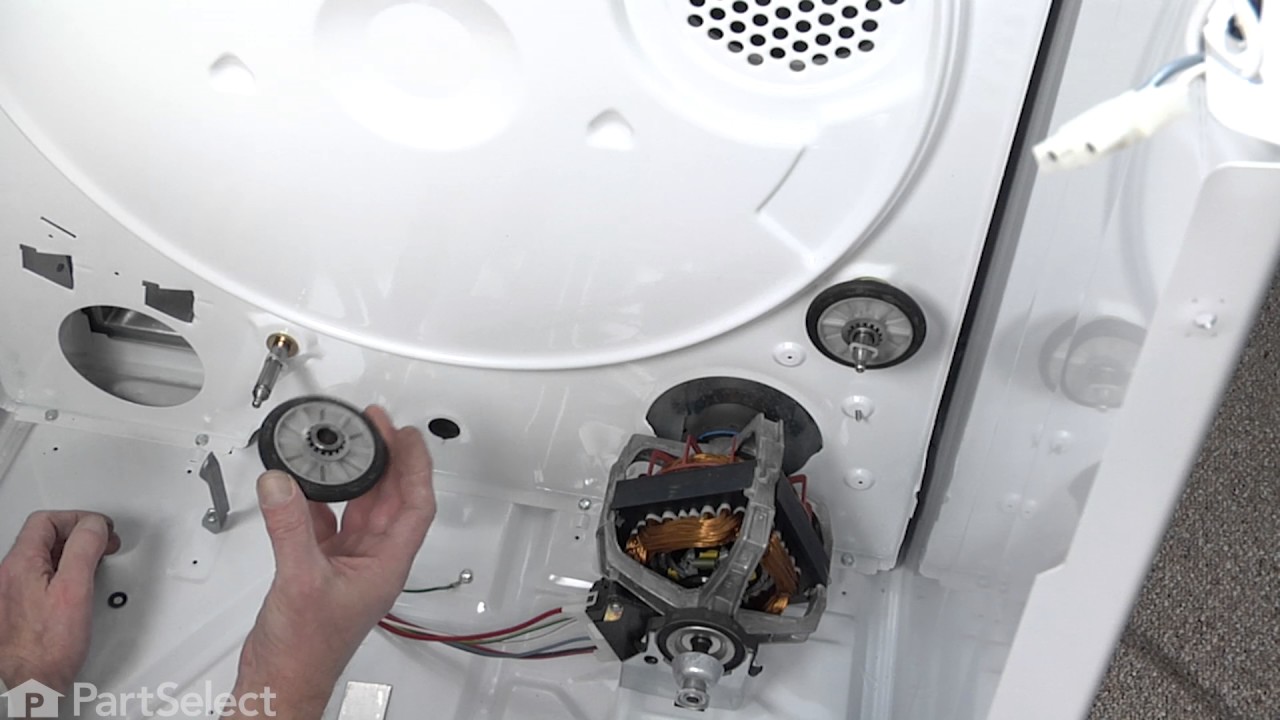
Rear Drum Support Roller Kit
Part #349241T
This dryer drum roller kit is designed to restore smooth and quiet operation in a wide range of dryer models. It includes two drum rollers, four tri-rings, and one to two retaining washers, providing all necessary components for a complete replacement. The rollers support the drum as it rotates, and worn or damaged rollers can cause exces...Read moresive noise, poor tumbling performance, or even leave marks on clothing. Replacing these components can resolve issues such as rumbling, squealing, or grinding sounds during operation. Compatible with many units from Whirlpool, Kenmore, Sears, and other brands, this kit offers a reliable solution for maintaining optimal dryer performance.
Read less

$151.26
In Stock
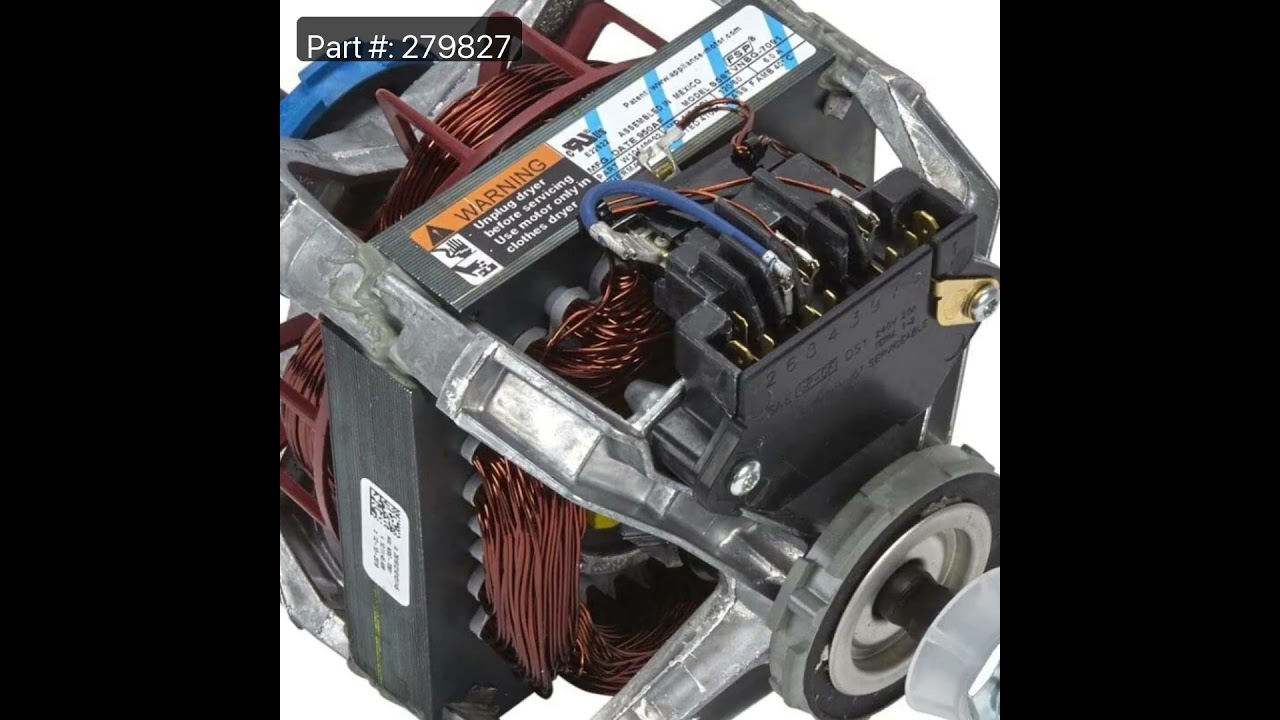
Drive Motor with Pulley
Part #279827
If your dryer drum isn’t spinning, the motor might be the issue. This replacement motor works with many Whirlpool-brand dryers made before 1996 and comes with the pulley already attached. It powers the drum by turning the belt, helping your clothes dry properly. Just make sure to unplug the dryer before starting the repair. Once installed, your dryer should be back to working like new.

$24.19
In Stock
Dryer Idler Pulley Assembly
Part #WP691366
The idler pulley wheel provides the tension for a multi-ribbed belt and helps the belt to rotate the drum. The drum will not spin if the idler pulley fails to put the correct amount of tension on the belt. The wheel is white in color and is made of plastic. If the drum will not tumble, is noisy, or will not start, you may need to replace...Read more this part. This idler pulley is a genuine OEM part. Please remember to disconnect the power to your dryer before you start your repair.
Read less

$46.90
In Stock
Dryer Blower wheel
Part #WP694089
The blower wheel is a squirrel cage type wheel whose purpose is to move the air through the room or appliance. The blower wheel spins on the motor shaft to blow air through the dryer drum and out through the exhaust.

$10.95
In Stock

$14.95
In Stock
Dryer Door Switch Actuator
Part #WP691581
This black actuator spring with white rubber tip is used for both dryer doors and washer lids.

$33.28
In Stock
Lid Switch
Part #W10820036
Keep your washer or dryer running safely with this easy-to-install lid or door switch kit. It stops the machine from working when the door is open, helping prevent spills and accidents. Compatible with many models, this small but important part fits neatly inside your appliance and comes with everything you need for installation. Just unp...Read morelug your machine, swap out the old switch, and you're good to go. It’s about 2.5 inches long and blends in with most interiors.
Read less

$69.92
In Stock

$46.15
In Stock
Dryer Heating Element
Part #WP4391960
This element carries 5200W and 240V.
Note: This element no longer includes two terminals and two adapter leads. They must be ordered separately.

$24.93
In Stock

$10.40
In Stock
Common Symptoms of the 1106618241
How this model fails, and the parts that fix it.
Noisy
Fixed by
these parts
these parts


Show All
Door won’t close
Fixed by
these parts
these parts


Show All
Drum Not Spinning
Fixed by
these parts
these parts
Show All
Won’t Start
Fixed by
these parts
these parts


Show All
Door Pops Open
Fixed by
these parts
these parts
Show All
Not Heating
Fixed by
these parts
these parts


Show All
Will Not Start
Fixed by
these parts
these parts
Show All
Marks left on clothes
Fixed by
these parts
these parts

Show All
Too hot
Fixed by
these parts
these parts

Show All
Will not drain
Fixed by
these parts
these parts
Show All
Will not agitate
Fixed by
these parts
these parts
Show All
Lid or door won’t close
Fixed by
these parts
these parts
Show All
Running With Door Open
Fixed by
these parts
these parts
Show All
Watch our pros, then fix it yourself.
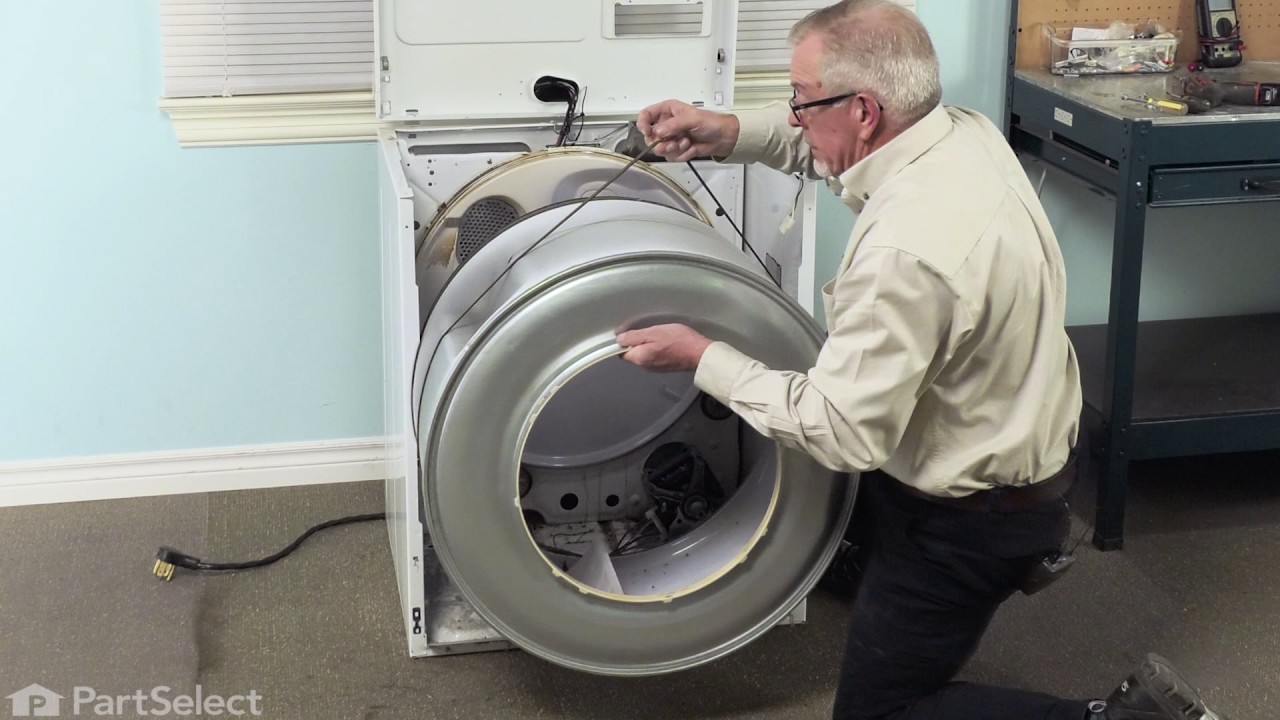
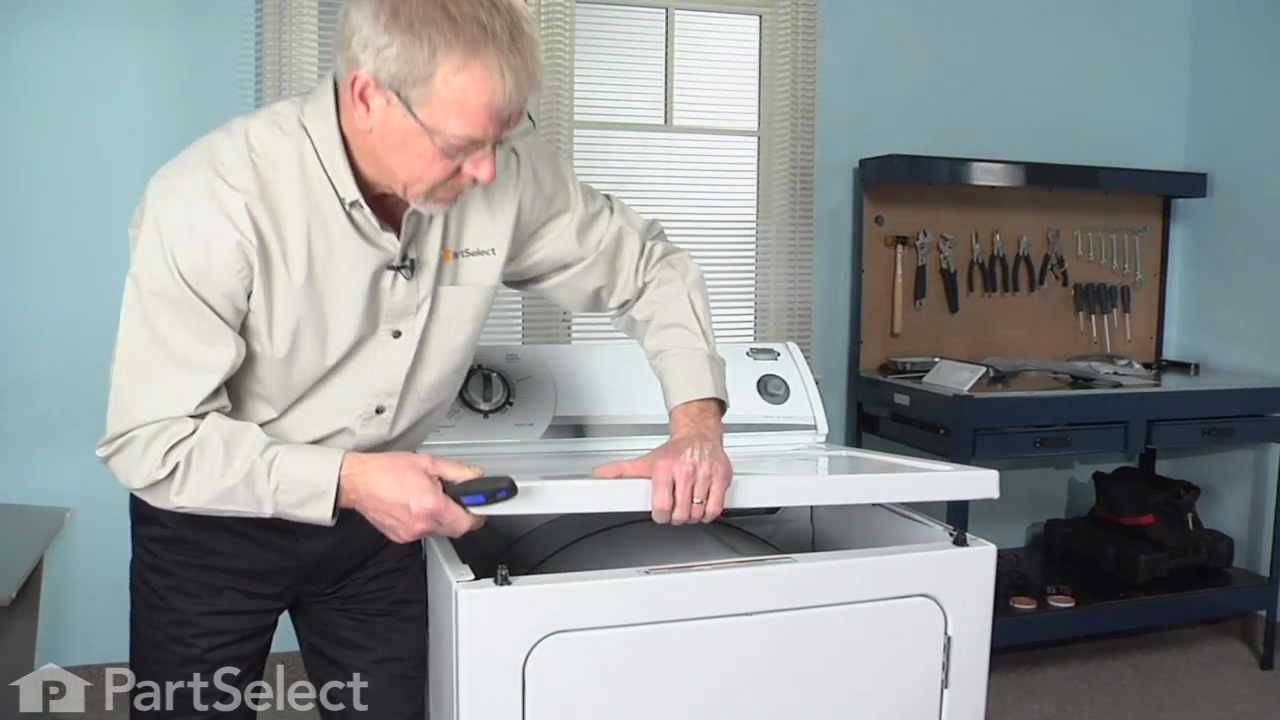
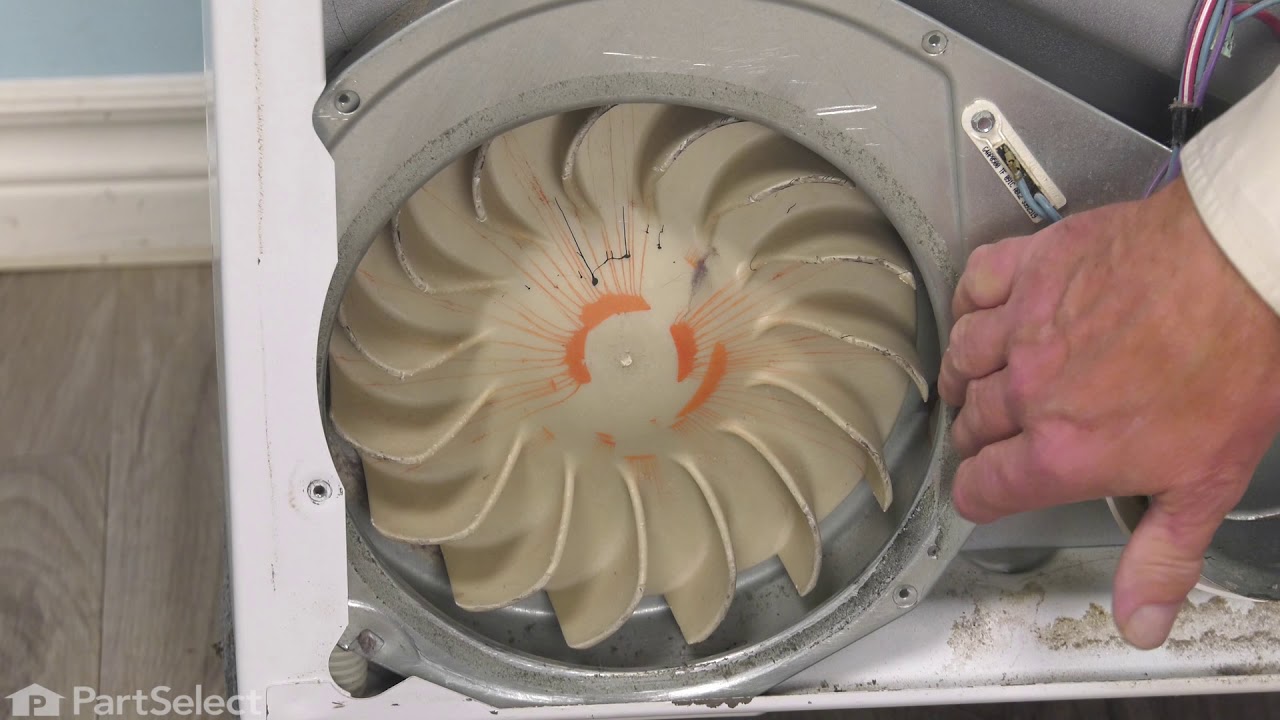
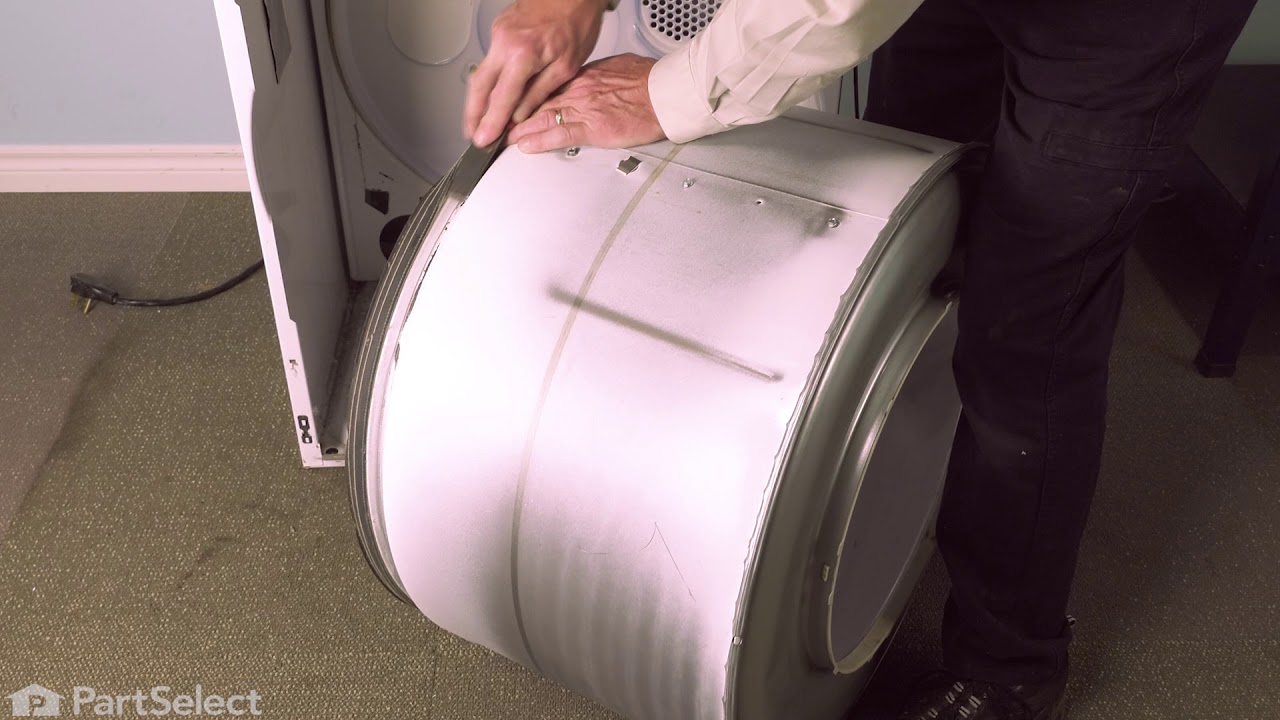
See how others fixed this model. Time, tools, difficulty, and steps that lead to victory!
View More