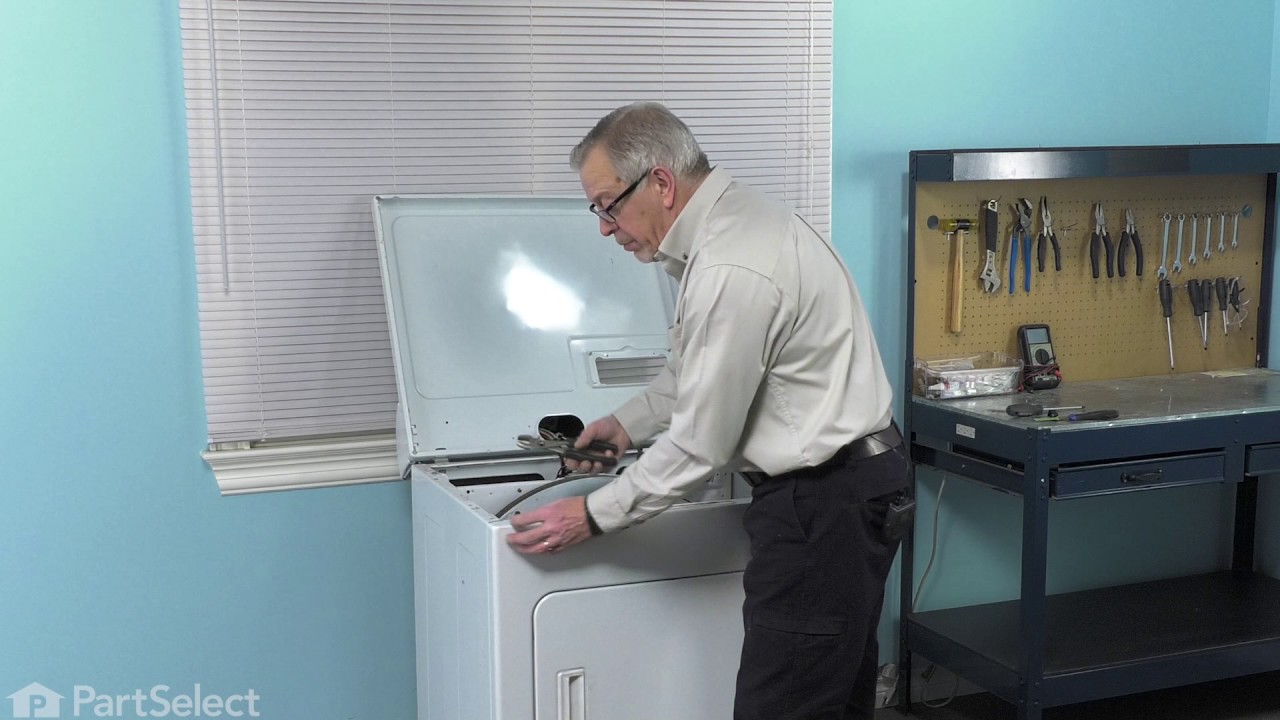
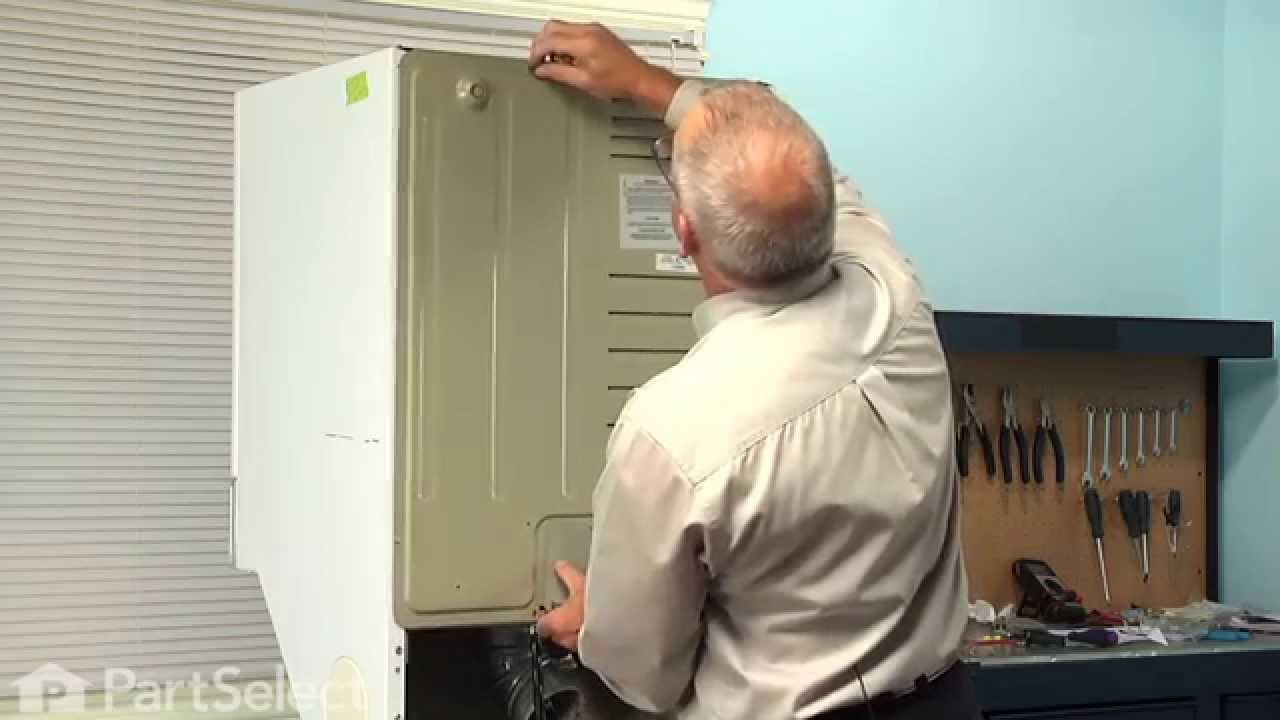
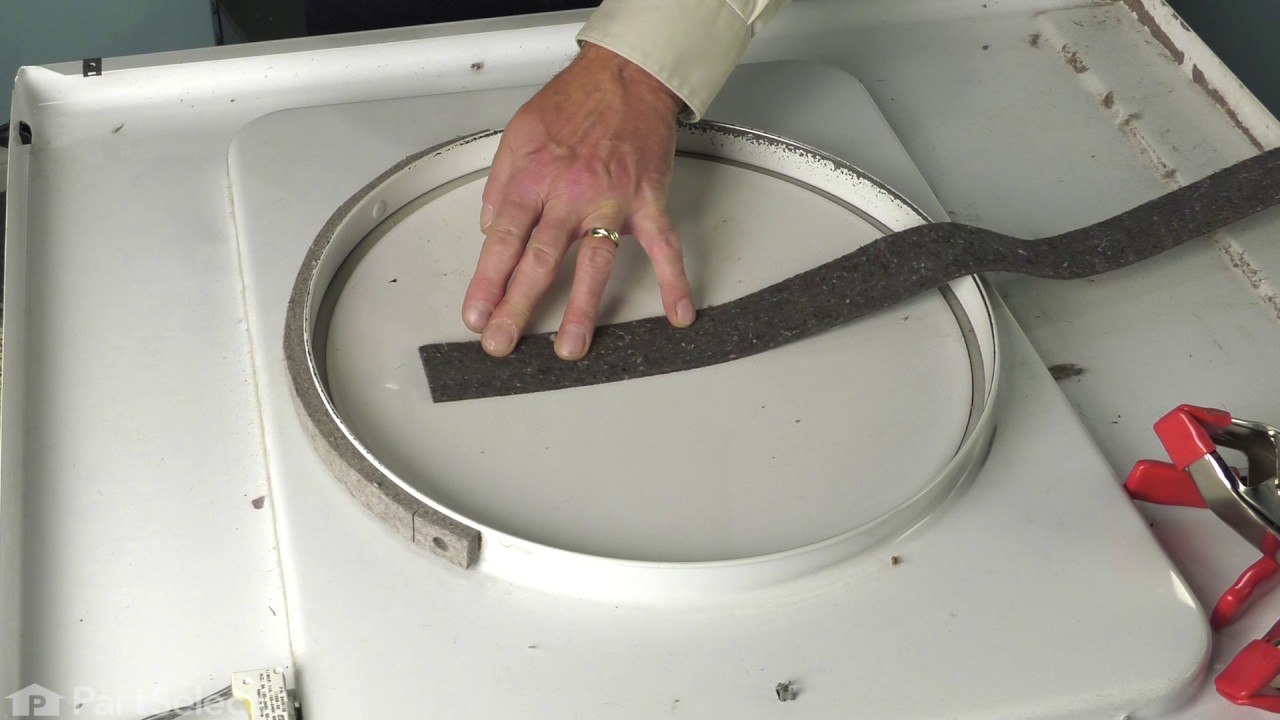
1106207420 Kenmore Dryer - Overview

Diagrams for 1106207420

See every part. Know exactly what you need.

Enter a part description. DIY Heroes keep it simple, eg. "belt" or "pump".

Search filter:
Clear Filter
Your search term must have 3 or more characters.
Lid Switch – Part Number: W10820036
$33.28
In Stock
Lid Switch
★★★★★
★★★★★
(7)
Part #W10820036
Keep your washer or dryer running safely with this easy-to-install lid or door switch kit. It stops the machine from working when the door is open, helping prevent spills and accidents. Compatible with many models, this small but important part fits neatly inside your appliance and comes with everything you need for installation. Just unplug your machine, swap out the old switch, and you're good to go. It’s about 2.5 inches long and blends in with most interiors.
Thrust – Part Number: WPW10121334
$9.85
In Stock
Dryer Screw – Part Number: WP90767
$10.40
In Stock
Dryer Screw
Part #WP90767
This screw is sold individually.
Cycling Thermostat - Limit 135/155 – Part Number: WP694674
$67.05
In Stock
Cycling Thermostat - Limit 135/155
★★★★★
★★★★★
(3)
Part #WP694674
If your dryer isn’t heating properly, this adjustable thermostat kit could be the solution. It helps keep the dryer at the right temperature by turning the heat on and off as needed. You can set it anywhere between 135°F and 155°F, and it kicks the heat back on when the temperature drops by 20°F. The kit comes with everything you need—thermostat, jumper wires, and wire nuts—and is a great fix for dryers that aren’t warming up like they should.
Front Top Lock – Part Number: WP18776
$18.95
In Stock
Front Top Lock
★★★★★
★★★★★
(1)
Part #WP18776
This part is used to secure the top panel to the cabinet. Sold individually.
Bearing and Seal Kit – Part Number: 279264
$98.67
In Stock
Bearing and Seal Kit
★★★★★
★★★★★
(1)
Part #279264
This front bearing and seal kit comes with the adhesive.
Dryer Clampmotor – Part Number: WP660658
$15.35
In Stock
Dryer Clampmotor
Part #WP660658
This clamp is used to secure the drive motor.
Dryer Screw – Part Number: WP488627
$17.38
In Stock
Dryer Screw
Part #WP488627
Sold individually.
Dryer Screw – Part Number: WP681414
$10.95
In Stock
Dryer Screw
Part #WP681414
This screw is sold individually.
Blower Belt – Part Number: WP691371
$70.12
In Stock
Blower Belt
★★★★★
★★★★★
(3)
Part #WP691371
If your dryer isn’t drying clothes like it used to or making strange noises, this blower belt might be the fix. It connects the motor to the blower wheel, helping move air through the drum so clothes dry faster. Made to fit select Whirlpool models, it’s tough and reliable. Just unplug your dryer before installing and check your model number to make sure it’s the right part!
Toe Panel Clip Kit – Part Number: 279638
$11.95
In Stock
Toe Panel Clip Kit
Part #279638
Washer Screw – Part Number: WP273556
$10.61
In Stock
Washer Screw
Part #WP273556
Sold individually.

Common Symptoms of the 1106207420

How this model fails, and the parts that fix it.

Watch our pros, then fix it yourself.
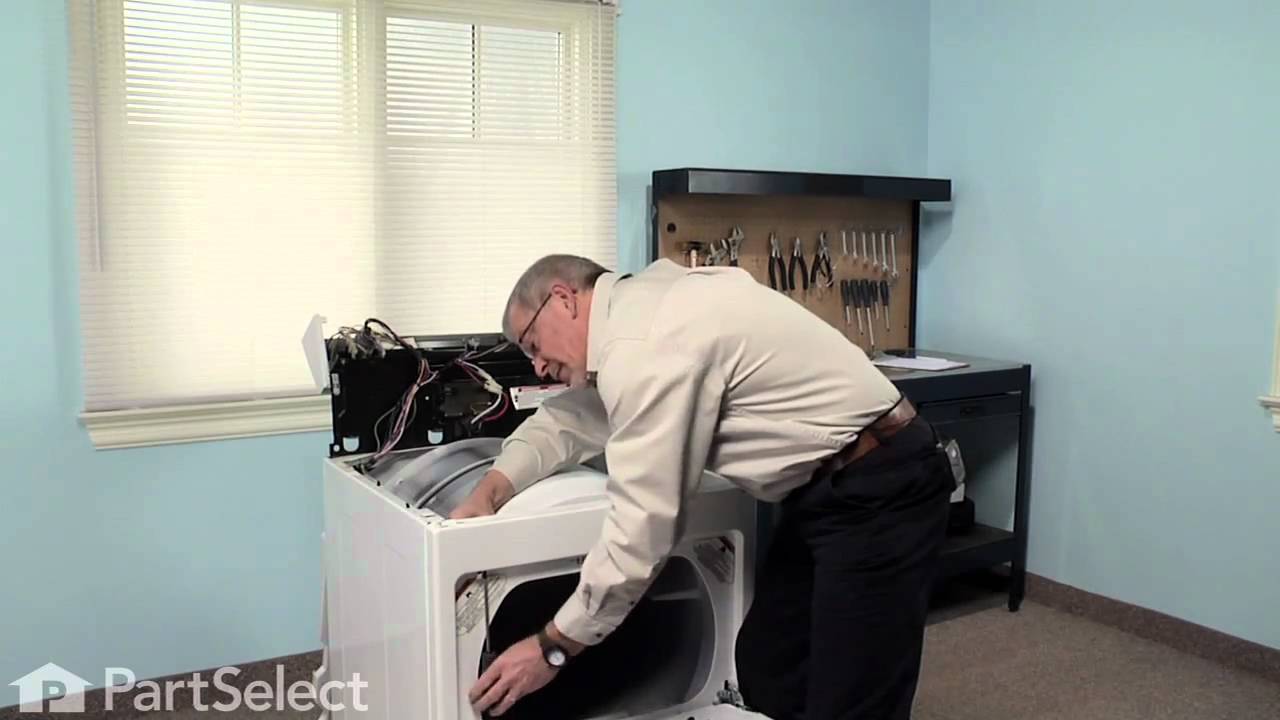
See how others fixed this model. Time, tools, difficulty, and steps that lead to victory! View More

Search repair tips from other customers using simple keywords like "replace", "fit", "remove", "inspect". DIY doesn't mean you have to do it alone!

Search filter:
Clear Filter
Your search term must have 3 or more characters.
Dryer door cable broken
37 of 46 people found this instruction helpful.
  • George from Rochester Hills, MI
  • Easy
  • 30 - 60 mins
  • Nutdriver, Screw drivers
1. Remove the lint filter. Then remove 2 screws at the lint filter housing.

2. At the back of the dryer, remove 2 screws that restrain the hinges for the dryer top. Do NOT remove the hinges.

3. Remove the front lower access panel. It snaps at the top and hinges at the bottom. It can be slipped off the hinges. ... Read more />
4. Remove 2 screws at the bottom of the main front panel

5. The front of the dryer top is held in place by two plastic clips. Use a flat blade screwdriver (with a rag wrapped around the tip to minimize paint damage) to pry the top up at each front corner. Then tilt the top up to just past vertical. You now can see the top of the spring that is connected to the door cable.

6. Open the dryer door. Use a putty knife to pry up the plastic plug that holds the cable in place at the door. Remove the old cable from the door and insert the new one. Be sure the cable end without a hole goes into the dryer door. Replace the plastic plug.

7. Feed the new cable through the main front panel and close the door.

8. Loosen but do NOT remove two screws that hold the main front panel to each side panel. Tilt the bottom of the front panel out about 2 inches.

9. Working through the gap between the main front panel and the side, hook the spring into the hole in the cable end.

10. Working through the open top and the gap on the side, move the spring+cable up to the top. Pass the upper end of the spring through the rectangular hole in the top of the main front panel and hook the end into the small hole there.

11. Repeat for other cable as needed.

12. Reassemble all parts. You may need to hold the top of the drum up as you move the main front panel back into place. Install the main front panel lower screws before tightening the upper screws.
Was this helpful?
Thank you for voting!
Lid closes, switch wouldn't turn on machine.
31 of 47 people found this instruction helpful.
  • Kenneth from Wilmington, IL
  • Easy
  • 1- 2 hours
  • Nutdriver, Screw drivers, Socket set
Used toothpick for a year to push switch acctuator far enough to engage switch. Broke my foot and found time to order part thru PartSelect. Went from cast to boot and received part 2 days after ordered. Had difficulty with foot and getting to switch. Went back into PartSelect and figured out how to dis-assemmble panels thru the diagrams. Time on my job doesn't, just that their service and expertise that is available to everyone is there to use. Broken bones or not, I will always get my parts and advice from PartSelect. Thanks to PartSelect.
Was this helpful?
Thank you for voting!
Washer would fill up, wash, then stop
22 of 31 people found this instruction helpful.
  • Glen from Plano, TX
  • A Bit Difficult
  • 30 - 60 mins
  • Screw drivers
I deduced the lid switch was the problem.

I removed the two screws holding the control panel on. Pulled the control panel back.
Disconnected the ground wire of the lid switch.
removed the two top clamps that hold the panel to the top of the machine.
Pulled back the casing (outside of the washer) and placed it on it's side on the floor. Here I could reach the switch. Removed old, installed new and reversed the process.

The part that gave me the biggest problem was setting the casing back on to the frame. You have to slide the front part in at the bottome, then lean back the rest of it.
Was this helpful?
Thank you for voting!