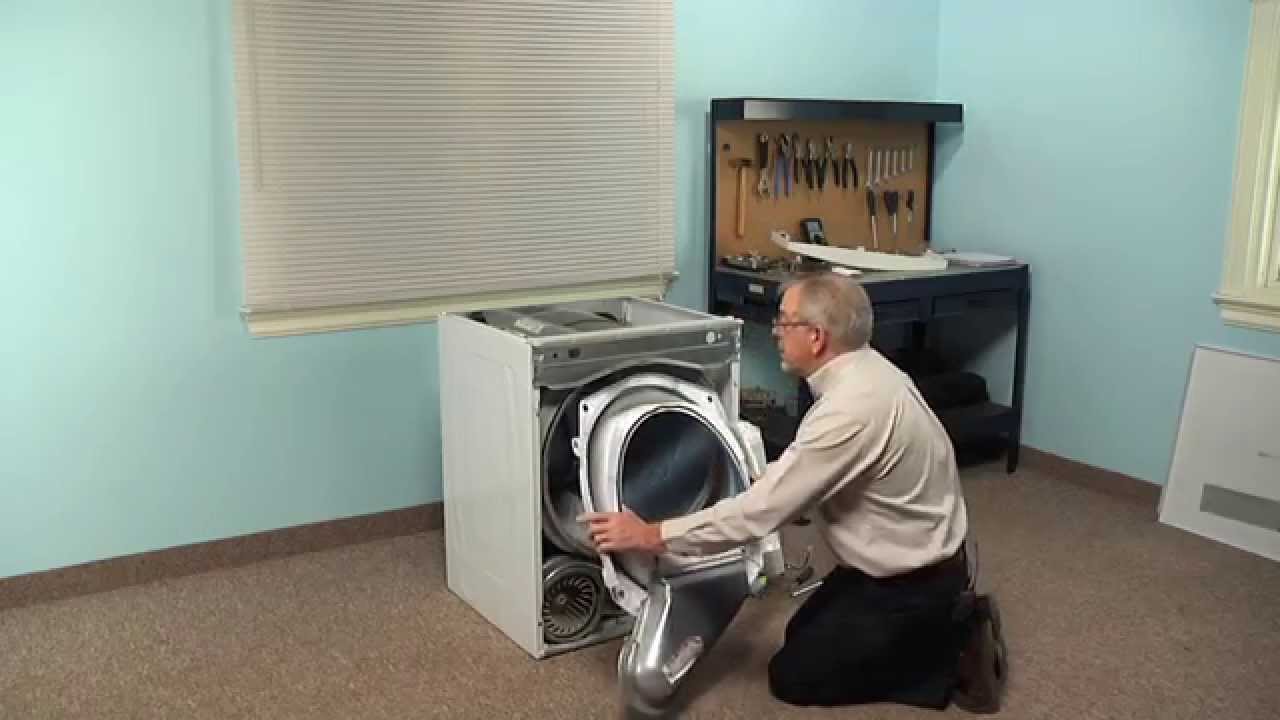
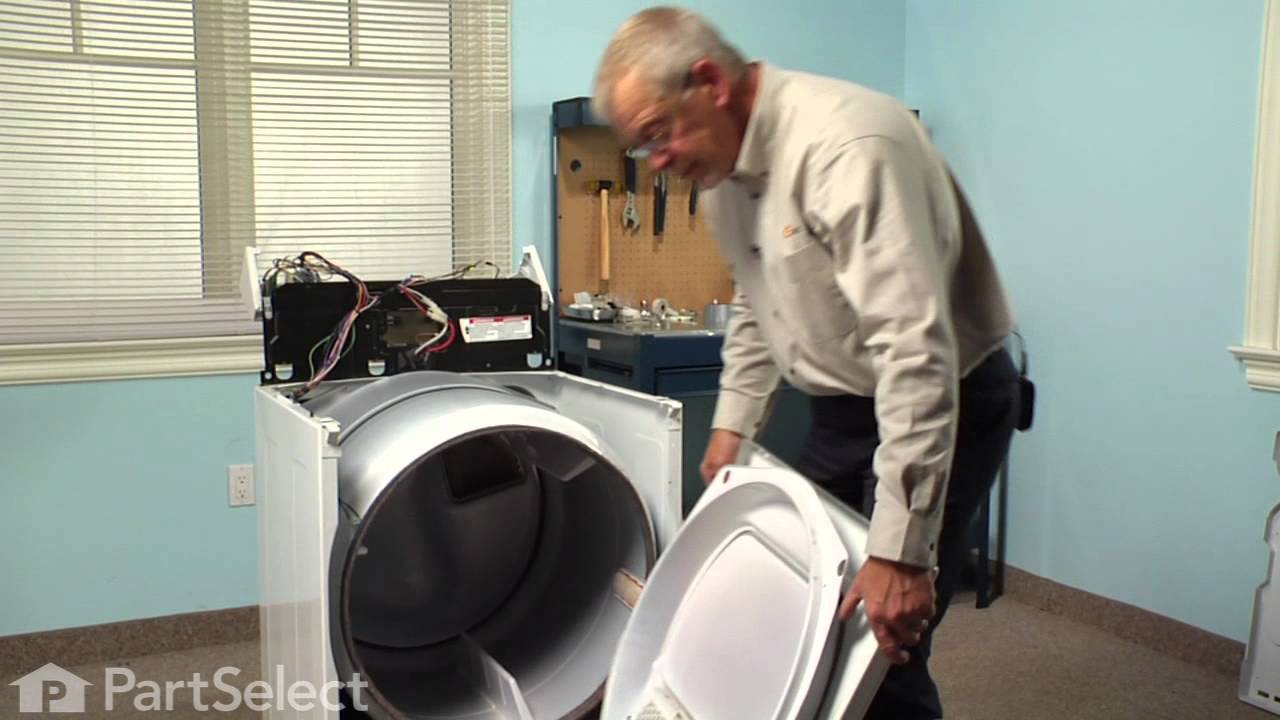
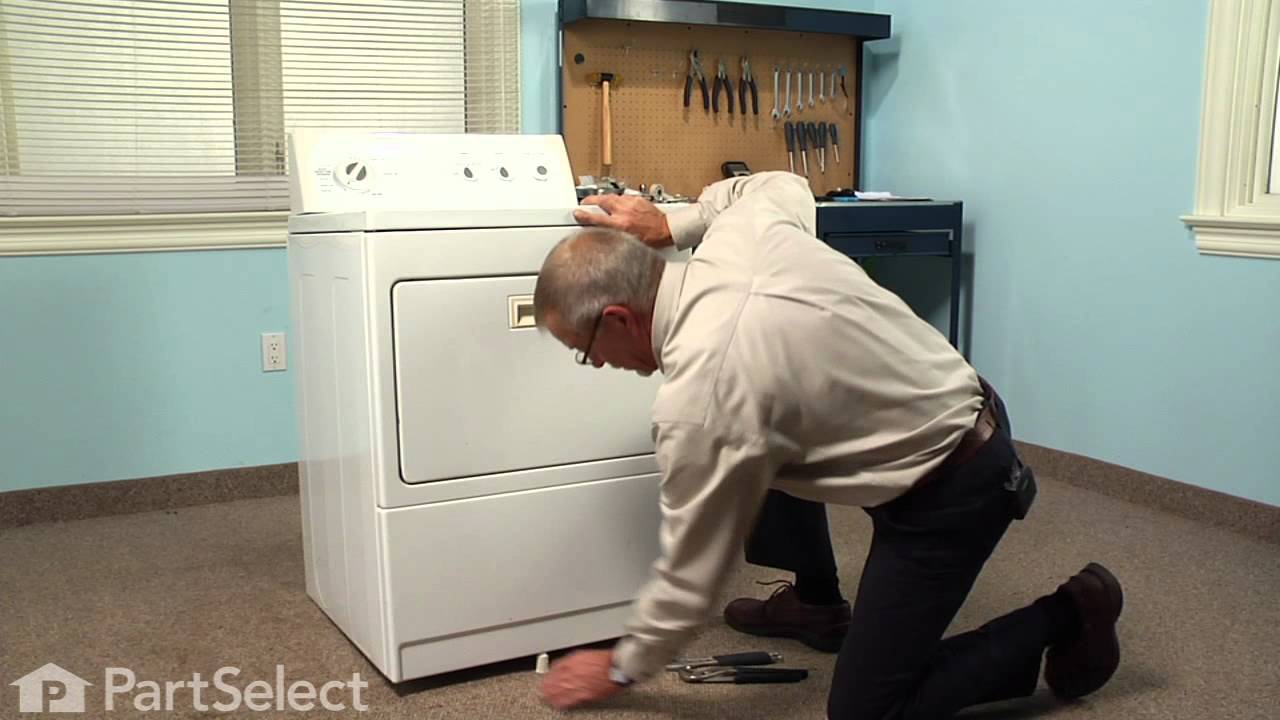
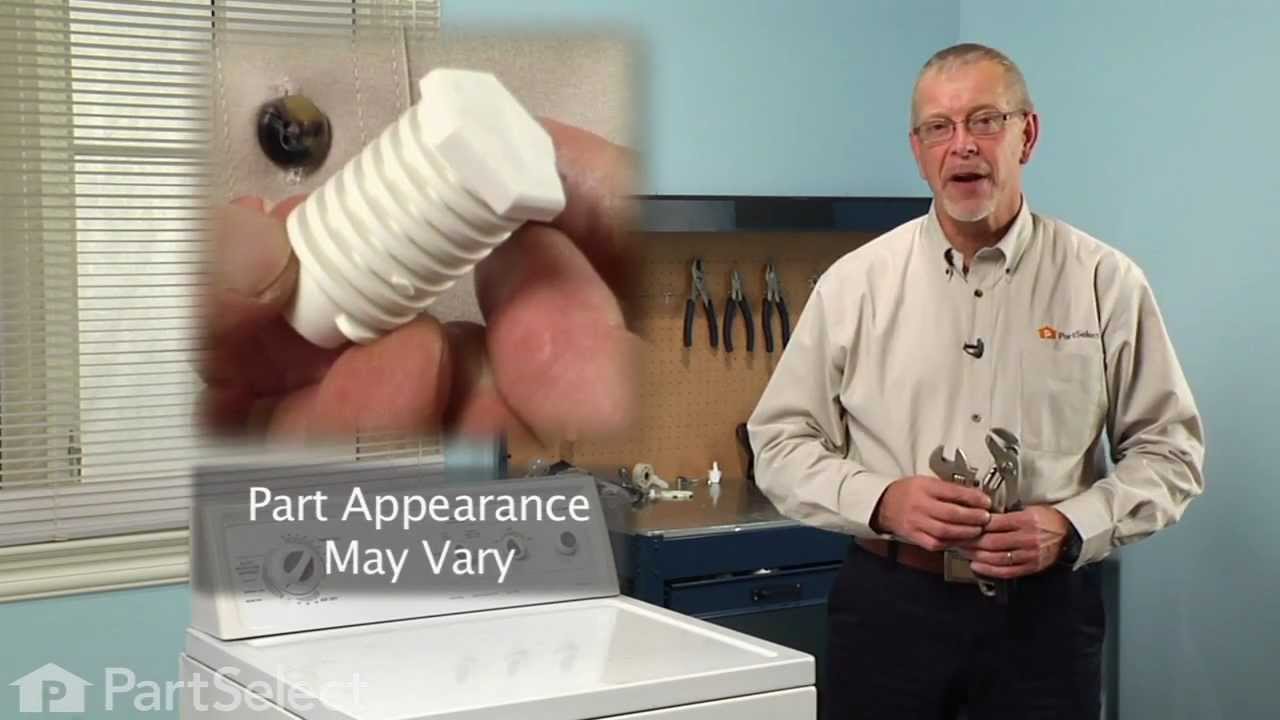
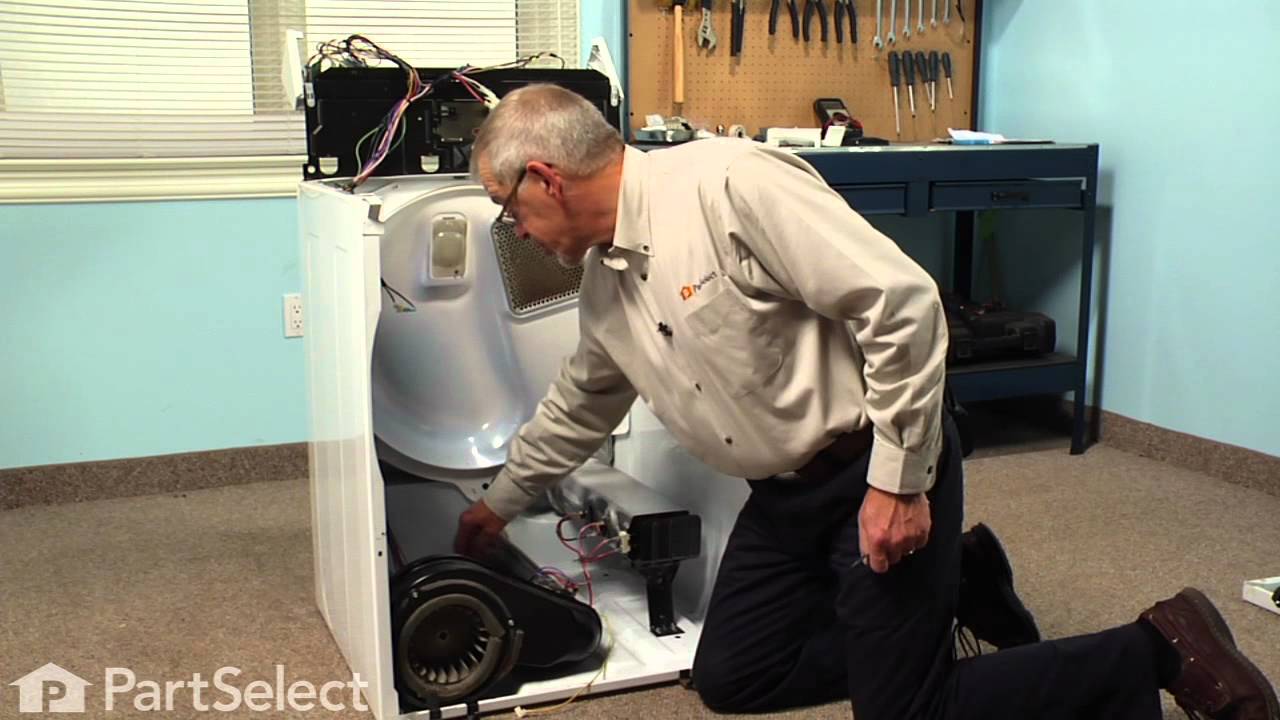
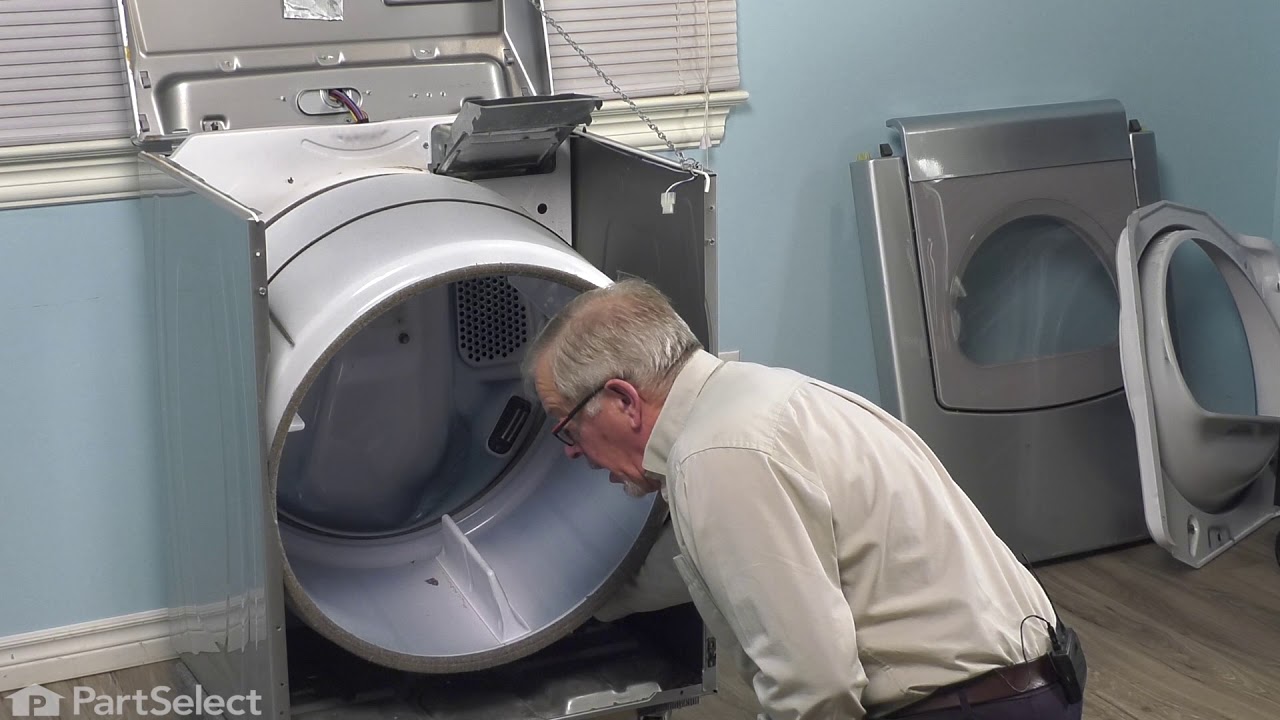
This Idler Pulley includes the tri-ring and gasket and everything included here is manufacturer-certified. This part maintains correct tension on the drive belt in order to spin the drum properly. If damaged or broken the dryer will not dry properly, will not tumble properly, or may not even start. Installation is rated as "Medium" diffic...Read moreulty. This part is located on the dryer drum, around the tension pulley. Refer to your user manual and model number for repair instructions and to ensure this part is right for you. For this repair project, the tools needed are a Phillips screwdriver, 1/4 inch nut driver, putty knife, small flat blade screw driver, and needle nose pliers.
This idler pulley assembly includes the pulley and bracket, ensuring proper tension on the dryer drive belt for smooth drum rotation. Compatible with several Whirlpool, KitchenAid, Maytag, Jenn-Air, Amana, Inglis, and Magic Chef dryers, this OEM part is ideal for replacing damaged components. Disconnect power before installation.
If you notice that your dryer is noisy or will not tumble, you may need to replace the tri ring. This part is triangular, and is less than an inch in size. Tri rings can be found both on the idler pulley shaft, or on the rear drum roller shaft. In either case, you will need to remove the front panel of the dryer and the drum to access the...Read more part for repair. Once you have accessed the damaged tri ring, you will simply need to slip it off and replace it with the new one. This part is sold individually. Be sure to disconnect the power source from the dryer before you begin this repair.
Is your clothes dryer acting up? Don't worry. We've got the solution you've been looking for - the Whirlpool Dryer Idler Spring, a genuine OEM part compatible with select models of Whirlpool, KitchenAid, Maytag, Jenn-Air, Amana, Inglis, and Magic Chef clothes dryers. Why is this small-but-mighty part so crucial? It's simple. This spring...Read more works tirelessly in the background, providing proper tension to the idler pulley which assists in smoothly turning the drum belt. Imagine it as the unsung hero of your dryer, helping it run efficiently and preventing frustrating interruptions during your laundry cycle. What's unique about the Whirlpool Dryer Idler Spring? It's created specifically for the idler pulley arm in dryers, ensuring premium performance and helping increase the lifespan of your appliance. Plus, it's straightforward to install - just remember to unplug your dryer first, and wear work gloves for safety. Before you order, please do a quick check to make sure the idler spring is the right fit for your model, as sizes and shapes might slightly vary. By choosing the Whirlpool Dryer Idler Spring, you're on the way to getting your dryer back to working in top-notch condition, just like when it was brand new.
This seal panel helps close gaps between components to reduce air or moisture leakage. Designed for effective sealing, it supports efficient operation and structural integrity.
If your dryer isn’t heating properly, this terminal and wire kit can help. It replaces damaged or loose wires that connect to the terminal block, restoring the electrical connection so your dryer works like it should. The kit comes with wires, screws, and wire nuts—everything you need except the terminal block. Just swap out the old wires and secure the new ones for a quick, reliable fix.
Ask our experts a question about this model and we'll get back to you as soon as possible!
We may have answered a similar question already! Search questions and answers left by others using simple keywords like "fit", "broken", "easy", or "quality" to find questions that match.
Search filter:
Clear Filter
Your search term must have 3 or more characters.
Sort by:
Prev
1
Next
Sorry, we couldn't find any existing answers that matched.Try using some different or simpler keywords, or submit your new question by using the "Ask a Question" button above!
Beth - For model number 11061633610
July 7, 2022
Why is the inner door glass not available and will it ever be available?
Hello Beth, Thank you for the question. The Inner Door Glass is only sold as part of the Inner Door Panel, PartSelect Number PS12704740 for Chrome Shadow and PartSelect Number PS12704739 for Black. If you need help placing an order, customer service is open 7 days a week. Please feel free to give us a call. We look forward to hearing from you!
See how others fixed this model. Time, tools, difficulty, and steps that lead to victory!View More
Search repair tips from other customers using simple keywords like "replace", "fit", "remove", "inspect". DIY doesn't mean you have to do it alone!
Search filter:
Clear Filter
Your search term must have 3 or more characters.
Very Loud Squeaking Noise
79 of 100 peoplefound this instruction helpful.
GREGORY from Wilsonville, OR
Easy
15 - 30 mins
Nutdriver, Pliers, Screw drivers
1) Disconnected power cord from wall. 2) Disconnected vent hose from back of dryer. 3)Removed dryer rear panel. 4)Disengaged tension spring on idle wheel arm. 5) Removed worn idle wheel. 6)Installed new Idler wheel assembly. 7) Vacuumed dust from rear of dryer (optional, recommended). 8) Reinstalled rear cover, vent hose and power cord. E
... Read moreasy repair 15-30
Read less
Was this helpful?
Thank you for voting!
TOb stopped turning after a week or so of high pitched "squeals" coming from inside the dryer.
43 of 48 peoplefound this instruction helpful.
Robert from Princeton, WV
Really Easy
Less than 15 mins
Nutdriver, Screw drivers
I recommend you order the idler pulley as soon as you start to hear the unusual noise indicating metal against metal. Replace the idler pulley before it fails and possibly causes more damage to the drive system. Simply removed the power cord at the back of the dryer and then the multiple screws holding the back panel in place as well as
... Read more the clip holding the exhaust vent in place. You may need to remove the top panel to access a few of these screws. A diagram of the belt routing is in the paperwork I found behind the front lower panel of the dryer. This too is easily removed with just a few screws.
Read less
Was this helpful?
Thank you for voting!
Idler Pulley broke
21 of 26 peoplefound this instruction helpful.
Keith from Richmond, VA
Really Easy
15 - 30 mins
Socket set
I disconnect the power, then the vent pipe. I removed the back panel of the dryer to access the pulley and removed the belt. Replaced the back and put everything back together.



 My Orders