1106118801 Kenmore Dryer - Overview

Diagrams for 1106118801

See every part. Know exactly what you need.

Enter a part description. DIY Heroes keep it simple, eg. "belt" or "pump".

Search filter:
Clear Filter
Your search term must have 3 or more characters.
Light Bulb - 40W – Part Number: 8009
$26.41
In Stock
Light Bulb - 40W
★★★★★
★★★★★
(47)
Part #8009
This an authentic OEM 40-Watt replacement light bulb, used in a number of household appliances. It is specially designed to withstand extreme temperatures, which is why these replacement bulbs are most often used to light the inside of refrigerators and ranges. It features a standard socket base, which means you simply unscrew the burnt-out bulb and screw in the replacement. Depending on the appliance you may require a screwdriver or nut driver to access the light bulb. We recommend you wear work gloves while handling this replacement part. It is constructed of glass and metal and is sold individually. Depending on the appliance and location of the bulb within it, you may want to consider disconnecting power and using a flashlight for easier access to unscrewing and re-screwing in your bulb during this repair.
Thrust – Part Number: WPW10121334
$9.85
In Stock
Dryer Screw – Part Number: WP90767
$10.40
In Stock
Dryer Screw
Part #WP90767
This screw is sold individually.
Cycling Thermostat - Limit 135/155 – Part Number: WP694674
$67.05
In Stock
Cycling Thermostat - Limit 135/155
★★★★★
★★★★★
(3)
Part #WP694674
If your dryer isn’t heating properly, this adjustable thermostat kit could be the solution. It helps keep the dryer at the right temperature by turning the heat on and off as needed. You can set it anywhere between 135°F and 155°F, and it kicks the heat back on when the temperature drops by 20°F. The kit comes with everything you need—thermostat, jumper wires, and wire nuts—and is a great fix for dryers that aren’t warming up like they should.
Refrigerator Screw – Part Number: WP98165
$10.95
In Stock
Refrigerator Screw
Part #WP98165
This screw is a little under an inch long and is made of metal. It is used with a refrigerator's ice maker assembly. Sold individually.
Single Front Panel Cip – Part Number: W10854425
$22.84
In Stock
Single Front Panel Cip
★★★★★
★★★★★
(2)
Part #W10854425
This part is the replacement single front panel clip for your dryer. It is made of metal and is approximately 2 inches long and ¾ inch wide. The front panel retainer clip is what holds the front panel on to the dryer. If the clip is damaged or missing, or if the front panel appears loose, you may need to replace the clip. This part is sold individually and is an authentic OEM part.
Front Top Lock – Part Number: WP18776
$18.95
In Stock
Front Top Lock
★★★★★
★★★★★
(1)
Part #WP18776
This part is used to secure the top panel to the cabinet. Sold individually.
Bearing and Seal Kit – Part Number: 279264
$98.67
In Stock
Bearing and Seal Kit
★★★★★
★★★★★
(1)
Part #279264
This front bearing and seal kit comes with the adhesive.
Range Light Blub Fluorescent 18 Watt – Part Number: WP95292
$105.34
In Stock
Range Light Blub Fluorescent 18 Watt
Part #WP95292
This light bulb is used in a range's control panel.
Dryer Clampmotor – Part Number: WP660658
$15.35
In Stock
Dryer Clampmotor
Part #WP660658
This clamp is used to secure the drive motor.
Refrigerator Screw – Part Number: WP488234
$11.61
On Order
Refrigerator Screw
Part #WP488234
This screw is sold individually. Size: 8-32 x 1/4 inch.
Dryer Screw – Part Number: WP488627
$17.38
In Stock
Dryer Screw
Part #WP488627
Sold individually.

Common Symptoms of the 1106118801

How this model fails, and the parts that fix it.

Watch our pros, then fix it yourself.
See how others fixed this model. Time, tools, difficulty, and steps that lead to victory! View More

Search repair tips from other customers using simple keywords like "replace", "fit", "remove", "inspect". DIY doesn't mean you have to do it alone!

Search filter:
Clear Filter
Your search term must have 3 or more characters.
Dryer door cable broken
37 of 46 people found this instruction helpful.
  • George from Rochester Hills, MI
  • Easy
  • 30 - 60 mins
  • Nutdriver, Screw drivers
1. Remove the lint filter. Then remove 2 screws at the lint filter housing.

2. At the back of the dryer, remove 2 screws that restrain the hinges for the dryer top. Do NOT remove the hinges.

3. Remove the front lower access panel. It snaps at the top and hinges at the bottom. It can be slipped off the hinges. ... Read more />
4. Remove 2 screws at the bottom of the main front panel

5. The front of the dryer top is held in place by two plastic clips. Use a flat blade screwdriver (with a rag wrapped around the tip to minimize paint damage) to pry the top up at each front corner. Then tilt the top up to just past vertical. You now can see the top of the spring that is connected to the door cable.

6. Open the dryer door. Use a putty knife to pry up the plastic plug that holds the cable in place at the door. Remove the old cable from the door and insert the new one. Be sure the cable end without a hole goes into the dryer door. Replace the plastic plug.

7. Feed the new cable through the main front panel and close the door.

8. Loosen but do NOT remove two screws that hold the main front panel to each side panel. Tilt the bottom of the front panel out about 2 inches.

9. Working through the gap between the main front panel and the side, hook the spring into the hole in the cable end.

10. Working through the open top and the gap on the side, move the spring+cable up to the top. Pass the upper end of the spring through the rectangular hole in the top of the main front panel and hook the end into the small hole there.

11. Repeat for other cable as needed.

12. Reassemble all parts. You may need to hold the top of the drum up as you move the main front panel back into place. Install the main front panel lower screws before tightening the upper screws.
Was this helpful?
Thank you for voting!
Temperature setting not working
19 of 23 people found this instruction helpful.
  • Robert from Buffalo, NY
  • Easy
  • 30 - 60 mins
  • Nutdriver, Screw drivers
Took off back cover, thermostat was easily identified because of photos I've seen on website. Took 2 connectors off, removed 2 screws and removed old thermostat. That was pretty much it!

NOTE: Replacement thermostat 694674 has an adjustable temperature range setting that MUST be manually set prior to installing! You need to use the enclosed chart to find your original part# and make sure the setting is matched. My original part# 341146 had a "D" setting so I had to change but very easy to do.
Was this helpful?
Thank you for voting!
Drum was binding because of worn bearing supporting front of dryer drum
23 of 35 people found this instruction helpful.
  • Leslie from Townsend, GA
  • Easy
  • 1- 2 hours
  • Nutdriver, Pliers, Screw drivers
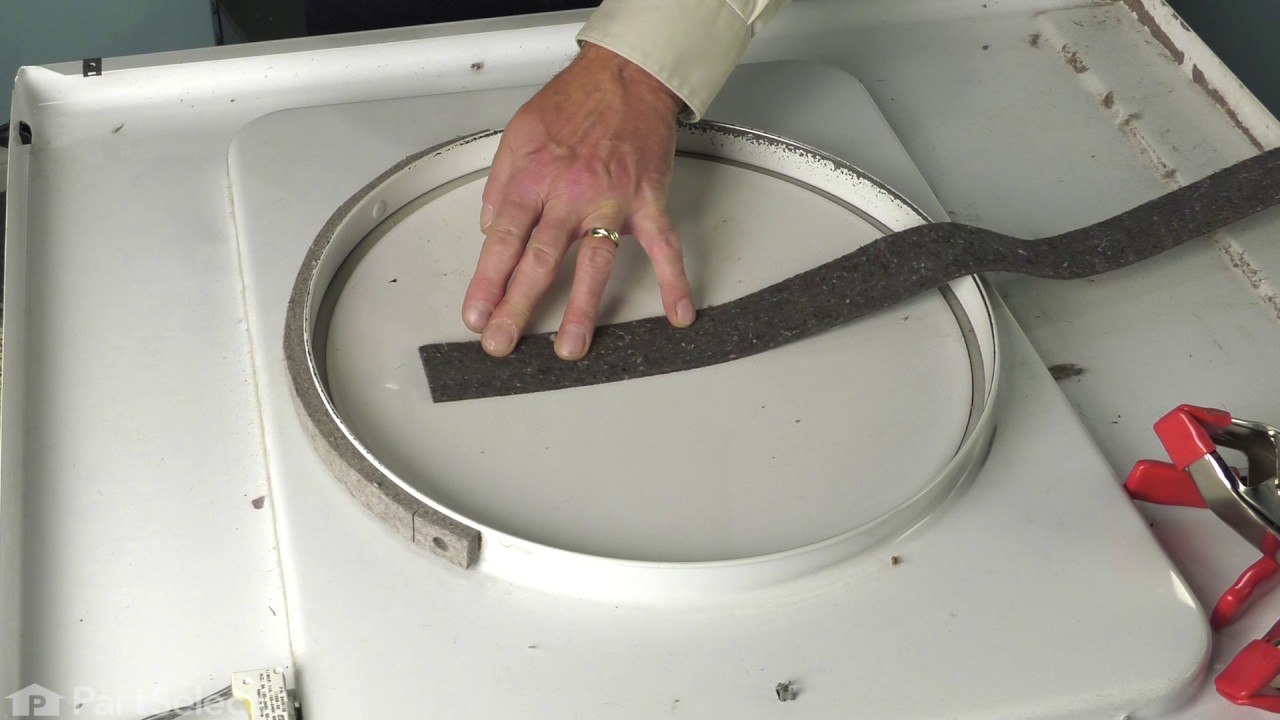
First I unplugged the dryer for safety, then I removed the top of the dryer, then removed the 2 hex head screws holding the font door panel onto the dryer. Then I disconnected the door safety switch. the rest was cake. I removed the old bearing and cut the new bearing and seal to the exact size of the old one. I used contact cement to gl ue the new bearing and seal into place. Reassembly was a breeze. End of job. Success!!!
Was this helpful?
Thank you for voting!