1106110810 Kenmore Washer Dryer Combo - Overview

Enter a part description. DIY Heroes keep it simple, eg. "belt" or "pump".

Search filter:
Clear Filter
Your search term must have 3 or more characters.
Refrigerator Light Bulb 10w – Part Number: WP22002263
$28.08
In Stock
Refrigerator Light Bulb 10w
★★★★★
★★★★★
(10)
Part #WP22002263
Brighten up your appliance with this easy-to-install 10-watt light bulb, perfect for dryers and refrigerators. It gives off a clear, steady light so you can easily see inside when the door is open. Whether you're replacing a bulb in your Whirlpool or another compatible brand, this one fits right in. Just twist it into place—no tools needed. For safety, make sure your appliance is turned off before swapping the bulb.
Air Conditioner Cover Screw – Part Number: WP308685
$10.95
In Stock
Air Conditioner Cover Screw
Part #WP308685
Sold individually.
Washer Hose Clamp – Part Number: WP596669
$11.52
In Stock
Washer Hose Clamp
Part #WP596669
Hose Clamp – Part Number: WP285655
$15.68
In Stock
Hose Clamp
Part #WP285655
This hose clamp is sold individually.
Dryer Screw – Part Number: WP90767
$10.40
In Stock
Dryer Screw
Part #WP90767
This screw is sold individually.
Refrigerator Screw – Part Number: WP98165
$10.95
In Stock
Refrigerator Screw
Part #WP98165
This screw is a little under an inch long and is made of metal. It is used with a refrigerator's ice maker assembly. Sold individually.
Screw – Part Number: WP33002973
No Longer Available
Screw
Part #WP33002973
This screw is sold individually.
Oil Seal Kit for Gearcase Input Shaft – Part Number: 285352
$59.35
In Stock
Oil Seal Kit for Gearcase Input Shaft
★★★★★
★★★★★
(1)
Part #285352
This two piece oil seal kit comes in two pieces and is used for the gearcase input shaft of your washer.
Washer Hose Clamp – Part Number: WP616099
$14.28
In Stock
Washer Hose Clamp
Part #WP616099
Note: This part has been updated by the manufacturer. It may appear different but will still function the same as the original.
Front Top Lock – Part Number: WP18776
$18.95
In Stock
Front Top Lock
★★★★★
★★★★★
(1)
Part #WP18776
This part is used to secure the top panel to the cabinet. Sold individually.
Range Hex Nut – Part Number: WP488130
$12.05
Special Order
Range Hex Nut
Part #WP488130
Part may differ in appearance, but functions same as original.
Washer Screen – Part Number: WP96160
$18.65
In Stock
Washer Screen
Part #WP96160
Found on the water inlet valve.

Common Symptoms of the 1106110810

How this model fails, and the parts that fix it.

Watch our pros, then fix it yourself.
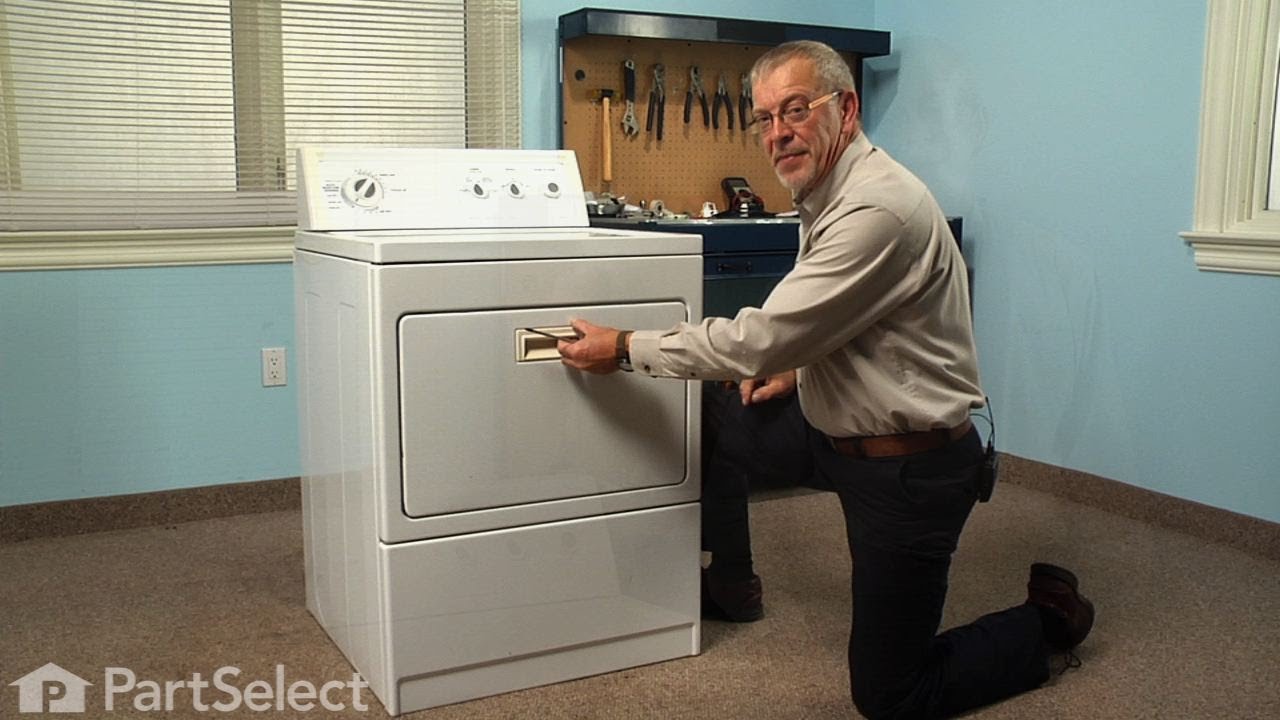
See how others fixed this model. Time, tools, difficulty, and steps that lead to victory! View More

Search repair tips from other customers using simple keywords like "replace", "fit", "remove", "inspect". DIY doesn't mean you have to do it alone!

Search filter:
Clear Filter
Your search term must have 3 or more characters.
broken clip on top panel hold down
15 of 26 people found this instruction helpful.
  • Mark from Huntington Station, NY
  • Easy
  • Less than 15 mins
  • Screw drivers
pressed clip into hole on top of front panel. first remove two philip screws that hold filter so you can lift top up.
Was this helpful?
Thank you for voting!
Dryer Top Panel is Loose
5 of 5 people found this instruction helpful.
  • MONTE from CHESAPEAKE, VA
  • Very Easy
  • Less than 15 mins
  • Pliers, Screw drivers
1) Unplug power cable from dryer.
2) Remove the 2 screws that secure the chute for lint filter screen with
Phillips head screwdriver.
3) Remove the lint filter screen.
4) Depress plastic locking clip on each side with putty knife to release
tension and lift up top panel to clear the locking clips. Each locking
clip is located 2-1/2 inches from the front edge of side panel.
5) Lift the top panel and lean against the wall for support. If dryer top
panel cannot be raised all the way due to cabinet(s) above, tape
the dryer top panel to cabinet above or have somebody hold the
top panel for temporary support.
6) Install the new metal locking clips. Ensure that the elongated tab
of the metal locking clip is towards the front of dryer. Compress
locking clip lightly with pliers and push down into the hole.
7) Lower the dryer top panel and press it down in place over the metal
locking clips for a tight fit.
8) Reinstall the 2 screws to secure the lint filter chute.
9) Reinstall lint filter screen.
10) Reconnect power cable for dryer.
11) Turn on dryer and inspect that all dryer panels (top, sides and
front) are tight and secured.
Repair Duration: 5 minutes
Was this helpful?
Thank you for voting!
Washer wouldn’t drain and spin
3 of 3 people found this instruction helpful.
  • Thomas from KENT, CT
  • Very Easy
  • Less than 15 mins
  • Pliers, Screw drivers
First used wet vac to get water out. Unplug electrical cord. Shut off water and unhook lines. Unhook drain tube. Flip over on side. Take belt cover off. two screws.
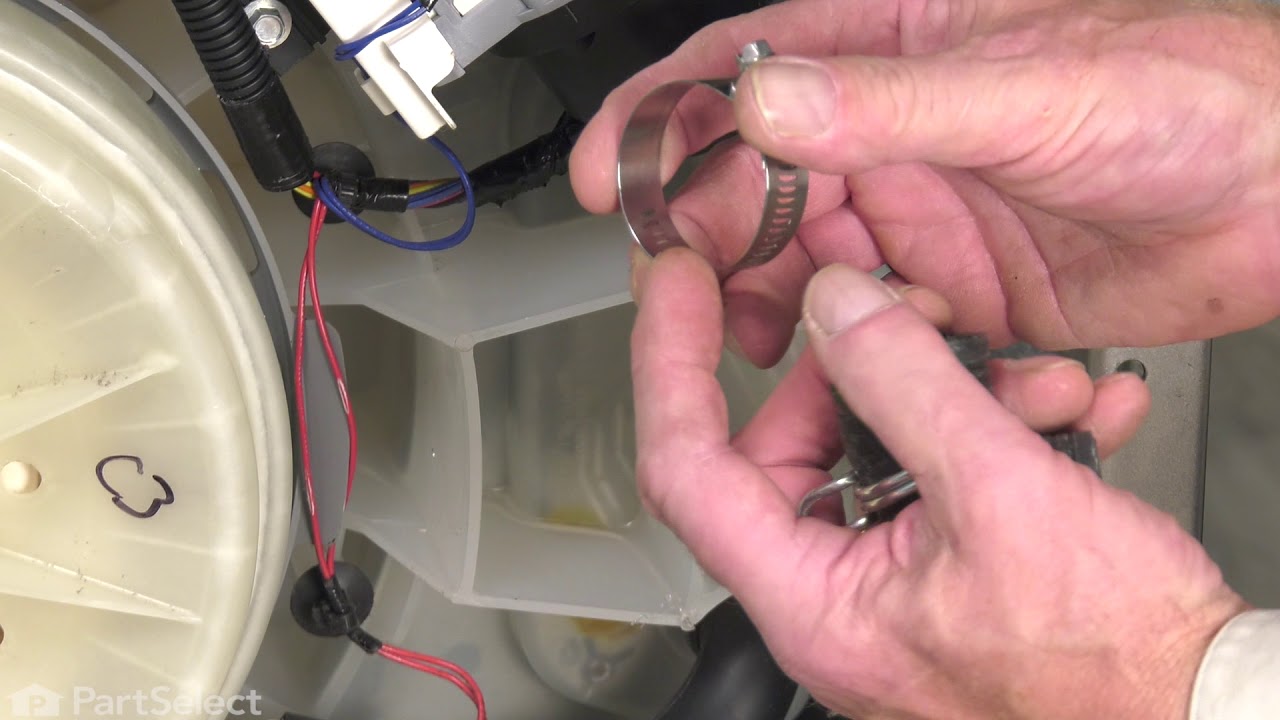
Took photos of parts removing just for re- install. Ordered parts from part select.com. Came in Two days. The dealer was on 12 days I gave up on them. I re moved actuator two easy screws and pulled off electrical connection no tool needed. Then removed pump three longer screws Than other part. Make sure to label them in a ziplock baggie. Plus I removed hose clamp with pliers slide Back on hose and pull hose off. Then remove electrical connection on pump. If it makes you feel better label each with masking tape so I know where each connection goes. Then replace pump first with new one. Make sure you push it in hard then the screws. Don’t over tighten. Plastic parts break. Hook back up hose slide clamp back over fitting end with pliers. Hook up wire connector. Next hook up actuator. Two screws wire connector and your done. Put belt guard back on. Socks can get caught under washer get in belt and cause major issue. Then you need to reconnect water lines. Make sure hot goes to hot. Cold to cold. Drain hose hook back up. Plug in power cord. Now the fun part. Run a diagnostic and then calibration. See you tube videos it’s like 3 clicks to left then two to right with selector knob. Write down the exact amount of clicks and steps. It works. Be sure to turn knob 4 times to left to clear it like a combination lock. Don’t let the noises scare you it makes all
Kinds of sounds while calibration goes on.
Was this helpful?
Thank you for voting!