


 My Orders


1105810 Kenmore Washer Dryer Combo - Overview
Models starting with 1105810
Click on the best match to narrow your results.
- 1105810102 Kenmore Washer Dryer Combo
- 1105810103 Kenmore Washer Dryer Combo
- 1105810105 Kenmore Washer Dryer Combo
- 1105810106 Kenmore Washer Dryer Combo
- 1105810500 Kenmore Washer Dryer Combo
- 1105810502 Kenmore Washer Dryer Combo
- 1105810503 Kenmore Washer Dryer Combo
- 1105810800 Kenmore Washer Dryer Combo
- 1105810801 Kenmore Washer Dryer Combo
- 1105810802 Kenmore Washer Dryer Combo
- 1105810812 Kenmore Washer Dryer Combo
- 1105810813 Kenmore Washer Dryer Combo
- 1105810815 Kenmore Washer Dryer Combo
- 1105810850 Kenmore Washer Dryer Combo
- 1105810851 Kenmore Washer Dryer Combo
- 1105810852 Kenmore Washer Dryer Combo
- 1105810950 Kenmore Washer Dryer Combo
- 1105810951 Kenmore Washer Dryer Combo
- 1105810952 Kenmore Washer Dryer Combo
- 1105810953 Kenmore Washer Dryer Combo
Enter a part description. DIY Heroes keep it simple, eg. "belt" or "pump".
Search filter:
Clear Filter
Your search term must have 3 or more characters.

$26.41
In Stock
Light Bulb - 40W
Part #8009
This an authentic OEM 40-Watt replacement light bulb, used in a number of household appliances. It is specially designed to withstand extreme temperatures, which is why these replacement bulbs are most often used to light the inside of refrigerators and ranges. It features a standard socket base, which means you simply unscrew the burnt-o...Read moreut bulb and screw in the replacement. Depending on the appliance you may require a screwdriver or nut driver to access the light bulb. We recommend you wear work gloves while handling this replacement part. It is constructed of glass and metal and is sold individually. Depending on the appliance and location of the bulb within it, you may want to consider disconnecting power and using a flashlight for easier access to unscrewing and re-screwing in your bulb during this repair.
Read less

$28.08
In Stock
Refrigerator Light Bulb 10w
Part #WP22002263
Brighten up your appliance with this easy-to-install 10-watt light bulb, perfect for dryers and refrigerators. It gives off a clear, steady light so you can easily see inside when the door is open. Whether you're replacing a bulb in your Whirlpool or another compatible brand, this one fits right in. Just twist it into place—no tools needed. For safety, make sure your appliance is turned off before swapping the bulb.

$10.95
In Stock

$33.28
In Stock
Lid Switch
Part #W10820036
Keep your washer or dryer running safely with this easy-to-install lid or door switch kit. It stops the machine from working when the door is open, helping prevent spills and accidents. Compatible with many models, this small but important part fits neatly inside your appliance and comes with everything you need for installation. Just unp...Read morelug your machine, swap out the old switch, and you're good to go. It’s about 2.5 inches long and blends in with most interiors.
Read less

$11.52
In Stock
Washer Hose Clamp
Part #WP596669
This hose clamp extends from half an inch to an inch in diameter. It is made entirely of metal and is intended for use with Maytag brand washing machines.

$15.68
In Stock

$10.40
In Stock

$67.05
In Stock
Cycling Thermostat - Limit 135/155
Part #WP694674
If your dryer isn’t heating properly, this adjustable thermostat kit could be the solution. It helps keep the dryer at the right temperature by turning the heat on and off as needed. You can set it anywhere between 135°F and 155°F, and it kicks the heat back on when the temperature drops by 20°F. The kit comes with everything you need—the...Read morermostat, jumper wires, and wire nuts—and is a great fix for dryers that aren’t warming up like they should.
Read less

No Longer Available

$15.07
In Stock
Washer Hose Clamp
Part #WP356138
This clamp helps to prevent leaking by holding the end of water hose in place.

$18.65
In Stock

$10.47
Special Order
Exact Part matches for your search term

No Longer Available
Common Symptoms of models starting with 1105810
How this model fails, and the parts that fix it.
Leaking
Fixed by
these parts
these parts


Show All
Will Not Start
Fixed by
these parts
these parts

Show All
Will not drain
Fixed by
these parts
these parts
Show All
Too hot
Fixed by
these parts
these parts

Show All
Will not agitate
Fixed by
these parts
these parts
Show All
Won’t Start
Fixed by
these parts
these parts
Show All
Not Heating
Fixed by
these parts
these parts
Show All
Noisy
Fixed by
these parts
these parts

Show All
Watch our pros, then fix it yourself.
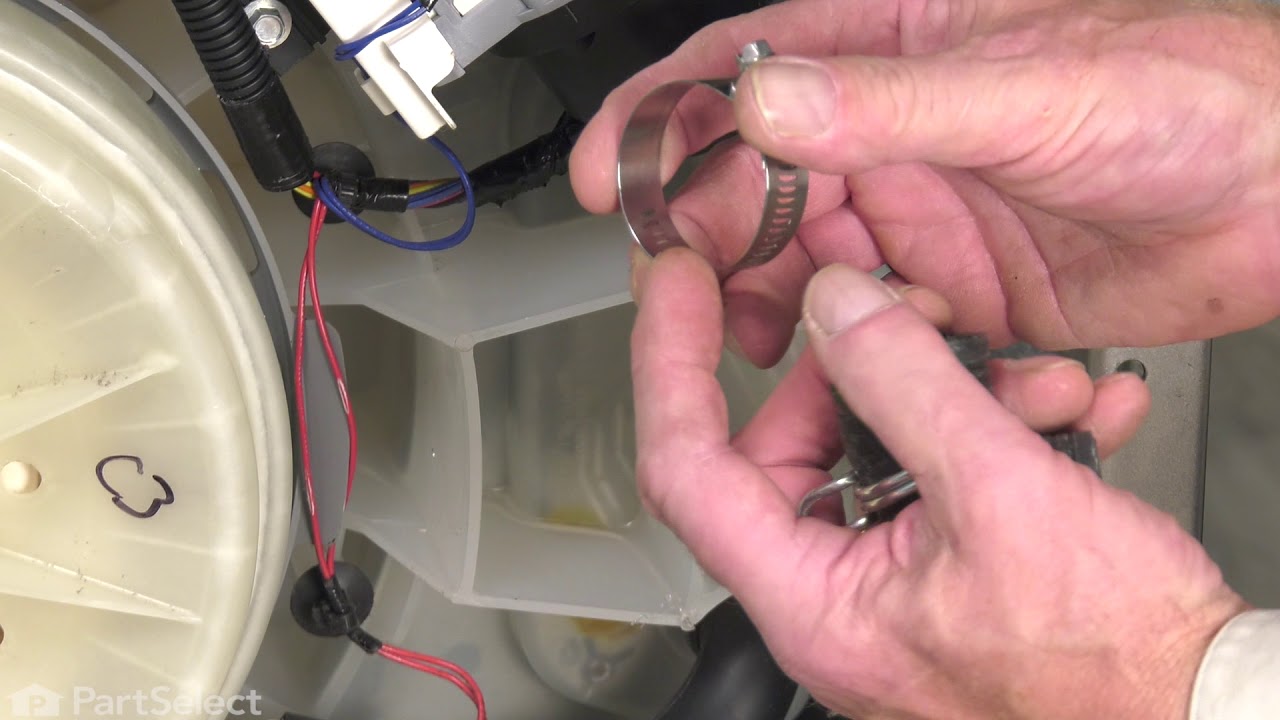
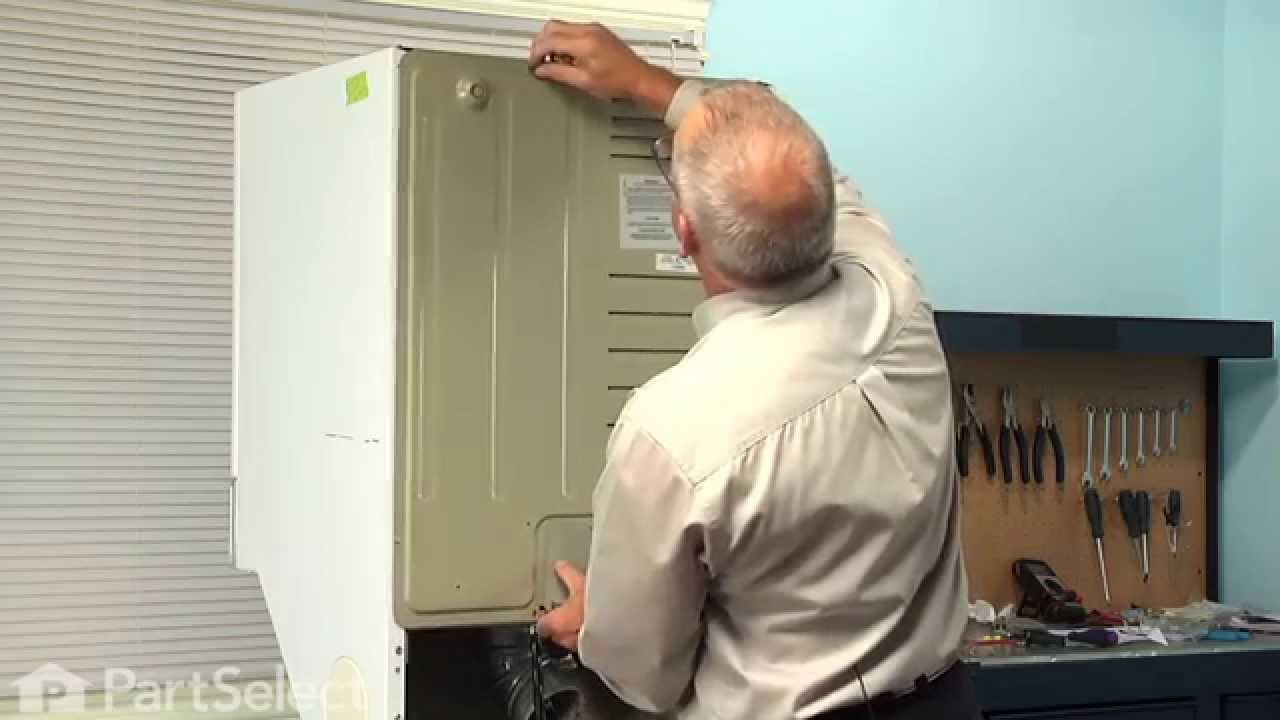
See how others fixed this model. Time, tools, difficulty, and steps that lead to victory!
View More