1105808100 Kenmore Dryer - Overview

Diagrams for 1105808100

See every part. Know exactly what you need.

Enter a part description. DIY Heroes keep it simple, eg. "belt" or "pump".

Search filter:
Clear Filter
Your search term must have 3 or more characters.
Light Bulb - 120V 25W – Part Number: WPA3073101
$20.85
In Stock
Cycling Thermostat - Limit 135/155 – Part Number: WP694674
$67.05
In Stock
Cycling Thermostat - Limit 135/155
★★★★★
★★★★★
(3)
Part #WP694674
If your dryer isn’t heating properly, this adjustable thermostat kit could be the solution. It helps keep the dryer at the right temperature by turning the heat on and off as needed. You can set it anywhere between 135°F and 155°F, and it kicks the heat back on when the temperature drops by 20°F. The kit comes with everything you need—thermostat, jumper wires, and wire nuts—and is a great fix for dryers that aren’t warming up like they should.
Front Top Lock – Part Number: WP18776
$18.95
In Stock
Front Top Lock
★★★★★
★★★★★
(1)
Part #WP18776
This part is used to secure the top panel to the cabinet. Sold individually.
High Limit Thermostat – Part Number: WP696818
$46.15
Special Order
High Limit Thermostat
Part #WP696818
L200-40F
SEAL-DOOR – Part Number: W11613302
$49.95
Special Order
SEAL-DOOR
Part #W11613302
Adhesive sold separately.
Terminal Block – Part Number: 279320
$57.15
In Stock
Terminal Block
Part #279320
CLIP – Part Number: 16515
$35.15
In Stock
CLIP
Part #16515
RIVET – Part Number: 98669
No Longer Available
RIVET
Part #98669
PAD – Part Number: 18849
$28.60
Special Order
PAD
Part #18849
SCREW, VALVE TO BRACKET – Part Number: 190575
No Longer Available
TERMINAL, RING, 3/16 INCH DIA. HOLE – Part Number: 247283
No Longer Available

Common Symptoms of the 1105808100

How this model fails, and the parts that fix it.

Watch our pros, then fix it yourself.
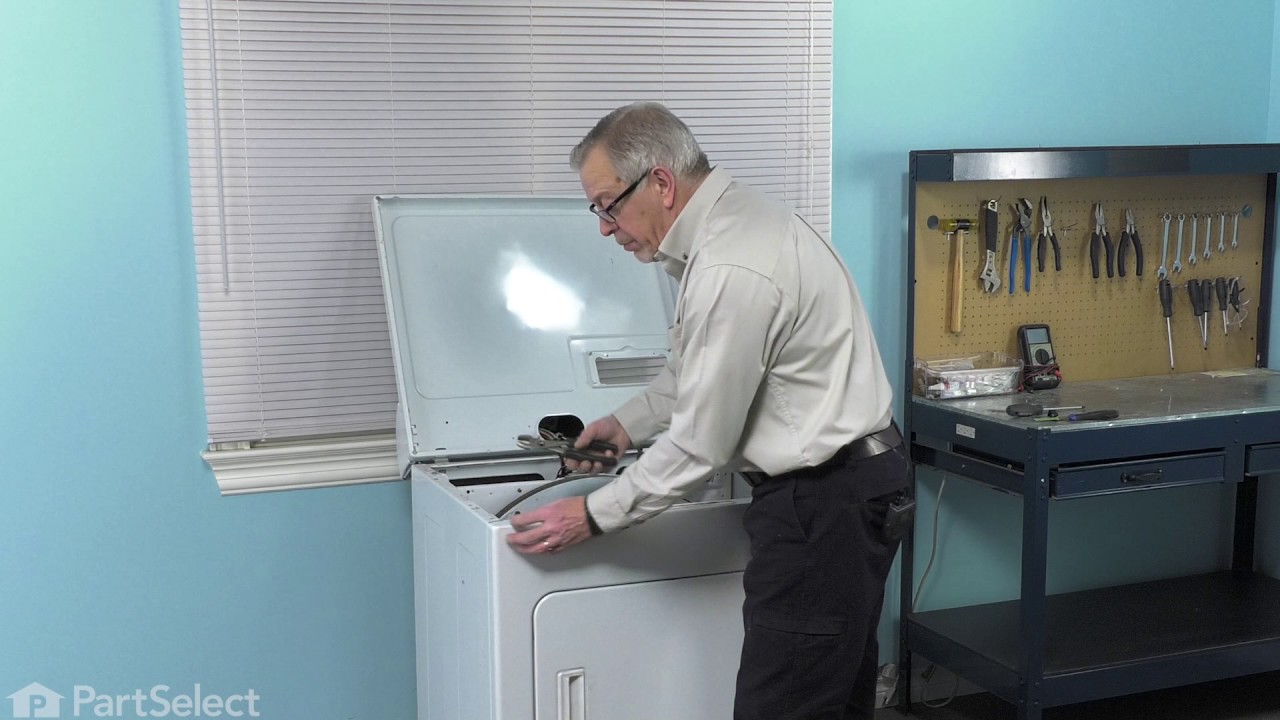
See how others fixed this model. Time, tools, difficulty, and steps that lead to victory! View More

Search repair tips from other customers using simple keywords like "replace", "fit", "remove", "inspect". DIY doesn't mean you have to do it alone!

Search filter:
Clear Filter
Your search term must have 3 or more characters.
Temperature setting not working
19 of 23 people found this instruction helpful.
  • Robert from Buffalo, NY
  • Easy
  • 30 - 60 mins
  • Nutdriver, Screw drivers
Took off back cover, thermostat was easily identified because of photos I've seen on website. Took 2 connectors off, removed 2 screws and removed old thermostat. That was pretty much it!

NOTE: Replacement thermostat 694674 has an adjustable temperature range setting that MUST be manually set prior to installing! You need to use the enclosed chart to find your original part# and make sure the setting is matched. My original part# 341146 had a "D" setting so I had to change but very easy to do.
Was this helpful?
Thank you for voting!
broken clip on top panel hold down
15 of 26 people found this instruction helpful.
  • Mark from Huntington Station, NY
  • Easy
  • Less than 15 mins
  • Screw drivers
pressed clip into hole on top of front panel. first remove two philip screws that hold filter so you can lift top up.
Was this helpful?
Thank you for voting!
burnt out bulb
27 of 63 people found this instruction helpful.
  • THOMAS from STOW, OH
  • Really Easy
  • Less than 15 mins
took cover off, installed bulb.
lost the owners manual,
part select's schematics were very helpful
thanks
Was this helpful?
Thank you for voting!