11028133413 Kenmore Washer - Overview

Enter a part description. DIY Heroes keep it simple, eg. "belt" or "pump".

Search filter:
Clear Filter
Your search term must have 3 or more characters.
Touch-Up Paint - White – Part Number: 72017
No Longer Available
Touch-Up Paint - White
★★★★★
★★★★★
(23)
Part #72017
This 18 ml bottle of white appliance touch-up paint is used to cover scratches or marks on your appliance. The white touch-up paint can be used on refrigerators, microwaves, ranges, clothes dryers, and freezers. This is a genuine OEM part and includes a brush applicator. Please remember to wear gloves to protect your hands when applying this paint.
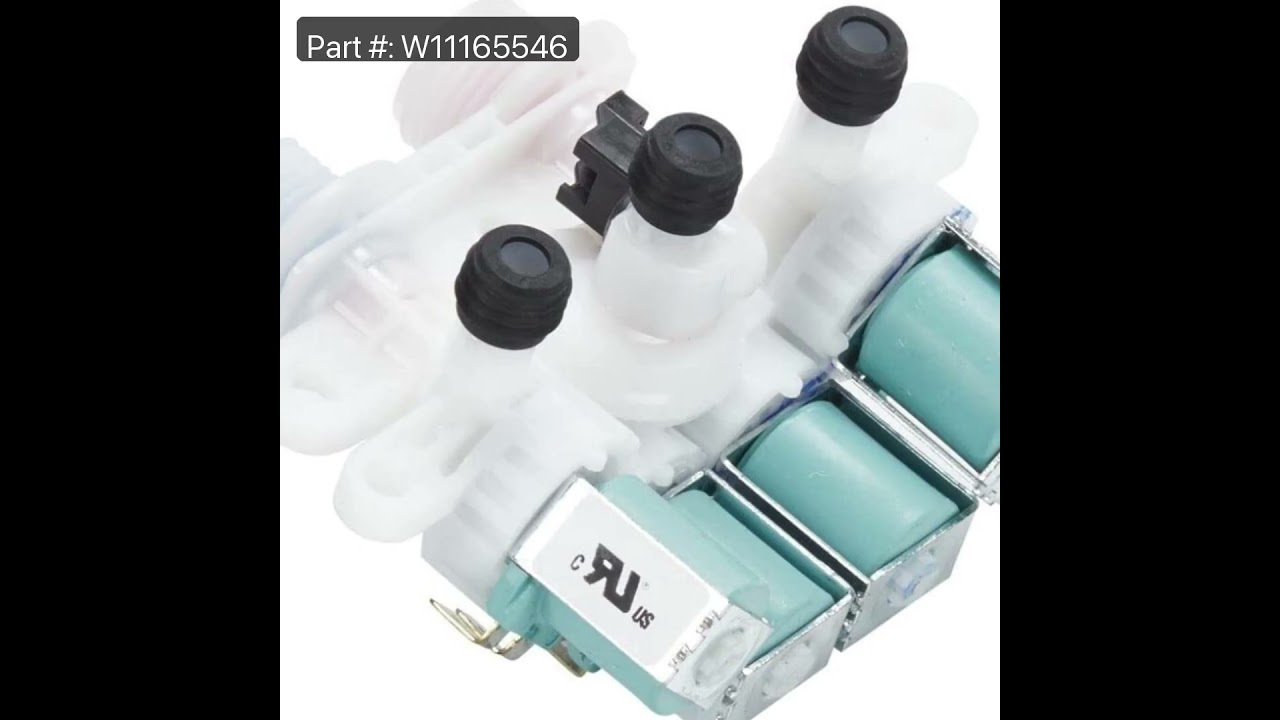
Water Inlet Valve – Part Number: W11165546
$114.55
In Stock
Water Inlet Valve
★★★★★
★★★★★
(18)
Part #W11165546
This washing machine inlet valve is a genuine OEM replacement part designed to regulate water flow during the fill cycle. Controlled by an internal solenoid, the valve opens and closes as needed to allow hot and cold water into the appliance. It features two inlet ports and three push-on connectors for integration with the washer’s internal plumbing. A malfunctioning valve may result in slow or incomplete filling, water leaks, or failure to start the cycle. Installation requires basic tools such as a screwdriver and wrench, and the appliance should be disconnected from power and water sources before beginning. Compatibility should be verified using your washer’s model number.
Washer Drain Hose – Part Number: W11244231
$37.25
In Stock
Washer Drain Hose
★★★★★
★★★★★
(4)
Part #W11244231
The drain hose carries used water from the washer to your house drain.
Hose Clamp – Part Number: WP285655
$15.68
In Stock
Hose Clamp
Part #WP285655
This hose clamp is sold individually.
Washer Washplate Screw – Part Number: W10752187
$12.05
In Stock
Washer Washplate Screw
Part #W10752187
Dryer Screw – Part Number: WP90767
$10.40
In Stock
Dryer Screw
Part #WP90767
This screw is sold individually.
Washer D-Shaped Knob Insert – Part Number: WP8536939
$15.35
In Stock
Washer D-Shaped Knob Insert
Part #WP8536939
This insert is sold individually. Knob not included. Knob is sold separately.
Lid Lock Assembly – Part Number: W10810403
$112.36
In Stock
Lid Lock Assembly
★★★★★
★★★★★
(5)
Part #W10810403
This lid lock assembly is designed for use in various top-load washing machines and serves as a critical safety feature. Located beneath the washer lid, it includes the locking mechanism and wiring harness that work together to prevent the lid from opening during operation. This helps protect users from exposure to moving parts, hot water, or detergent spills. If the lid lock is faulty, the washer may fail to start or stop unexpectedly mid-cycle. Replacing the assembly is essential to restore safe and reliable performance. This OEM part is sold as a complete unit and is compatible with a range of washer models.
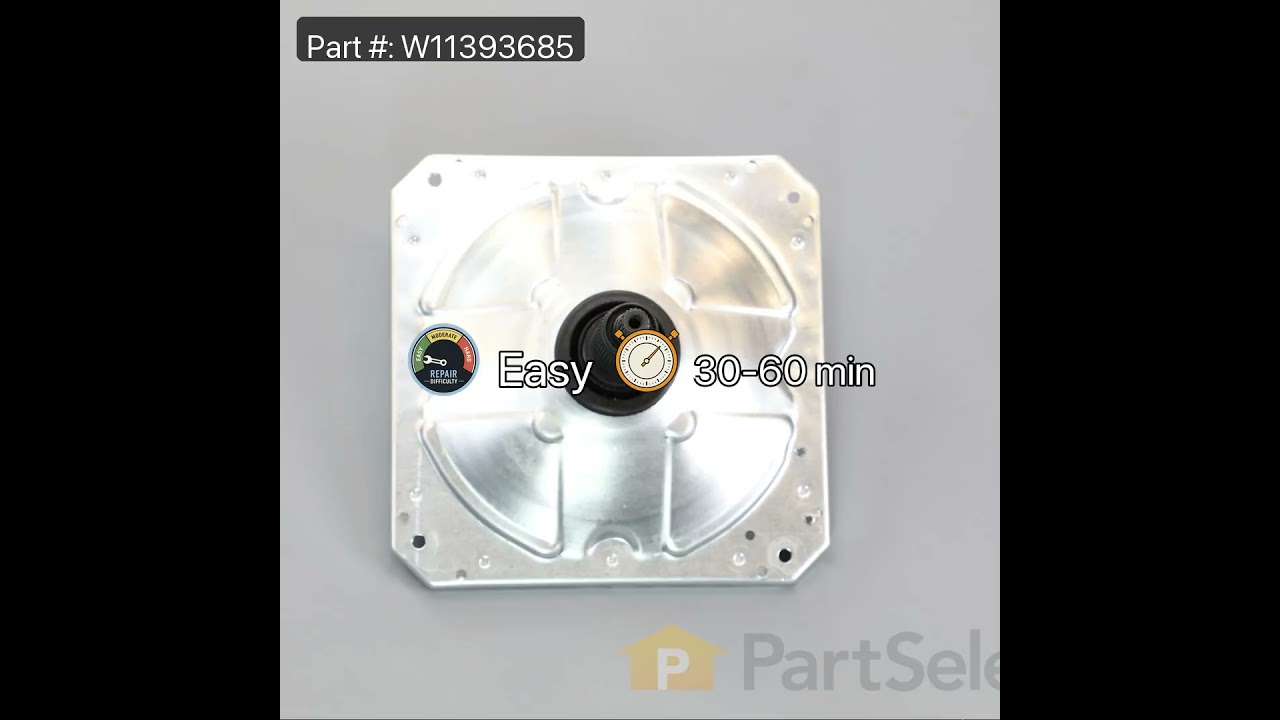
Gearcase – Part Number: W11393685
$388.26
In Stock
Gearcase
★★★★★
★★★★★
(9)
Part #W11393685
If your washer isn’t spinning, agitating, or cleaning clothes like it used to, the gearcase might be the issue. This part powers the agitator and spin basket, helping your machine run smoothly. It fits many Whirlpool, Maytag, and KitchenAid models and can fix problems like loud noises or a washer that won’t spin. Be sure to unplug your appliance before starting the repair.
Water-Pump – Part Number: W10876600
$178.67
In Stock
Water-Pump
★★★★★
★★★★★
(6)
Part #W10876600
This drain pump is engineered for top-load washing machines and plays a vital role in the appliance’s drainage system. During the drain cycle, it efficiently removes water from the washer tub and channels it through the drain hose into your home’s plumbing. If your washer is experiencing slow drainage, unusual grinding or rattling noises, or standing water at the end of a cycle, the pump may be malfunctioning. Common causes include wear over time, electrical issues, physical damage, or clogs from small items like coins or buttons. Replacing a faulty drain pump can restore proper function and prevent further issues with your machine’s performance.
Washer Hose Clamp – Part Number: WP356138
$15.07
In Stock
Washer Hose Clamp
Part #WP356138
This clamp helps to prevent leaking by holding the end of water hose in place.
Washer Screw – Part Number: W11404293
$30.40
In Stock
Washer Screw
Part #W11404293
Sold individually.

Questions And Answers for 11028133413

Ask our experts a question about this model and we'll get back to you as soon as possible!

Sort by:
  • 1
Sorry, we couldn't find any existing answers that matched.Try using some different or simpler keywords, or submit your new question by using the "Ask a Question" button above!
Kim - For model number 11028133413
November 29, 2024
Is this the dispenser that holds the fabric softener, the OxiClean and the detergent?
Chris Boyle Profile
Hi Kim, Thank you for your question. The part number for the dispenser drawer is PS12074739. We hope this helps!
$116.64
In Stock
DRAWER
Was this helpful?
Thank you for voting!
  • 1

Common Symptoms of the 11028133413

How this model fails, and the parts that fix it.

Watch our pros, then fix it yourself.

See how others fixed this model. Time, tools, difficulty, and steps that lead to victory! View More

Search repair tips from other customers using simple keywords like "replace", "fit", "remove", "inspect". DIY doesn't mean you have to do it alone!

Search filter:
Clear Filter
Your search term must have 3 or more characters.
Loud grinding noise when the washer was in use.
70 of 85 people found this instruction helpful.
  • Charles from STARKVILLE, MS
  • Easy
  • 1- 2 hours
  • Nutdriver, Screw drivers, Socket set
1.) disconnect power to your washer. Turn off water supply and disconnect from the washer.

open the washer top and remove plastic cap from the wash plate

2.) using 7/16 socket, remove bolt from the wash plate. If you can't remove it with a socket , I recommend using impact wrench.

3.) remove wash plate ( you might need to spray penetrating oil or wd40 inside the bolt hole to loosen it.
Check to make sure the wash plate gear grooves are not worn down, if they are, replace it.

4.) using your Maytag specific spaner nut wrench, remove the spaner nut from the shaft of the gear case. This should be right underneath where the wash plate was. If you can't turn it by hand , use a rubber mallet or hammer to encourage it.

5.) some people remove the wash basket at this point. I don't think it is necessary.

6.) close your washing machine. Tape the top closed to keep it from flying open. Tilt your washer back and prop it up where you have access to the underside of the washing machine.

7) remove motor rotor bolt and pull rotor off of the motor.

8.) disconnect the two wire connectors that supply power to motor. using a socket, remove bolts that are keeping motor attached to the gear case.

9.) Now that the gear case is all the is remaining on the underside, you can remove the 4 bolts that are holding the gear case to the washer. Now try to pull gear case out.

10.) if gearcase will not pull out, lower washer back to upright position. Spray penetrating oil or wd40 around the shaft of the gearcase and allow it to sit for 5-10 minutes. Using a hammer, lightly tap on the shaft of the gearcase and it should now fall out. ( you might have to apply penetrating oil again, or apply more force with the hammer.

11.) reinstall motor to new gearcase. Insert new gear case to the washer. Reinstall bolts and reconnect power supply wires.

12. ReInstall spaner nut inside the washer, reinstall wash plate.
Was this helpful?
Thank you for voting!
Faulty fill valve
18 of 22 people found this instruction helpful.
  • Marian from GREYBULL, WY
  • Really Easy
  • 30 - 60 mins
  • Nutdriver
Did troubleshooting after code LF showed on indicator window. Did troubleshooting; checked hoses for obstructions and small filters on inlets. All good. Ordered new fill valve. Came in a few days, good service.
Removed control panel top by removing screws on back of control panel, then by pushing putty knife under each side to rele ase spring clips. Carefully lifted cover and set onto lid. Photographed fill valve at left side as you are standing in front of machine. Removed screws with small ratchet. Carefully removed wires via clips. Lifted out valve.
Attached wires to new, set back into its place, replaced screws, tightened but not too tight so as to break part. Replaced control panel, pushing downward to engage spring clips, then replace screws on back.
Re attached hoses, ensuring they were on the correct sides, plugged machine into power, ran through cycle and VIOLA!! Worked perfectly!! After a couple weeks, still working perfectly! Was VERY happy it was only fill valve and not mother board as the cost was a fraction.
I found trouble shooting videos to be very helpful. Your service quite good.
Was this helpful?
Thank you for voting!
Washer making noise on spin cycle
20 of 29 people found this instruction helpful.
  • Roy from MAYNARDVILLE, TN
  • Really Easy
  • 30 - 60 mins
  • Nutdriver, Pliers, Screw drivers
Removed two screws on back of lid to raise top removed tub one bolt and one spanernut pulled tub lowered top reinstalled screws laid washer down to get to bottom of washer unplugged wiring removed four bolts pulled gear box and motor removed motor from gear box installed motor on new gear box reassemble washer
Was this helpful?
Thank you for voting!