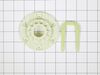
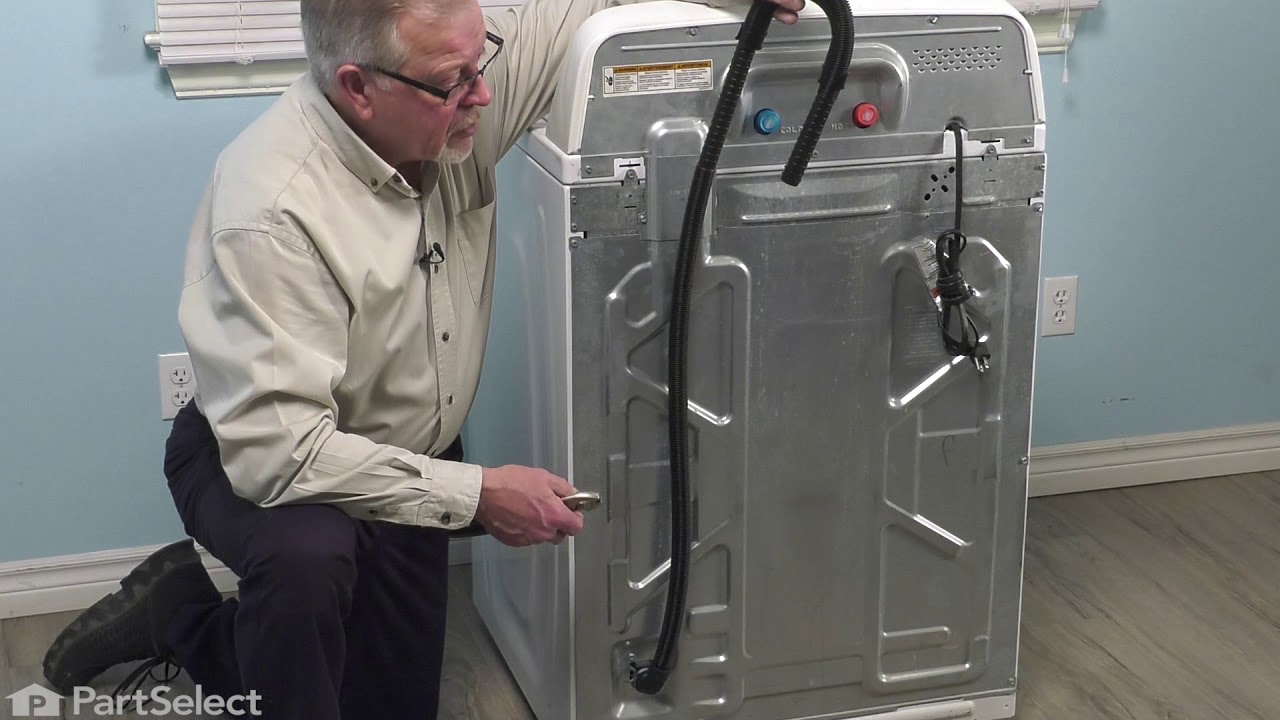
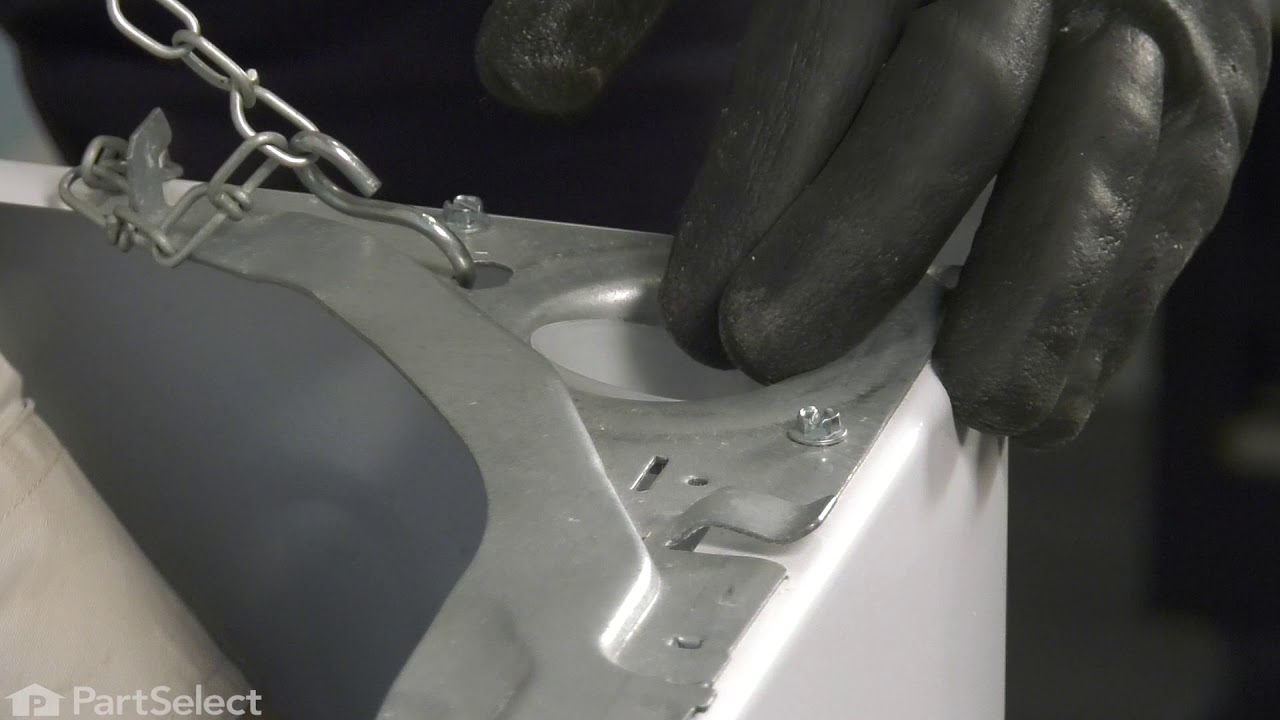
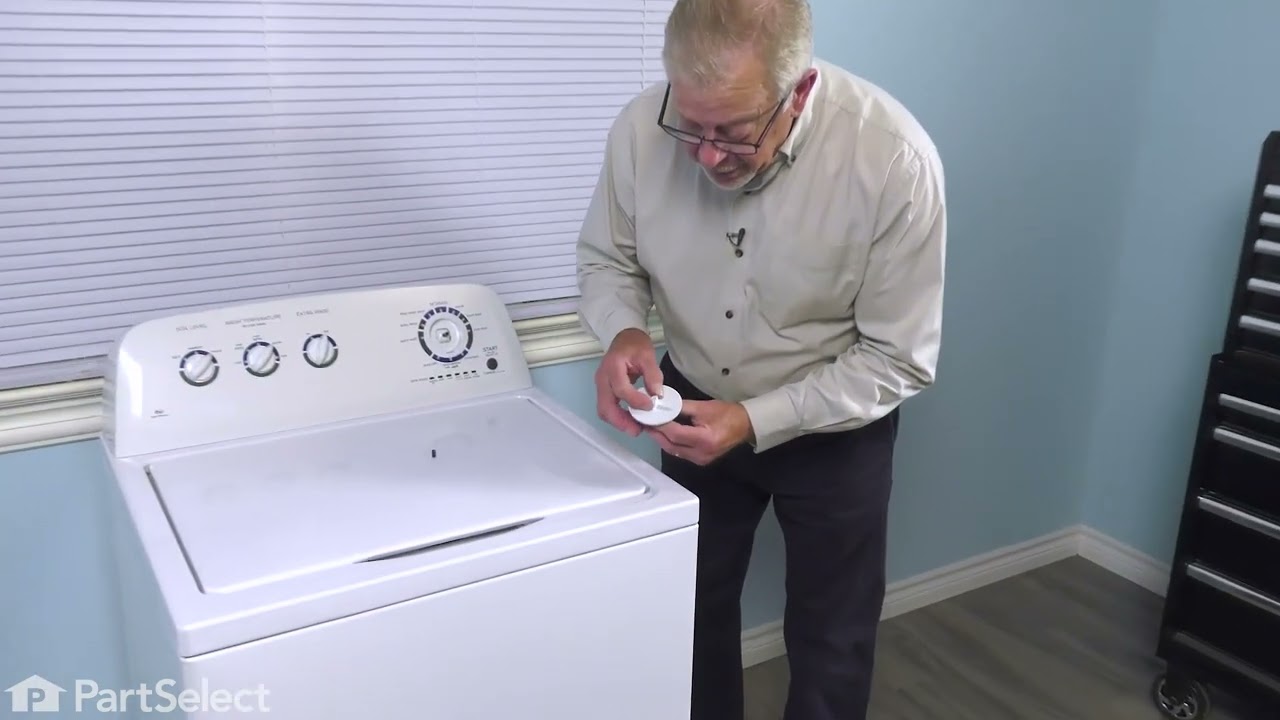
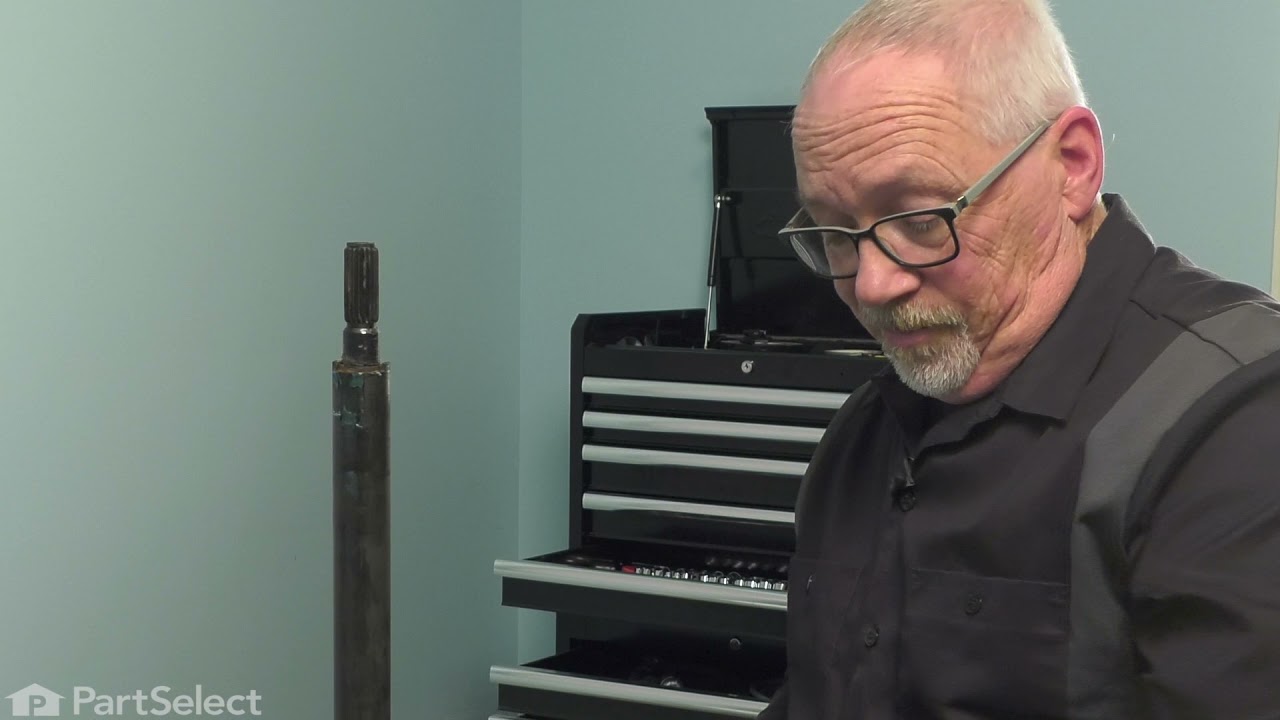
This drive hub kit helps your washer spin and agitate properly by connecting the basket to the motor. If your washer isn’t spinning, is noisy, or wobbles too much, this part might be the fix. It’s a s...
$38.95
In Stock
Order within the next 4 hrs and your part ships today!
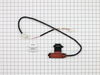
The point of the lid switch is for the tub to stop spinning when the washer lid is opened. It is a safety precaution just in case someone decides to stick their hand inside the washer while the tub is spinning.
$85.60
In Stock
Order within the next 4 hrs and your part ships today!
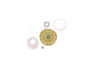
If your washer is noisy, spins slowly, or leaves clothes soaking wet, this splutch cam kit might be the fix. It helps your machine switch between washing and spinning by connecting the motor to the ba...
$52.95
In Stock
Order within the next 4 hrs and your part ships today!
If your washer isn’t spinning or making strange noises, the drive belt might be worn out. This genuine replacement belt connects the motor to the drum, helping it spin and tumble your clothes properly...
$39.95
In Stock
Order within the next 4 hrs and your part ships today!
If your washer won’t start, spin, or agitate, this shift actuator might be the fix. It helps switch between wash and spin cycles and controls the agitator’s movement. It fits many Whirlpool, Maytag, a...
$80.25
In Stock
Order within the next 4 hrs and your part ships today!
These parts are the replacement suspension rod supports for your washer. They are made of plastic and are approximately 1 ½ inches in diameter. This package will come with an 8-piece set of suspension...
$12.95
In Stock
Order within the next 4 hrs and your part ships today!
This part is the replacement lid latch or latch assembly for your top-load washer. The lid latch holds your washer door closed, and allows the washer to run its cycle. If the lid latch is damaged, you...
$48.35
In Stock
Order within the next 4 hrs and your part ships today!
This washing machine drain pump is a key component responsible for removing water from the tub during the drain cycle. Designed for select top-load washers, it ensures efficient water expulsion and su...
$161.19
In Stock
Order within the next 4 hrs and your part ships today!
Questions And Answers for 11028002012
Ask our experts a question about this model and we'll get back to you as soon as possible!
4 questions answered by our experts.
< Prev
1
Next >
Sort by:
Search filter:
Clear Filter
Your search term must have 3 or more characters.
Keep searches simple. Use keywords, e.g. "leaking", "pump", "broken" or "fit".
Sorry, we couldn't find any existing answers that matched.Try using some different or simpler keywords, or submit your new question by using the "Ask a Question" button above!
Sharon
September 14, 2023
I need a replacement knob.
Mine is plastic and it is broken.
For model number 11028002012
Hi Sharon, thank you for contacting us. We have found the knob that fits your model is part number PS11751154. Thank you for the question!
I am looking to download the operation directions that originally came with this product. I purchased a home with a fairly new washer & dryer in it. I cannot find the instructions that would have come with it.
For model number 11028002012
Hello Theresa, Thank you for the question. I suggest contacting Kenmore for the manuals as PartSelect.com just has the parts. Hope this helps!
Was this helpful?
Thank you for voting!
Petre
May 8, 2024
Ser C33730269 Date of manufacturing please, Thank you
For model number 11028002012
Hi Petre, thank you for your inquiry. Based on our research, your model was manufactured in September 2013. We hope that helps!
Was this helpful?
Thank you for voting!
Micheal
August 27, 2025
Very loud during the spin cycle and spinning really fast.
For model number 11028002012
Hello Micheal, thank you for reaching out. The Kenmore washer is very loud during the spin cycle and spins unusually fast, which could be due to an unbalanced load or a problem with the gearcase. An unbalanced load can cause excessive vibration and noise, especially during high-speed spins. To resolve this, make sure the clothes are evenly distributed inside the drum and avoid overloading the washer. If balancing the load doesn't fix the issue, the problem may lie with the gearcase, which is responsible for controlling the washer’s spin and agitation functions. A faulty gearcase can cause abnormal spinning speeds and loud noises, and may require replacement, the part number is PS16220910. We hope this solves your problem!
Was this helpful?
Thank you for voting!
< Prev
1
Next >
✖
Ask a Question
Ask our experts a question on this model and we'll respond as soon as we can.
A detailed Service Technician Service Manual is hidden inside the machine on the front panel. It is hidden by the bleach dispenser input. It gives a list of fault codes and instructions for calibration after repair, resetting fault codes, and a manual test mode for stepping the machine through each mode on command. The Tachometer failed which would not let the machine come up to maximum spin speed. The tachometer is part of the solenoid actuator that shifts the transmission. It is not specifically called out in the manual. Any failure causes the lid lock light to blink which gives the appearance of a lid lock failure
The instructions that came with the part were worthless. Essentially, unplug, put in new part, plug it back in. I spent a considerable amount of time on the internet and finally found a video showing how to open the top. Unlike other models, it is held down by clamps in the back rather than clips in the front. Once finding this information the installation was simple. Remove the clamps and the back of the console, slide the top forward and lift, remove and replace the lock and reassemble. You don't even have to remove the hoses.
Well, first investigated and found loose nut on drive clutch. First take off the two screws with nut drive then cover off using a screwdriver blade to snap off the cover. Then socket ratchet to take off the nut on drive clutch. take off belt by slowly rotating the drive gear. two screws that hold the electronics to the upper drive clutch and put aside, so you can snap off the cover for drive clutch on upper part with screwdriver and off the parts come and install whole unit back as took it apart. Line up the new upper clutch so that is position as was before. (Using parts diagram helps a lot as www. partsselect.com has for you or Maytag.com.) Then put the electronic part board back on and the gear and nut. Make sure it is tight by several attempts to make sure it's snugged up good and then slowly roll belt back on the pulley and motor drive. Put your cover guard back on with two screws and done.