


 My Orders


11027086600 Kenmore Washer - Overview
Diagrams for 11027086600
See every part. Know exactly what you need.


Enter a part description. DIY Heroes keep it simple, eg. "belt" or "pump".
Search filter:
Clear Filter
Your search term must have 3 or more characters.

No Longer Available
Touch-Up Paint - White
Part #72017
This 18 ml bottle of white appliance touch-up paint is used to cover scratches or marks on your appliance. The white touch-up paint can be used on refrigerators, microwaves, ranges, clothes dryers, and freezers. This is a genuine OEM part and includes a brush applicator. Please remember to wear gloves to protect your hands when applying this paint.

$154.38
In Stock
Drain Pump
Part #W10536347
This pump helps expel water from the washing machine and is activated after the spin speed is maintained for a specific period of time.

$52.45
In Stock
Basket Hub Kit
Part #W10820039
This kit includes one driver hub and two driven basket hubs. The basket hub is located under the agitator. If your washer is not agitating or spinning properly, the hubs will need to be replaced.

$166.69
In Stock
Tub Seal and Bearing Kit
Part #W10435302
This washer tub seal and bearing kit is designed to restore smooth, watertight operation in top-load washing machines by replacing worn internal components that support the wash basket and drive system. The assembly helps eliminate common problems such as loud grinding or roaring noises during spin cycles, water leaking from beneath the t...Read moreub, and performance issues related to improper spinning or balance errors. By renewing the tub seal, bearings, and related drive components together, the kit helps stabilize the basket, reduce vibration, and extend the overall life of the washer. Installation is considered a complex repair requiring mechanical skill and proper tools, but when completed correctly, it returns the washer to quieter, more reliable operation.
Read less

$87.03
In Stock
Suspension Rod Kit - Set of 4
Part #W10820048
The suspension rod kit supports the wash drum and keeps it stable during unbalanced loads. If your washer is making a loud banging sound during the washing cycle, check to ensure the suspension rods are undamaged and working properly. This kit comes with 4 suspension rods, 4 bushings, and 4 suspension balls.

$138.38
In Stock
Washer Lid Lock Assembly
Part #WPW10619844
This lid lock helps keep your washer running safely and smoothly. It locks the lid during cycles so the machine won’t spin or wash with the lid open. If your washer won’t start or the lid won’t close properly, this part could be the fix. It’s designed to work with many models and helps your washer know when the lid is open or shut. Easy to install with basic tools—just make sure the washer is unplugged first.

$17.26
In Stock

$11.52
In Stock
Washer Hose Clamp
Part #WP596669

$9.85
In Stock

$15.68
In Stock

$16.55
In Stock
Washer Hinge
Part #WP8563964
This is a replacement lid hinge for your washer. It is approximately 2.5 inches in length and 1.5 inches in width. The lid hinge is what the lid for your washer pivots on. If the lid hinge is damaged, the washer lid may not open or close properly. The lid hinge is screwed into the washer lid. You will need a Phillips-head screwdriver to d...Read moreetach it. There will be a lid hinge on either side of the lid, so be sure to determine if you need to replace both hinges, or only one.
Read less

$11.61
In Stock
Common Symptoms of the 11027086600
How this model fails, and the parts that fix it.
Leaking
Fixed by
these parts
these parts


Show All
Will not drain
Fixed by
these parts
these parts

Show All
Will not agitate
Fixed by
these parts
these parts


Show All
Shaking and Moving
Fixed by
these parts
these parts


Show All
Lid or door won’t close
Fixed by
these parts
these parts


Show All
Will Not Start
Fixed by
these parts
these parts

Show All
Spinning Issues
Fixed by
these parts
these parts

Show All
Locking Issues
Fixed by
these parts
these parts
Show All
Noisy and Marks Left on Clothes
Fixed by
these parts
these parts
Show All
Spins slowly
Fixed by
these parts
these parts
Show All
Draining Issues
Fixed by
these parts
these parts
Show All
Leaks water
Fixed by
these parts
these parts
Show All
Watch our pros, then fix it yourself.
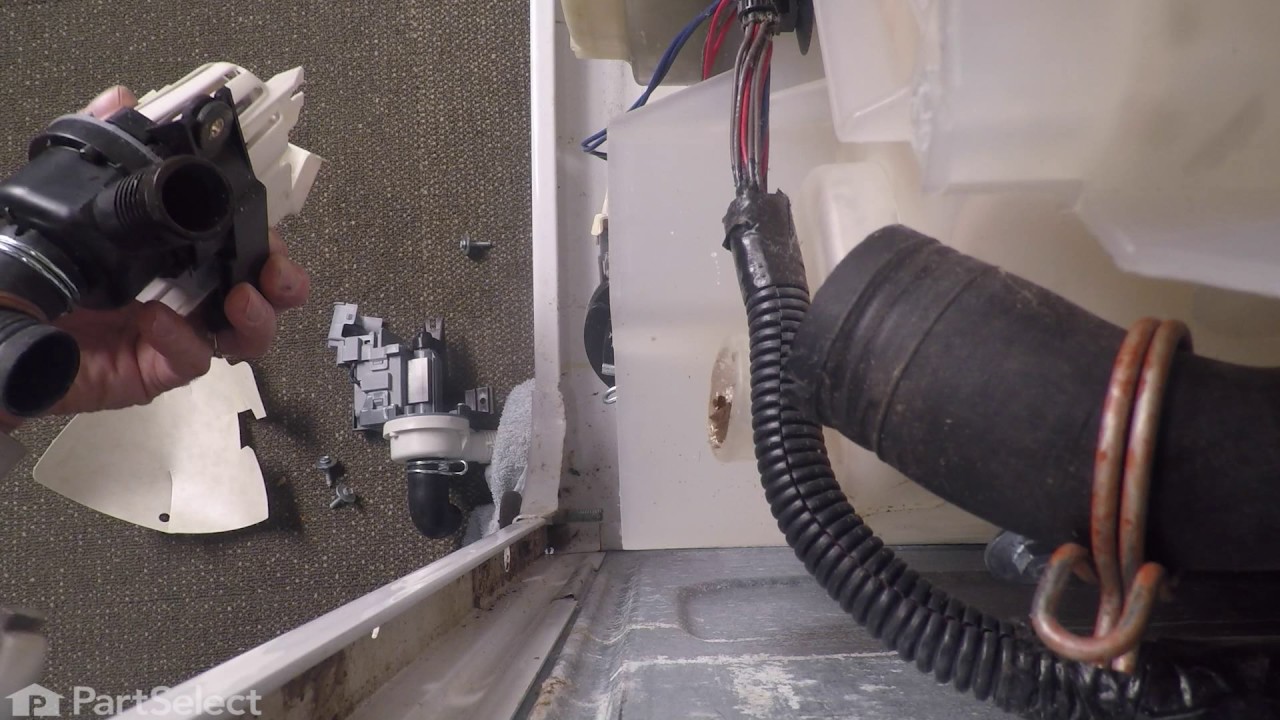

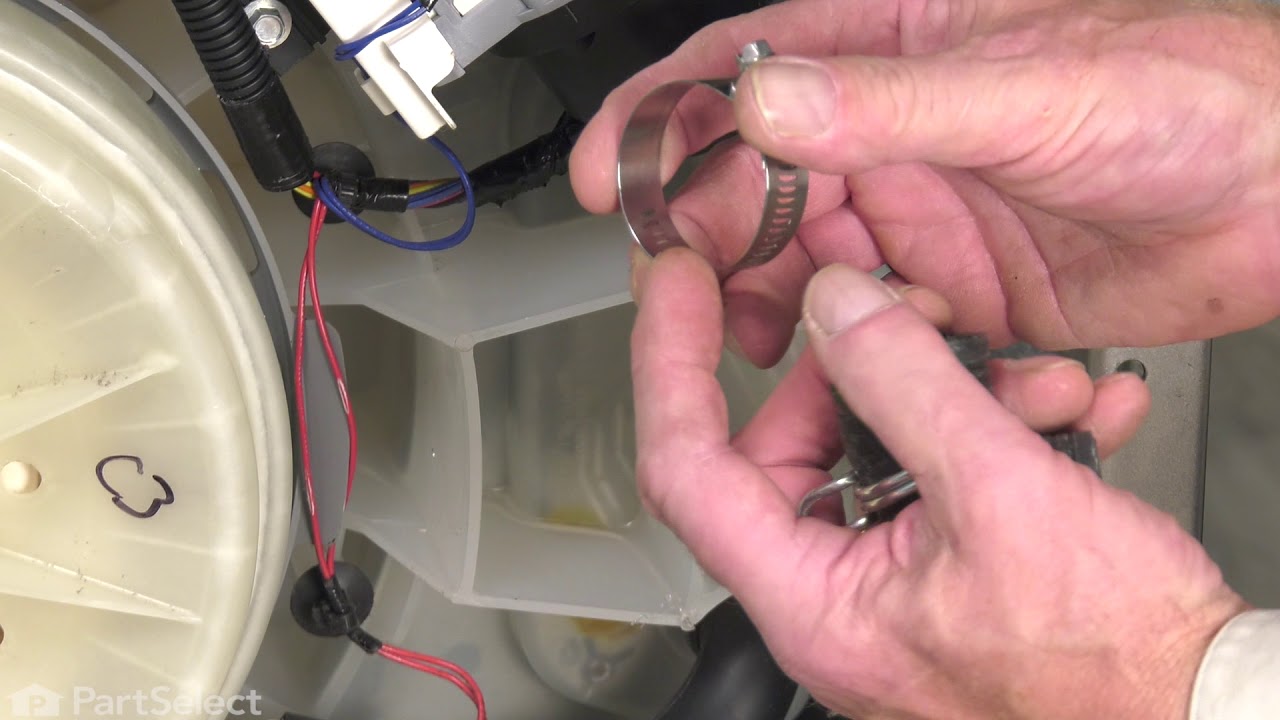


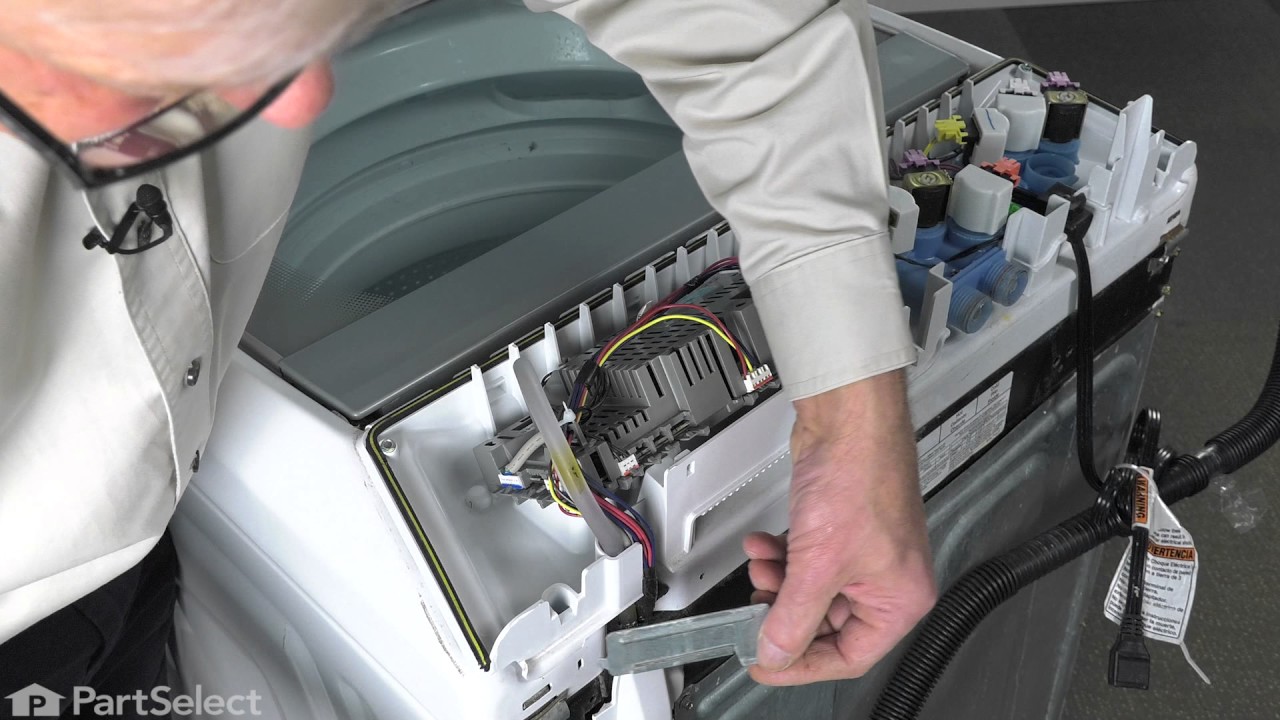
See how others fixed this model. Time, tools, difficulty, and steps that lead to victory!
View More