This 18 ml bottle of white appliance touch-up paint is used to cover scratches or marks on your appliance. The white touch-up paint can be used on refrigerators, microwaves, ranges, clothes dryers, and freezers. This is a genuine OEM part and includes a brush applicator. Please remember to wear gloves to protect your hands when applying this paint.
This is a replacement lid hinge for your washer. It is approximately 2.5 inches in length and 1.5 inches in width. The lid hinge is what the lid for your washer pivots on. If the lid hinge is damaged, the washer lid may not open or close properly. The lid hinge is screwed into the washer lid. You will need a Phillips-head screwdriver to d...Read moreetach it. There will be a lid hinge on either side of the lid, so be sure to determine if you need to replace both hinges, or only one.
This lid lock assembly is designed for use in various top-load washing machines and serves as a critical safety feature. Located beneath the washer lid, it includes the locking mechanism and wiring harness that work together to prevent the lid from opening during operation. This helps protect users from exposure to moving parts, hot water...Read more, or detergent spills. If the lid lock is faulty, the washer may fail to start or stop unexpectedly mid-cycle. Replacing the assembly is essential to restore safe and reliable performance. This OEM part is sold as a complete unit and is compatible with a range of washer models.
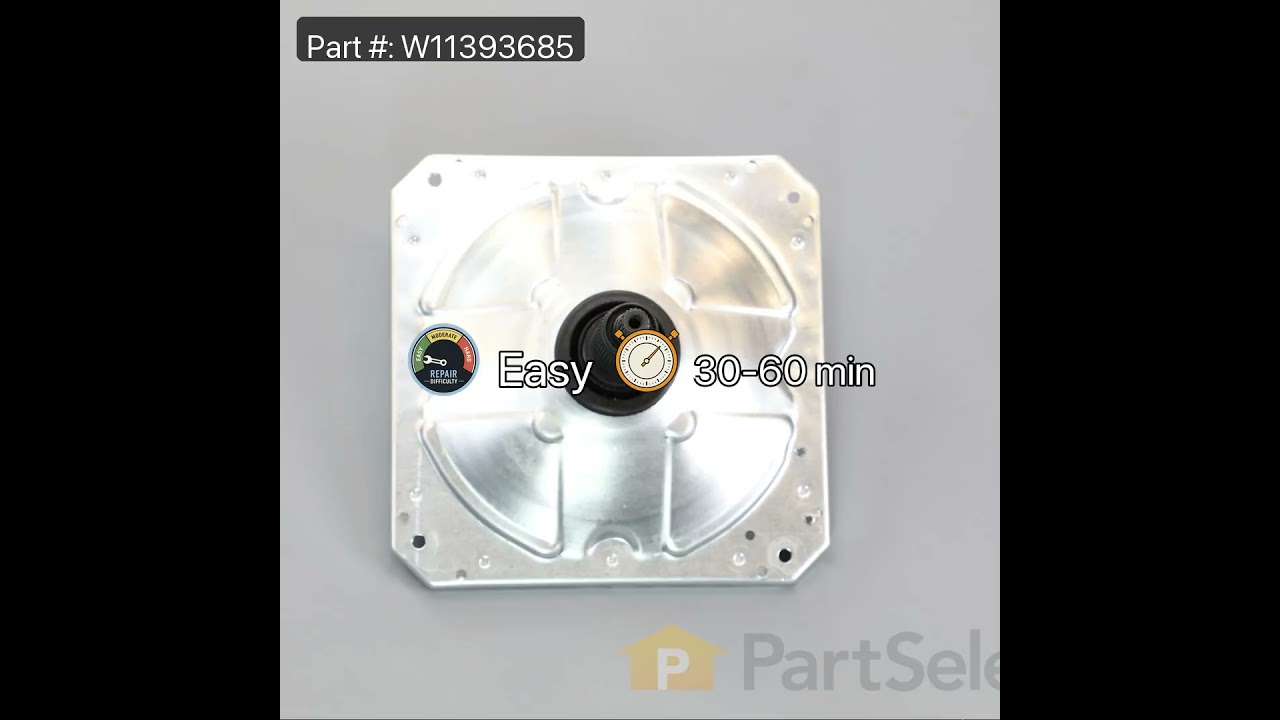
If your washer isn’t spinning, agitating, or cleaning clothes like it used to, the gearcase might be the issue. This part powers the agitator and spin basket, helping your machine run smoothly. It fits many Whirlpool, Maytag, and KitchenAid models and can fix problems like loud noises or a washer that won’t spin. Be sure to unplug your appliance before starting the repair.
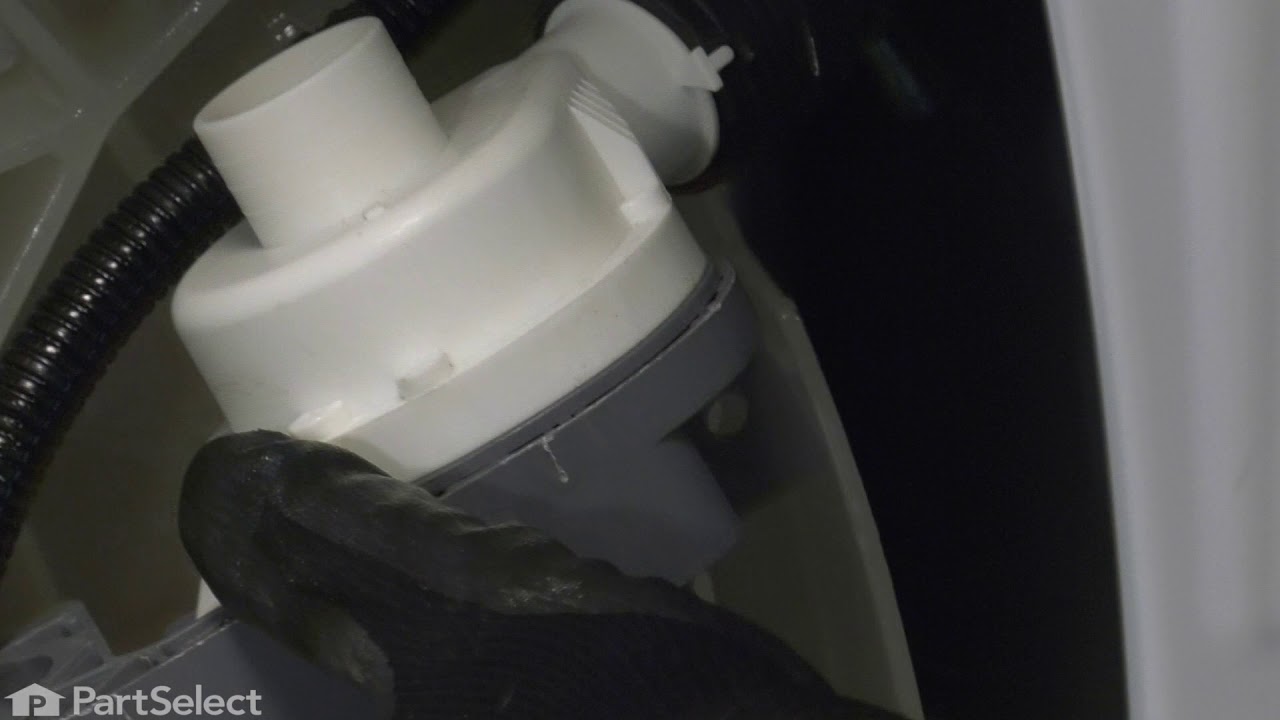
This drain pump is engineered for top-load washing machines and plays a vital role in the appliance’s drainage system. During the drain cycle, it efficiently removes water from the washer tub and channels it through the drain hose into your home’s plumbing. If your washer is experiencing slow drainage, unusual grinding or rattling noises,...Read more or standing water at the end of a cycle, the pump may be malfunctioning. Common causes include wear over time, electrical issues, physical damage, or clogs from small items like coins or buttons. Replacing a faulty drain pump can restore proper function and prevent further issues with your machine’s performance.
Ask our experts a question about this model and we'll get back to you as soon as possible!
We may have answered a similar question already! Search questions and answers left by others using simple keywords like "fit", "broken", "easy", or "quality" to find questions that match.
Search filter:
Clear Filter
Your search term must have 3 or more characters.
Sort by:
Prev
1
Next
Sorry, we couldn't find any existing answers that matched.Try using some different or simpler keywords, or submit your new question by using the "Ask a Question" button above!
Davonne - For model number 11026132412
May 8, 2023
I need a computer board for the washer
Hello Davonne, thank you for contacting us. According to our research, the compatible control board for your washer model is part number PS12114228. Please reach out to customer service if you need help placing an order, anyone will be happy to assist you!
What would cause a slow drip coming out of the dispenser area into the basket. I have noticed recently that my empty washer now leaks/drips from the dispenser area.
Hi John, thank you for reaching out. The issue seems to be with the dispenser drawer, part number PS11770182. You may need to replace it to fix the issue. We hope this solves your problem!
See how others fixed this model. Time, tools, difficulty, and steps that lead to victory!View More
Search repair tips from other customers using simple keywords like "replace", "fit", "remove", "inspect". DIY doesn't mean you have to do it alone!
Search filter:
Clear Filter
Your search term must have 3 or more characters.
Loud grinding noise when the washer was in use.
70 of 85 peoplefound this instruction helpful.
Charles from STARKVILLE, MS
Easy
1- 2 hours
Nutdriver, Screw drivers, Socket set
1.) disconnect power to your washer. Turn off water supply and disconnect from the washer.
open the washer top and remove plastic cap from the wash plate
2.) using 7/16 socket, remove bolt from the wash plate. If you can't remove it with a socket , I recommend using impact wrench.
3.) remove wash plate
... Read more( you might need to spray penetrating oil or wd40 inside the bolt hole to loosen it. Check to make sure the wash plate gear grooves are not worn down, if they are, replace it.
4.) using your Maytag specific spaner nut wrench, remove the spaner nut from the shaft of the gear case. This should be right underneath where the wash plate was. If you can't turn it by hand , use a rubber mallet or hammer to encourage it.
5.) some people remove the wash basket at this point. I don't think it is necessary.
6.) close your washing machine. Tape the top closed to keep it from flying open. Tilt your washer back and prop it up where you have access to the underside of the washing machine.
7) remove motor rotor bolt and pull rotor off of the motor.
8.) disconnect the two wire connectors that supply power to motor. using a socket, remove bolts that are keeping motor attached to the gear case.
9.) Now that the gear case is all the is remaining on the underside, you can remove the 4 bolts that are holding the gear case to the washer. Now try to pull gear case out.
10.) if gearcase will not pull out, lower washer back to upright position. Spray penetrating oil or wd40 around the shaft of the gearcase and allow it to sit for 5-10 minutes. Using a hammer, lightly tap on the shaft of the gearcase and it should now fall out. ( you might have to apply penetrating oil again, or apply more force with the hammer.
11.) reinstall motor to new gearcase. Insert new gear case to the washer. Reinstall bolts and reconnect power supply wires.
12. ReInstall spaner nut inside the washer, reinstall wash plate.
Read less
Was this helpful?
Thank you for voting!
Washer making noise on spin cycle
20 of 29 peoplefound this instruction helpful.
Roy from MAYNARDVILLE, TN
Really Easy
30 - 60 mins
Nutdriver, Pliers, Screw drivers
Removed two screws on back of lid to raise top removed tub one bolt and one spanernut pulled tub lowered top reinstalled screws laid washer down to get to bottom of washer unplugged wiring removed four bolts pulled gear box and motor removed motor from gear box installed motor on new gear box reassemble washer
Was this helpful?
Thank you for voting!
Worn out splines connecting transmission driveshaft to agitator.
13 of 15 peoplefound this instruction helpful.
Thomas from MILLBURY, OH
Easy
30 - 60 mins
Nutdriver, Pliers, Screw drivers, Socket set
DIY'er working on a Maytag Centennial type washing machine should be aware that replacing a a transmission or agitator due to worn out splines is only half a job done well. I originally replaced my transmission due to worn splines, only to discover later that the worn agitator splines caused the new transmission splines to wear out at an
... Read more accelerated rate. Transmission and Agitator should be replaced together, along with a new Agitator mounting bolt. There are plenty of video's online of how to do this repair so I won't get into that here. Just wanted to drop the above sage advice. Transmissions for these washers aren't cheap.



 My Orders