


 My Orders


11020102312 Kenmore Washer - Overview
Diagrams for 11020102312
See every part. Know exactly what you need.


Enter a part description. DIY Heroes keep it simple, eg. "belt" or "pump".
Search filter:
Clear Filter
Your search term must have 3 or more characters.

$86.45
In Stock
Lid Latch Assembly
Part #W10404050
The point of the lid switch is for the tub to stop spinning when the washer lid is opened. It is a safety precaution just in case someone decides to stick their hand inside the washer while the tub is spinning.

$37.25
In Stock
Washer Drain Hose
Part #W11244231
The drain hose carries used water from the washer to your house drain.

$48.35
In Stock
Lid Latch Strike
Part #WPW10240513
This part is the replacement lid latch or latch assembly for your top-load washer. The lid latch holds your washer door closed, and allows the washer to run its cycle. If the lid latch is damaged, your washer door may not close properly and you may not be able to run your washer. The latch is found under the lid and can be screwed out and...Read more replaced. You will need a Phillips-head screwdriver for this repair. This part is sold individually and is and OEM part from the manufacturer.
Read less

$9.85
In Stock
Lid Hinge Mounting Screw
Part #WPW10119828
Sold individually. NOTE: The color on the screw may not be the same as the image, but will still function the same.

$10.95
In Stock
Lid Bumper
Part #WP9724509
This gray and white washer lid bumper contains a rubber bottom and is sold individually.

$15.07
In Stock
Washer Hose Clamp
Part #WP356138
This clamp helps to prevent leaking by holding the end of water hose in place.

$14.99
In Stock

$10.95
In Stock
Refrigerator Single Hex Head Screw
Part #WP489069
Sold individually. The size of this screw is 1/4" hex head and 10-12 x 1/2".

$14.60
In Stock
Bezel
Part #WPW10392041

$15.50
In Stock

$17.55
In Stock

$9.85
In Stock
Washer Screw
Part #WPW10273971
Common Symptoms of the 11020102312
How this model fails, and the parts that fix it.
Will Not Start
Fixed by
these parts
these parts


Show All
Lid or door won’t close
Fixed by
these parts
these parts

Show All
Leaking
Fixed by
these parts
these parts


Show All
Locking Issues
Fixed by
these parts
these parts
Show All
Will not drain
Fixed by
these parts
these parts
Show All
Will not agitate
Fixed by
these parts
these parts
Show All
Spinning Issues
Fixed by
these parts
these parts
Show All
Draining Issues
Fixed by
these parts
these parts
Show All
Cycle Not Advancing
Fixed by
these parts
these parts
Show All
Shaking and Moving
Fixed by
these parts
these parts

Show All
Spins slowly
Fixed by
these parts
these parts
Show All
Watch our pros, then fix it yourself.
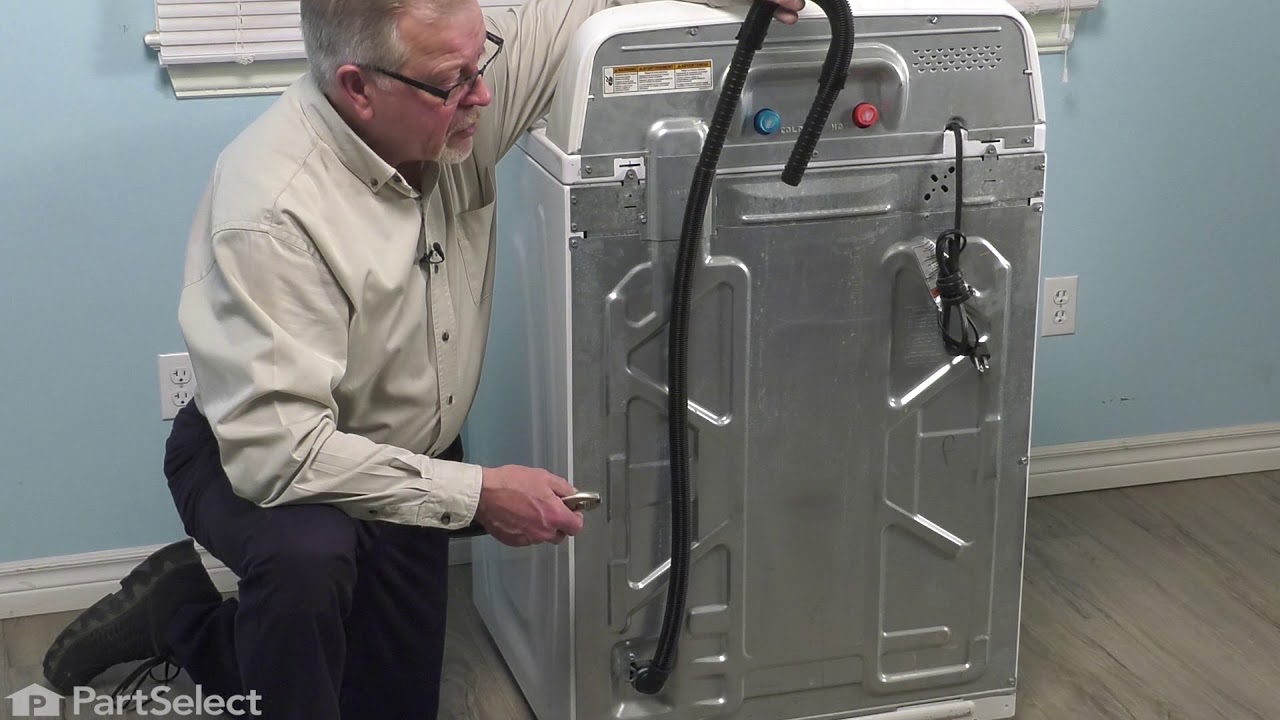
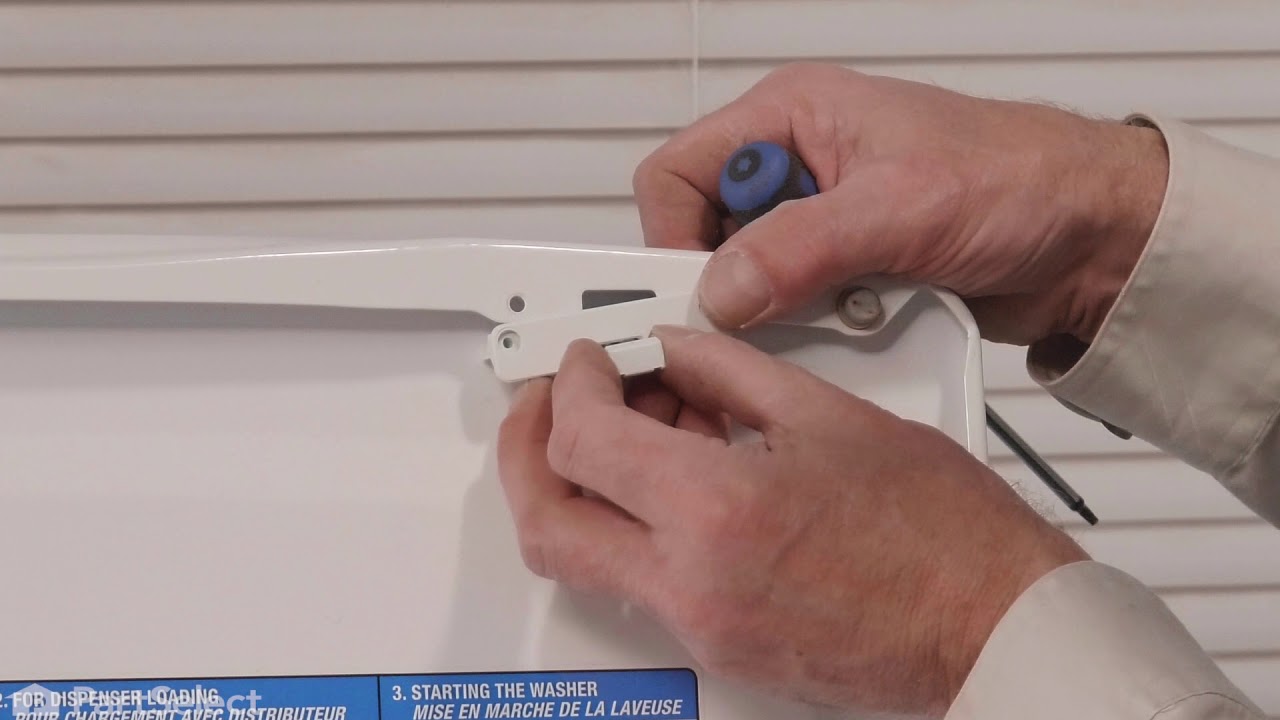
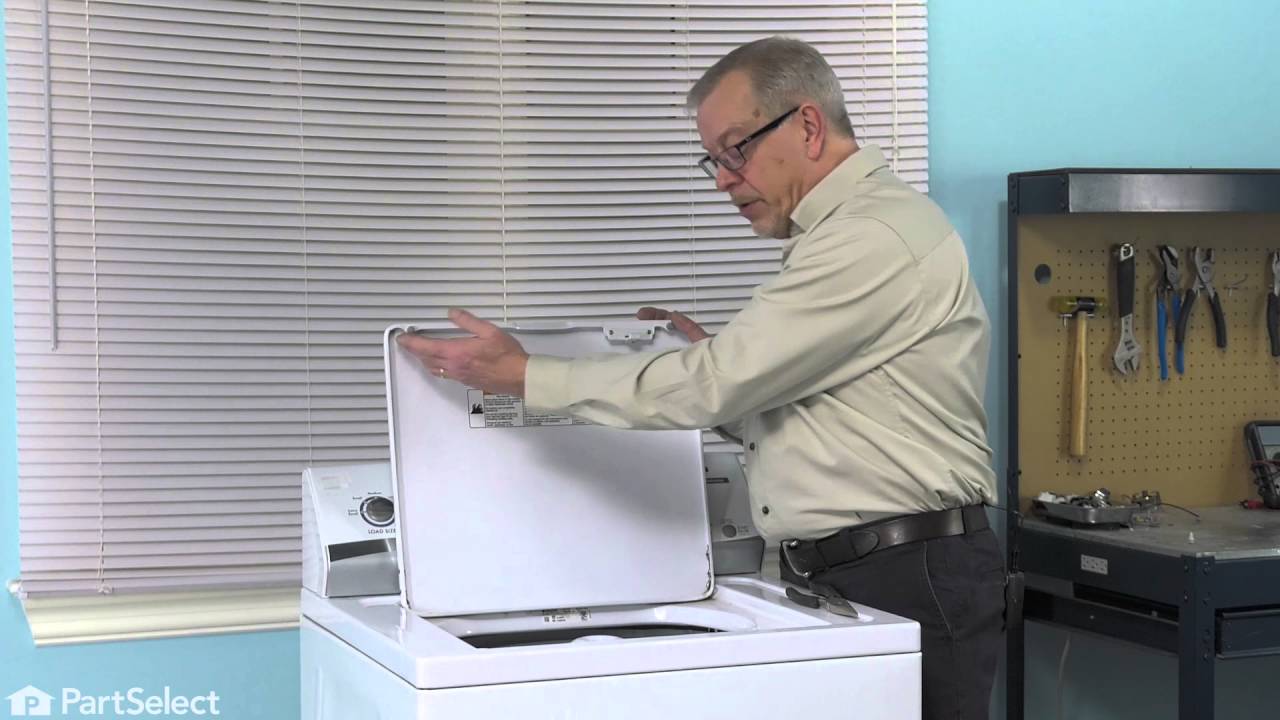

See how others fixed this model. Time, tools, difficulty, and steps that lead to victory!
View More