


 My Orders


11020102310 Kenmore Washer - Overview
Diagrams for 11020102310
See every part. Know exactly what you need.


Enter a part description. DIY Heroes keep it simple, eg. "belt" or "pump".
Search filter:
Clear Filter
Your search term must have 3 or more characters.

$6.55
In Stock
Agitator Directional Cogs
Part #80040
These agitator directional cogs are commonly referred to as dog ears. They come four to a package and are usually used with direct drive washing machines.

No Longer Available
Touch-Up Paint - White
Part #72017
This 18 ml bottle of white appliance touch-up paint is used to cover scratches or marks on your appliance. The white touch-up paint can be used on refrigerators, microwaves, ranges, clothes dryers, and freezers. This is a genuine OEM part and includes a brush applicator. Please remember to wear gloves to protect your hands when applying this paint.

$86.45
In Stock
Lid Latch Assembly
Part #W10404050
The point of the lid switch is for the tub to stop spinning when the washer lid is opened. It is a safety precaution just in case someone decides to stick their hand inside the washer while the tub is spinning.

$53.48
In Stock
Washer Drive Pulley
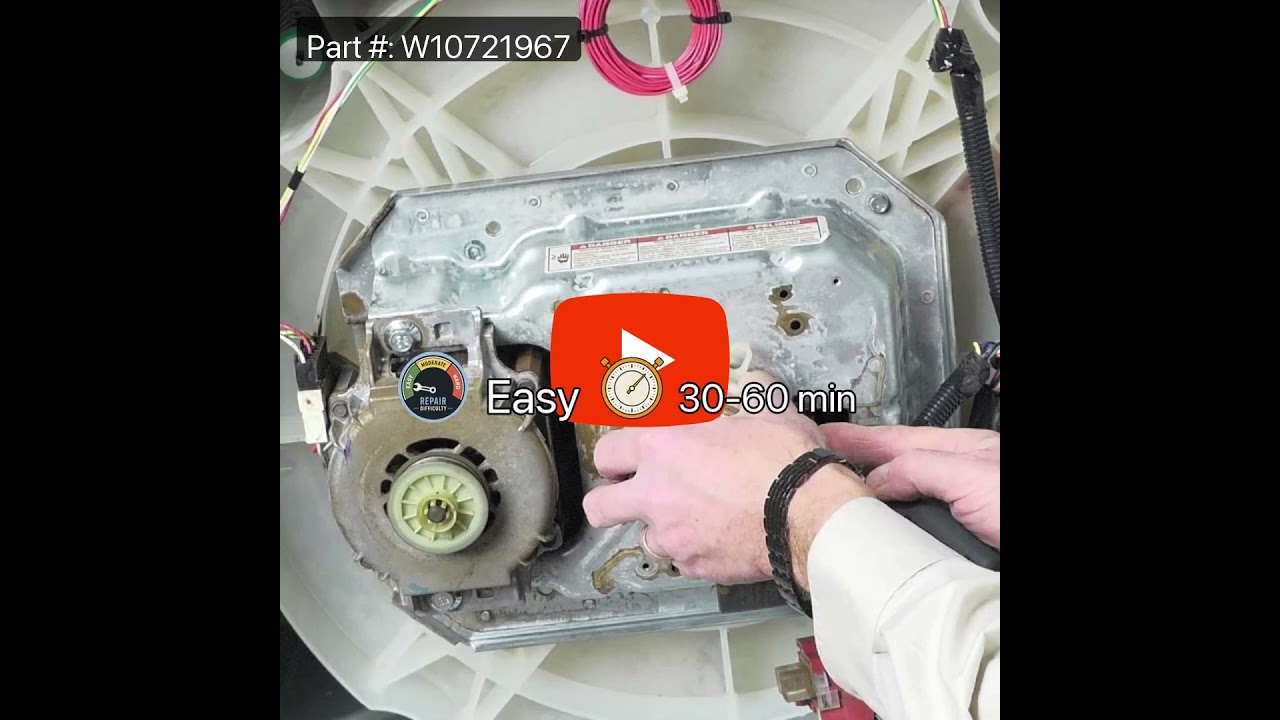
Part #W10721967
If your washer is noisy, spins slowly, or leaves clothes soaking wet, this splutch cam kit might be the fix. It helps your machine switch between washing and spinning by connecting the motor to the basket. The kit includes everything you need—clutch parts, pulley, gear, and more—but make sure it fits your model before ordering. It’s a simple repair that can get your washer back to working like new.

$9.85
In Stock
Thrust Spacer
Part #285587
This white thrust spacer is made of plastic and is also commonly referred to as a retainer ring. It is used in the agitator assembly of many direct drive washing machine models. This is the retaining ring for inside of agitator. May need agitator grease for repair.

$40.34
In Stock
Washer Drive Belt
Part #WPW10006384
If your washer isn’t spinning or making strange noises, the drive belt might be worn out. This genuine replacement belt connects the motor to the drum, helping it spin and tumble your clothes properly. It fits many Whirlpool, Maytag, and Kenmore models, but be sure to check your model number before ordering. A broken belt can also cause a...Read more burning smell, so replacing it can get your washer back in shape and running smoothly.
Read less

$50.76
In Stock
Agitator Repair Kit
Part #285748
This agitator repair kit comes with a long cam, a thrust spacer and four dogs ears (agitator cogs). This repair kit is used to move the upper agitator and it connects the base of the agitator with the agitator top (mover). This part has been updated by the manufacture.

$80.52
In Stock
Washer Shift Actuator 120v 60hz
Part #WPW10006355
If your washer won’t start, spin, or agitate, this shift actuator might be the fix. It helps switch between wash and spin cycles and controls the agitator’s movement. It fits many Whirlpool, Maytag, and Kenmore models. Easy to install with basic tools—just unplug the washer and turn off the water first. Sold individually.

$123.93
In Stock
Suspension Rod Kit
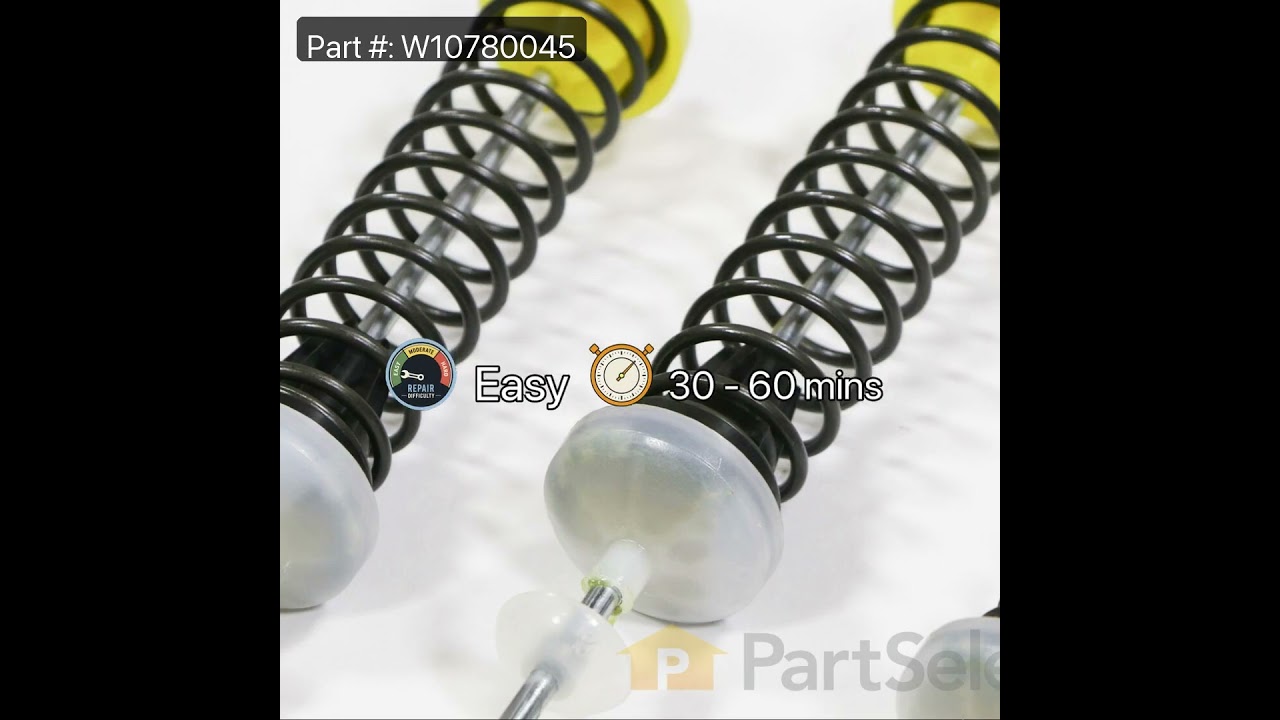
Part #W10780045
This suspension rod kit includes four rods that stabilize the wash tub, reducing vibrations and movement during cycles. It is compatible with a range of washing machines and helps improve performance by addressing unbalanced loads or excessive shaking. Unplug the washer before installation and consult the user manual for guidance.

$17.26
In Stock

$97.10
In Stock
Washer Water Inlet and Valve Assembly
Part #WPW10683603
If your washer isn’t filling properly, keeps running water, or has a leak at the back, the water inlet valve might be the problem. This part controls how much hot and cold water enters the machine and helps keep the temperature balanced. It also makes sure the washer doesn’t overfill. Swapping out a worn valve can fix issues like slow fills, leaks, or uneven water temps and get your laundry routine back on track.

$29.65
In Stock
Drive Block - 2 5/16 Inch High
Part #WP389140
If your washer is noisy, shaking, or leaving clothes wet, the drive block might need replacing. This part connects the basket to the drive shaft so it can spin properly during cycles. It’s built for large-capacity washers and measures about 2-5/16 inches high. Swapping it out is straightforward with basic tools—just make sure the washer i...Read mores unplugged and water is turned off before you start. A quick fix for smooth, efficient washing again.
Read less
Common Symptoms of the 11020102310
How this model fails, and the parts that fix it.
Will not agitate
Fixed by
these parts
these parts


Show All
Spinning Issues
Fixed by
these parts
these parts


Show All
Leaking
Fixed by
these parts
these parts


Show All
Shaking and Moving
Fixed by
these parts
these parts

Show All
Will Not Start
Fixed by
these parts
these parts


Show All
Spins slowly
Fixed by
these parts
these parts
Show All
Will not drain
Fixed by
these parts
these parts

Show All
Lid or door won’t close
Fixed by
these parts
these parts

Show All
Noisy and Marks Left on Clothes
Fixed by
these parts
these parts
Show All
Burning smell
Fixed by
these parts
these parts
Show All
Locking Issues
Fixed by
these parts
these parts
Show All
Cycle Not Advancing
Fixed by
these parts
these parts
Show All
No hot or cold water
Fixed by
these parts
these parts
Show All
Marks left on clothes
Fixed by
these parts
these parts
Show All
Water Filling Issues
Fixed by
these parts
these parts
Show All
Draining Issues
Fixed by
these parts
these parts
Show All
Does not dispense fabric softener or detergent
Fixed by
these parts
these parts
Show All
Not cleaning dishes properly
Fixed by
these parts
these parts
Show All
Timer Not Working
Fixed by
these parts
these parts

Show All
Watch our pros, then fix it yourself.
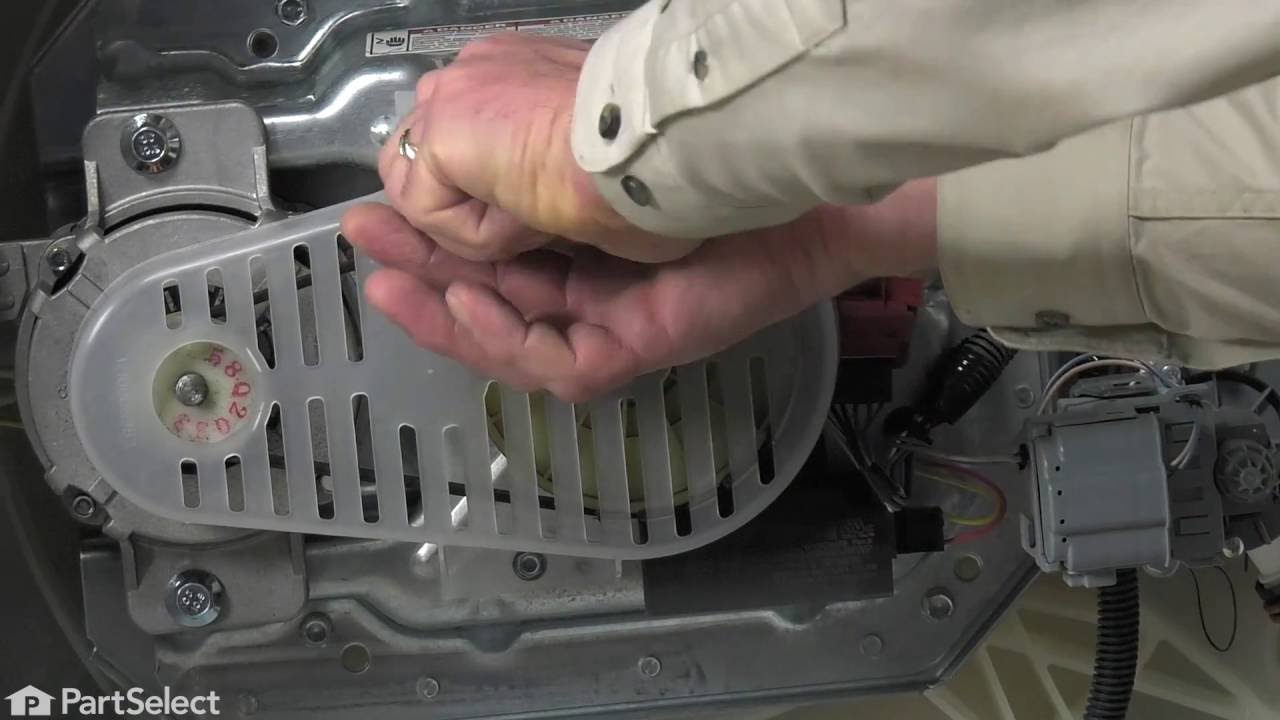
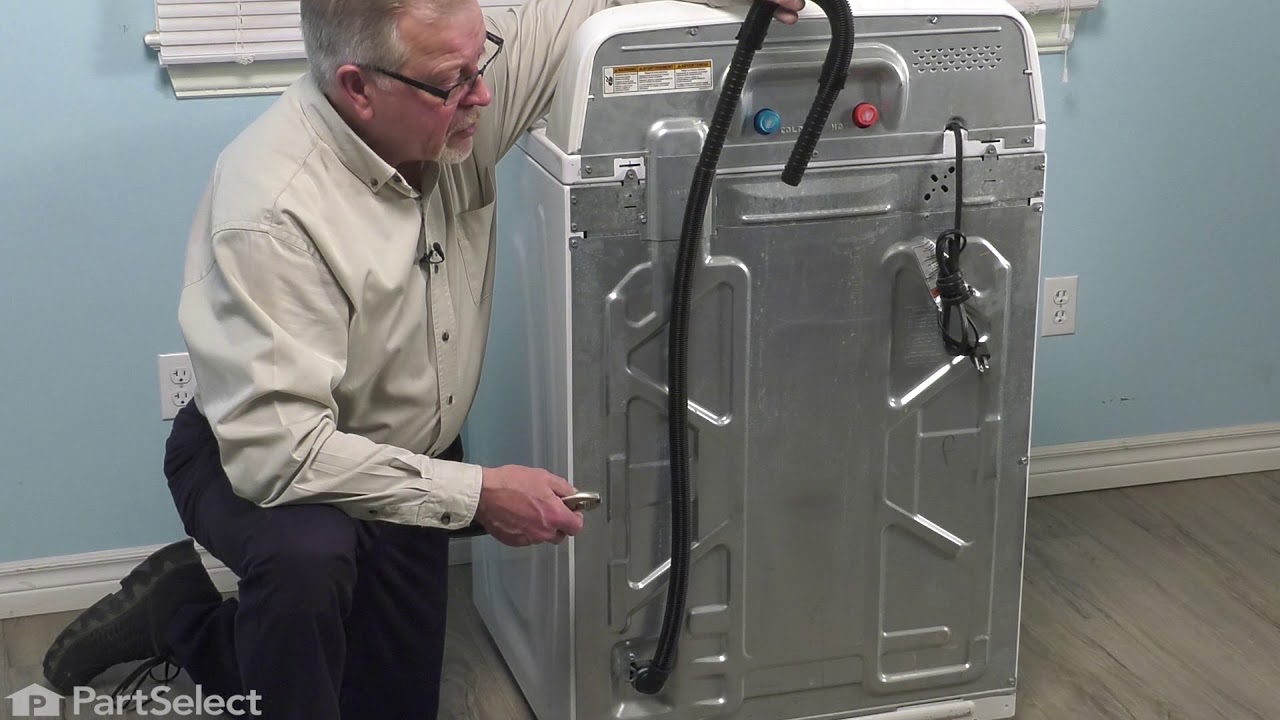
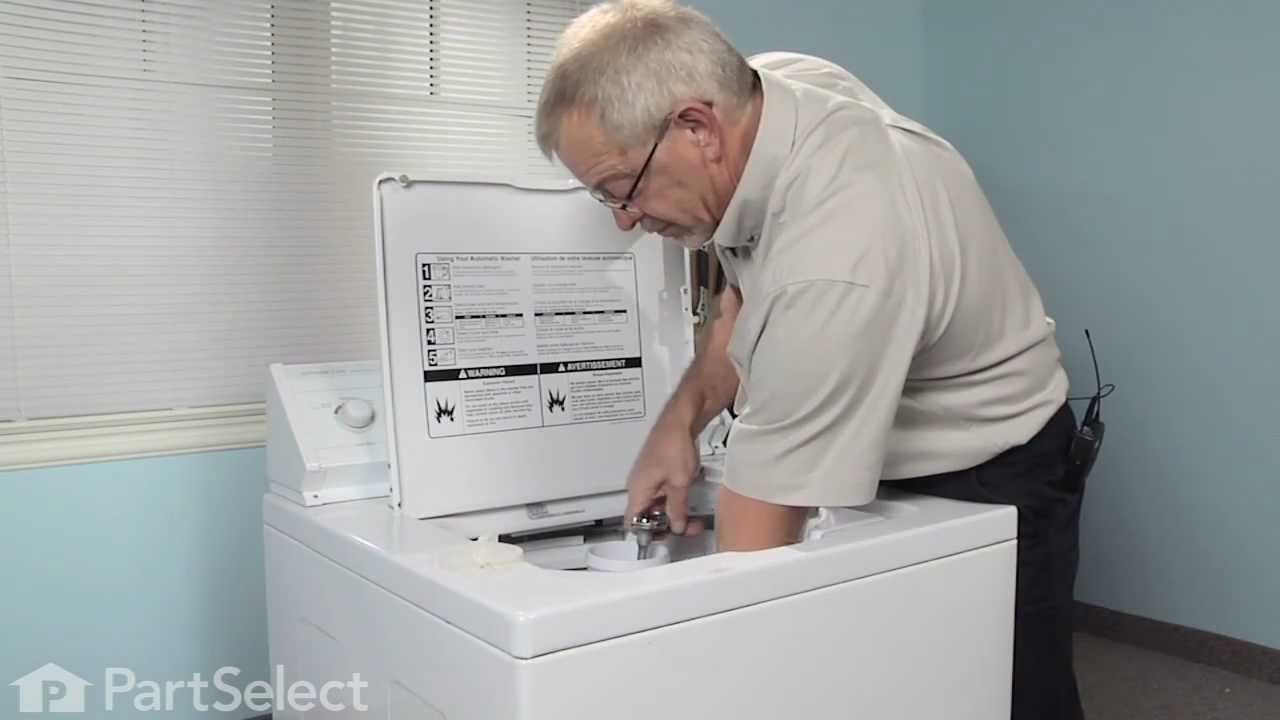
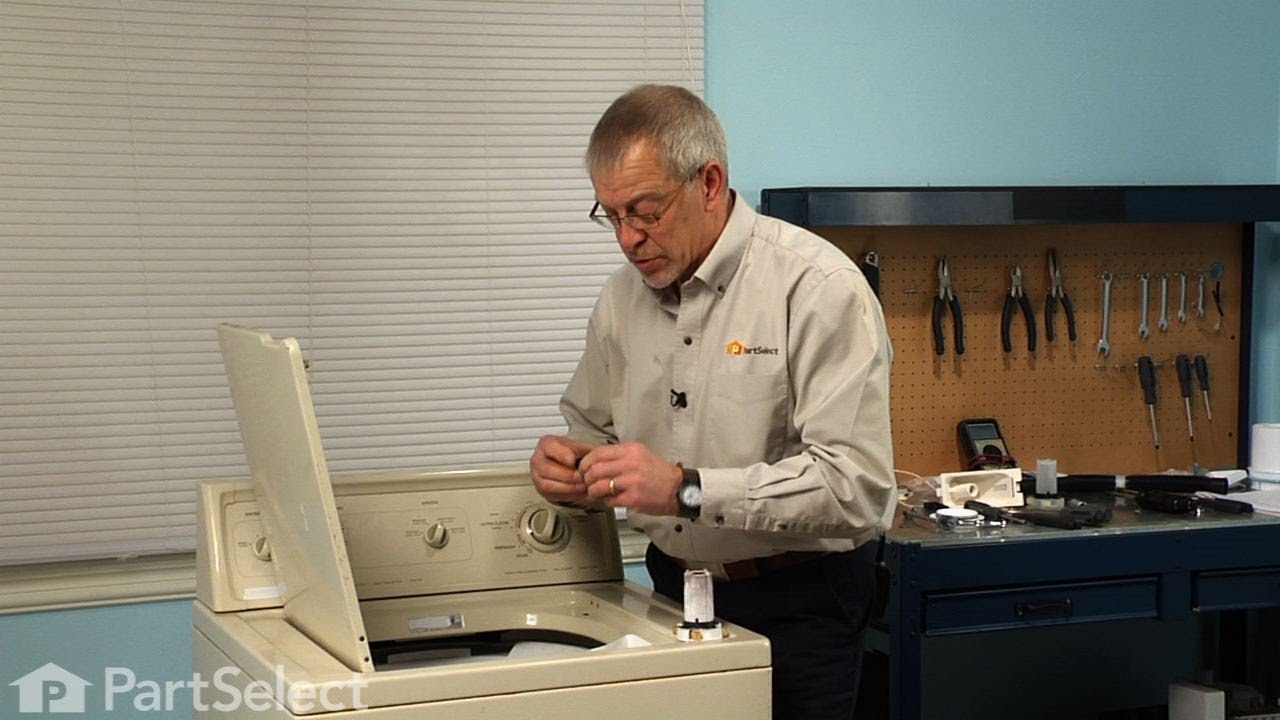
See how others fixed this model. Time, tools, difficulty, and steps that lead to victory!
View More
Search repair tips from other customers using simple keywords like "replace", "fit", "remove", "inspect". DIY doesn't mean you have to do it alone!
Search filter:
Clear Filter
Your search term must have 3 or more characters.
Washer not agitating
646 of 684 people
found this instruction helpful.
On top of the agitator is a flat cap that is held in place by the friction of an o-ring, there are no fasteners. I would imagine one could get under the lip with a small screwdriver or butter knife to pop it off but I chose simply using my fingernails so as to not disfigure the cap. Under the cap you will find the head of the only bolt
... Read more
that holds the assembly together it is a 7/16 head and because it is in a 4" deep well your will need a 6" extension for your ratchet. Once the bolt is out the top of the agitator, the assembly with the cogs removes by hand. Set the assembly upside down on the counter, slide the black plastic ring off, pull the cogs out with your fingertips, install the new cogs put a new black ring on and set the assembly back in the agitator. Reinstall bolt. As the bolt is down in a tube, you cannot set it in place with your fingers and it will fall out of the socket. To hold the bolt in the socket during positioning you can either put a gob of Vaseline on the bolt head to hold it in the socket or form a small piece of paper over the bolt head and set it into the socket, the friction of the paper will hold the bolt into the socket. Took me less then 10 minutes, good luck
Read less
Other Parts Used:


Was this helpful?
Thank you for voting!