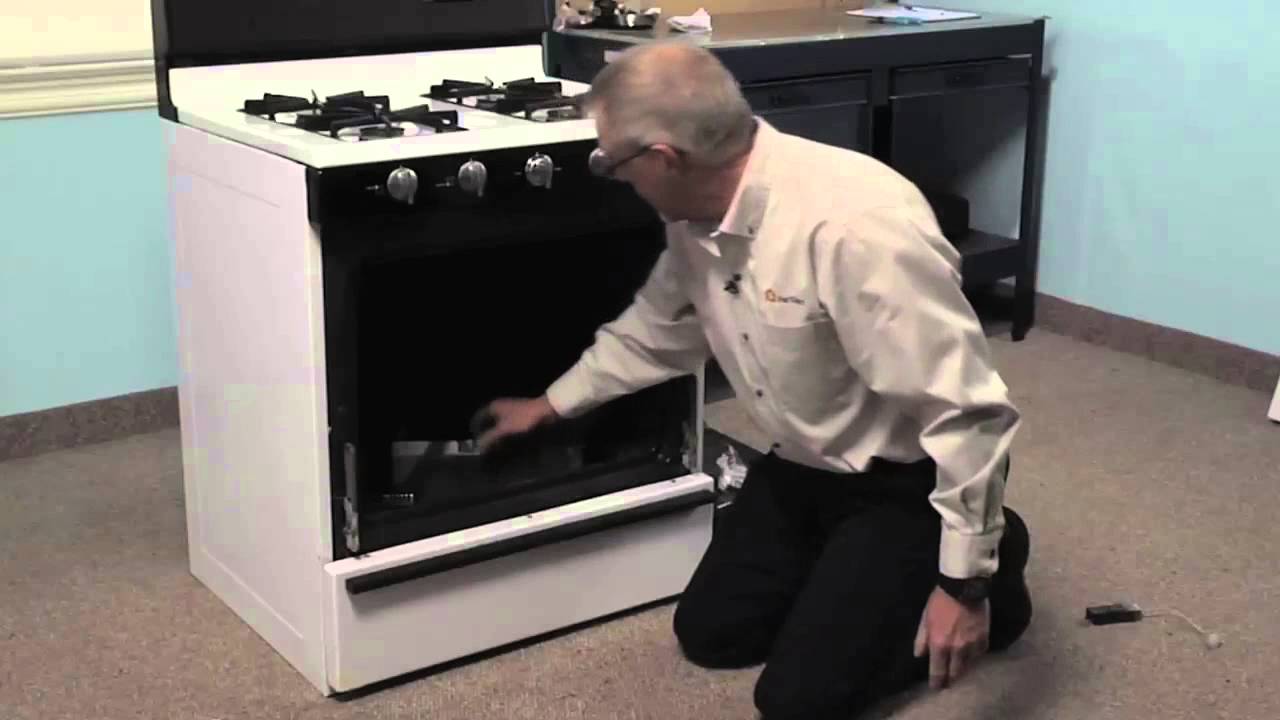
1100PRA Magic Chef Range - Overview

Models starting with 1100PRA

Enter a part description. DIY Heroes keep it simple, eg. "belt" or "pump".

Search filter:
Clear Filter
Your search term must have 3 or more characters.
Flat Style Oven Igniter Kit – Part Number: 12400035
$61.55
In Stock
Flat Style Oven Igniter Kit
★★★★★
★★★★★
(63)
Part #12400035
The flat style gas oven igniter included in this kit has a body length of 3-3/4 inches. This kit comes with all of the pieces you need to replace longer ceramic igniters, though this kit can also replace short igniters. This flat style oven igniter kit is a genuine replacement component designed for use in gas ovens and ranges. It plays a critical role in the ignition process by generating the heat required to open the gas valve and ignite the burner assembly. Suitable for both bake and broil functions, this igniter can replace short and long flat-style igniters but is not compatible with round-style models. If the igniter glows for more than 90 seconds without lighting the burner, or glows only orange or red instead of white-hot, it may be too weak to activate the gas valve and should be replaced. The kit includes the igniter, ceramic wire nuts, insulation pad, metal mounting bracket, multiple plug ends, and an instruction sheet. The igniter body measures approximately 3 ¾ inches, with an internal element
Screw - 10-16 x 1 – Part Number: WP3387230
$10.44
In Stock
Screw - 10-16 x 1
★★★★★
★★★★★
(2)
Part #WP3387230
This screw is sold individually.
2 Piece Broiler Pan – Part Number: 4396923
$66.88
In Stock
2 Piece Broiler Pan
★★★★★
★★★★★
(2)
Part #4396923
This broiler pan and roasting rack set features a two-piece design that allows fat to drain away for cleaner cooking and reduced splatter. Made with a durable, high-heat resistant porcelain finish, it offers reliable performance and easy cleanup. Measuring approximately 16 3/4 inches long by 12 3/4 inches wide and 1 3/4 inches high, it provides a practical solution for everyday broiling and roasting.
Range Anti-Tip Bracket – Part Number: WP3801F656-51
$15.34
In Stock
Range Anti-Tip Bracket
★★★★★
★★★★★
(2)
Part #WP3801F656-51
Sold individually.
Stand Mixer Screw – Part Number: WP4159193
$12.95
In Stock
Stand Mixer Screw
Part #WP4159193
This screw is sold individually.
Oven Thermostat Kit – Part Number: 12400034
No Longer Available
Oven Thermostat Kit
Part #12400034
This oven thermostat kit is to be used with gas oven models with a flat ignitor. Many thermostats do look similar. The knob has been updated by the manufacturer and may not look the same as the original.
Oven Safety Valve – Part Number: 74010590
No Longer Available
Oven Safety Valve
Part #74010590
Once this valve senses the desired heat, this part will open up and allow the gas to travel to the oven burner.
Range Frame Screw – Part Number: WP7101P126-60
$10.93
In Stock
Range Frame Screw
Part #WP7101P126-60
Sold Individually.
Door Side Seal – Part Number: WP7212P015-60
$79.07
Special Order
Door Side Seal
★★★★★
★★★★★
(2)
Part #WP7212P015-60
Sold individually. Order quantity required.
Pressure Regulator – Part Number: WP7510P083-60
No Longer Available
Pressure Regulator
Part #WP7510P083-60
This valve automatically cuts off the flow of gas at a certain pressure.
Anti-Tip Screw (Screw only) – Part Number: WP7101P485-60
$38.41
In Stock
Anti-Tip Screw (Screw only)
Part #WP7101P485-60
Sold individually.
Dishwasher Screw – Part Number: WP3400074
$9.85
In Stock
Dishwasher Screw
Part #WP3400074
This screw is sold individually.

Common Symptoms of models starting with 1100PRA

How this model fails, and the parts that fix it.

Watch our pros, then fix it yourself.
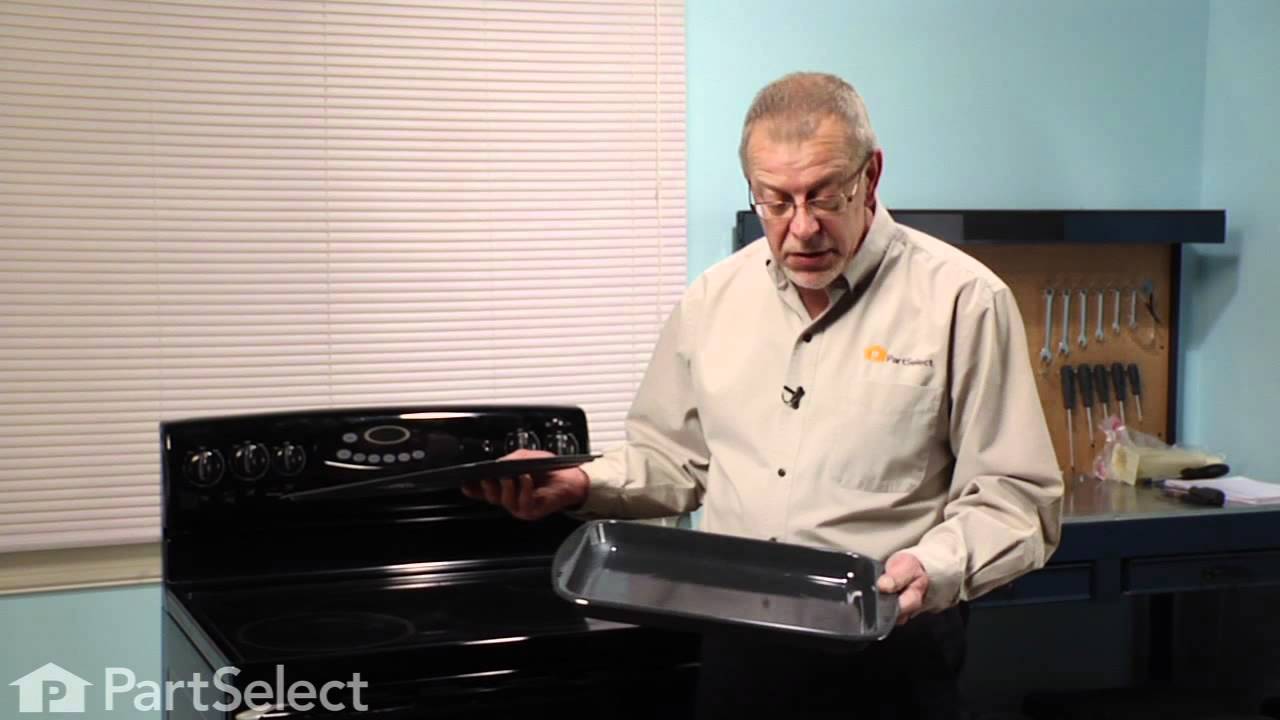
See how others fixed this model. Time, tools, difficulty, and steps that lead to victory! View More

Search repair tips from other customers using simple keywords like "replace", "fit", "remove", "inspect". DIY doesn't mean you have to do it alone!

Search filter:
Clear Filter
Your search term must have 3 or more characters.
Oven would not work but the Broiler did
337 of 374 people found this instruction helpful.
  • James from Ferndale, MI
  • A Bit Difficult
  • 15 - 30 mins
  • Nutdriver, Screw drivers, Socket set
The oven had been working intermittently for a while and after repeated threats of starvation from my spouse I finally took a look even though it was summer and the grill was working fine. The Igniter would glow red when the oven was turned on but the gas would not flow to it no matter what the temperature setting. I searched online and f ound this site that explained it was possible for the igniter to glow but if it was not drawing the correct amperage (because its resistance was too high) then the main brain would not allow the gas valve to open. So I took a look at the broiler and it had the same igniter. I measure the resistance of both of them and the oven igniters resistance was higher (don't rememeber the reading) then I moved the Igniter from the broiler to the oven and the oven worked from there it was just a matter of ordering the part. End of story except for I am still doing all the cooking on the barbecue outside.
Was this helpful?
Thank you for voting!
Oven would'nt light
132 of 145 people found this instruction helpful.
  • Charles from Charlestown, RI
  • Easy
  • 30 - 60 mins
  • Pliers, Screw drivers
In most cases if your oven won't light or takes a long time to light you may have a bad igniter even if it glows. To check the igniter use a voltmeter to check for 120 A/C volts going to the igniter and3.5 A/C volts going between the ingniter and the gas valve. My bad ingniter glowed but had only only 3.0 A/C volts going to the gas valve for the oven. The new igniter took only 45 minutes to install and supply's 3.6 A/C volts to the gas valve and the oven works fine.
Was this helpful?
Thank you for voting!
oven failed to light
71 of 79 people found this instruction helpful.
  • Beryl from Dawsonville, GA
  • Really Easy
  • Less than 15 mins
  • Screw drivers
My son replaced the broiler igniter this spring, so I had a clue as to what was required. This was even easier and since I had back surgery recently & my husband was out of town that was a giant plus!

I unplugged the oven, removed the oven door, found the release latch and removed the oven floor. I then removed the 2 screws that held the igniter in place (I received this stove used and the igniter had evidently been replaced before as it was the same shorter version included in the kit). I pulled the igniter out then removed some insulation and tugged the connector out of the oven floor. I disconnected the igniter and plugged the new one in. I then replaced the connector in the floor, attached the igniter with the screws, replaced the insulation and did a test run (plugged in the oven & turned it on). That was successful so I put the floor back in and put the door back on.
Ta-Dah!
Was this helpful?
Thank you for voting!