


 My Orders


1069750 Kenmore - Overview
Models starting with 1069750
Click on the best match to narrow your results.
- 10697502820 Kenmore Dryer (Kenmore Dryer Model 106.97502820 (10697502820, 106 97502820) Parts)
- 1069750310 Kenmore Refrigerator
- 1069750311 Kenmore Refrigerator
- 1069750312 Kenmore Refrigerator
- 1069750313 Kenmore Refrigerator
- 1069750320 Kenmore Refrigerator
- 1069750321 Kenmore Refrigerator
- 1069750322 Kenmore Refrigerator
- 1069750323 Kenmore Refrigerator
- 1069750380 Kenmore Refrigerator
- 1069750381 Kenmore Refrigerator
- 1069750382 Kenmore Refrigerator
- 1069750383 Kenmore Refrigerator
- 1069750510 Kenmore Refrigerator
- 1069750511 Kenmore Refrigerator
- 1069750512 Kenmore Refrigerator
- 1069750513 Kenmore Refrigerator
- 1069750550 Kenmore Air Conditioner
- 1069750580 Kenmore Refrigerator
- 1069750581 Kenmore Refrigerator
- 1069750582 Kenmore Refrigerator
- 1069750583 Kenmore Refrigerator
- 1069750610 Kenmore Refrigerator
- 1069750611 Kenmore Refrigerator
- 1069750612 Kenmore Refrigerator
- 1069750613 Kenmore Refrigerator
- 1069750614 Kenmore Refrigerator
- 1069750623 Kenmore Refrigerator
- 1069750624 Kenmore Refrigerator
- 1069750680 Kenmore Refrigerator
- 1069750681 Kenmore Refrigerator
- 1069750682 Kenmore Refrigerator
- 1069750683 Kenmore Refrigerator
- 1069750684 Kenmore Refrigerator
- 1069750690 Kenmore Air Conditioner
- 1069750890 Kenmore Air Conditioner
Enter a part description. DIY Heroes keep it simple, eg. "belt" or "pump".
Search filter:
Clear Filter
Your search term must have 3 or more characters.

$10.58
In Stock
Door Catch Kit
Part #279570
This kit contains two door strikes, and three door catches to service dryer doors that have one or two catches.

$26.41
In Stock
Light Bulb - 40W
Part #8009
This an authentic OEM 40-Watt replacement light bulb, used in a number of household appliances. It is specially designed to withstand extreme temperatures, which is why these replacement bulbs are most often used to light the inside of refrigerators and ranges. It features a standard socket base, which means you simply unscrew the burnt-o...Read moreut bulb and screw in the replacement. Depending on the appliance you may require a screwdriver or nut driver to access the light bulb. We recommend you wear work gloves while handling this replacement part. It is constructed of glass and metal and is sold individually. Depending on the appliance and location of the bulb within it, you may want to consider disconnecting power and using a flashlight for easier access to unscrewing and re-screwing in your bulb during this repair.
Read less

$32.97
In Stock
Multi Rib Belt
Part #661570
The Drive Belt is a 93 1/2" belt which wraps around the dryer drum to allow tension and movement. If broken the dryer will not turn properly, or there may be loud noises. The part is rated as "medium" difficulty to install. Refer to your model number and user manual to ensure this part is correct for you. To complete this repair you will ...Read moreneed a Phillips screwdriver, 1/4 inch nut driver, a putty knife, and a pair of needle nose pliers. Ensure you disconnect your power to the dryer before beginning this repair, which should take between 30 and 60 minutes maximum to complete.
Read less

$41.14
In Stock
Idler Pulley with Bracket
Part #W10837240
This idler pulley assembly includes the pulley and bracket, ensuring proper tension on the dryer drive belt for smooth drum rotation. Compatible with several Whirlpool, KitchenAid, Maytag, Jenn-Air, Amana, Inglis, and Magic Chef dryers, this OEM part is ideal for replacing damaged components. Disconnect power before installation.

$58.29
In Stock
Refrigerator Capacitor
Part #WPW10662129
This part helps the compressor kick on and off while maintaining a constant temperature to keep things frozen in your freezer.

No Longer Available
Touch-Up Paint - White
Part #72017
This 18 ml bottle of white appliance touch-up paint is used to cover scratches or marks on your appliance. The white touch-up paint can be used on refrigerators, microwaves, ranges, clothes dryers, and freezers. This is a genuine OEM part and includes a brush applicator. Please remember to wear gloves to protect your hands when applying this paint.

$186.07
In Stock
Refrigerator Crisper Drawer
Part #W10854037
A leaking crisper pan can be replaced to restore produce storage in your refrigerator. The pan is clear plastic and is an OEM part. Only the pan is included; the front white trim is not.

$43.83
In Stock
Refrigerator Door Switch
Part #W11384469
If your refrigerator’s interior light is not working, the door switch may be the cause. It turns the light off when the door closes. This is an OEM part. Confirm compatibility using your refrigerator’s model number.

$61.07
In Stock
Dryer Drum Seal with Adhesive
Part #280114
This part seals the drum to prevents air from escaping. This includes silicone rubber adhesive.

$45.92
In Stock
Defrost Timer
Part #W10822278
This eight-hour defrost timer will replace most other defrost timers. This device acts like a clock. It continually advances and alternates between activating the cooling cycle and the defrost heater. The best way to make sure you get the correct timer for your refrigerator is to conduct a search for your model number. NOTE: The black lead on the defrost timer, will go to terminal number 2.

$51.65
In Stock
Refrigerator Bimetal Defrost Thermostat
Part #WP4387503
This clip-on thermostat will sense the temperature increase in the evaporator during the defrost cycle and will cycle the defrost heater off after the ice or frost is melted.

$96.02
In Stock
Common Symptoms of models starting with 1069750
How this model fails, and the parts that fix it.
Noisy
Fixed by
these parts
these parts


Show All
Ice maker not making ice
Fixed by
these parts
these parts


Show All
Door won’t close
Fixed by
these parts
these parts


Show All
Leaking
Fixed by
these parts
these parts


Show All
Light not working
Fixed by
these parts
these parts


Show All
Fridge too warm
Fixed by
these parts
these parts

Show All
Will Not Start
Fixed by
these parts
these parts

Show All
Freezer not defrosting
Fixed by
these parts
these parts

Show All
Freezer section too warm
Fixed by
these parts
these parts
Show All
Drum Not Spinning
Fixed by
these parts
these parts

Show All
Ice maker won’t dispense ice
Fixed by
these parts
these parts
Show All
Fridge and Freezer are too warm
Fixed by
these parts
these parts

Show All
Door won’t open or close
Fixed by
these parts
these parts


Show All
Door Pops Open
Fixed by
these parts
these parts
Show All
Not Heating
Fixed by
these parts
these parts


Show All
Won’t Start
Fixed by
these parts
these parts

Show All
Marks left on clothes
Fixed by
these parts
these parts

Show All
Clicking sound
Fixed by
these parts
these parts

Show All
Too warm
Fixed by
these parts
these parts
Show All
Fridge runs too long
Fixed by
these parts
these parts
Show All
Frost buildup
Fixed by
these parts
these parts
Show All
Fridge too cold
Fixed by
these parts
these parts

Show All
Freezer too cold
Fixed by
these parts
these parts
Show All
Ice maker dispenses too much ice
Fixed by
these parts
these parts

Show All
Won’t start
Fixed by
these parts
these parts
Show All
Ice maker dispenses too little ice
Fixed by
these parts
these parts
Show All
Not dispensing water
Fixed by
these parts
these parts

Show All
Lid or door won’t close
Fixed by
these parts
these parts
Show All
Door Sweating
Fixed by
these parts
these parts
Show All
Will not agitate
Fixed by
these parts
these parts
Show All
Too hot
Fixed by
these parts
these parts
Show All
Burning smell
Fixed by
these parts
these parts
Show All
Door won’t close
Fixed by
these parts
these parts

Show All
Running With Door Open
Fixed by
these parts
these parts
Show All
Spins slowly
Fixed by
these parts
these parts
Show All
Watch our pros, then fix it yourself.
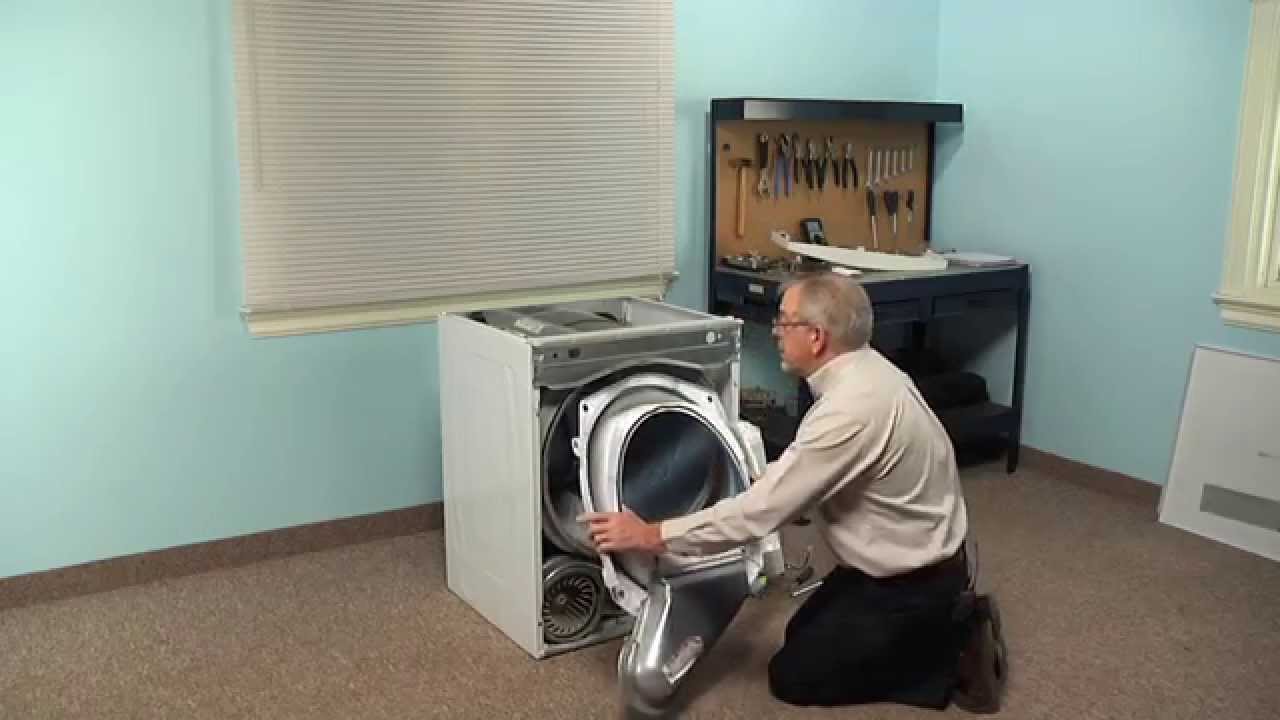
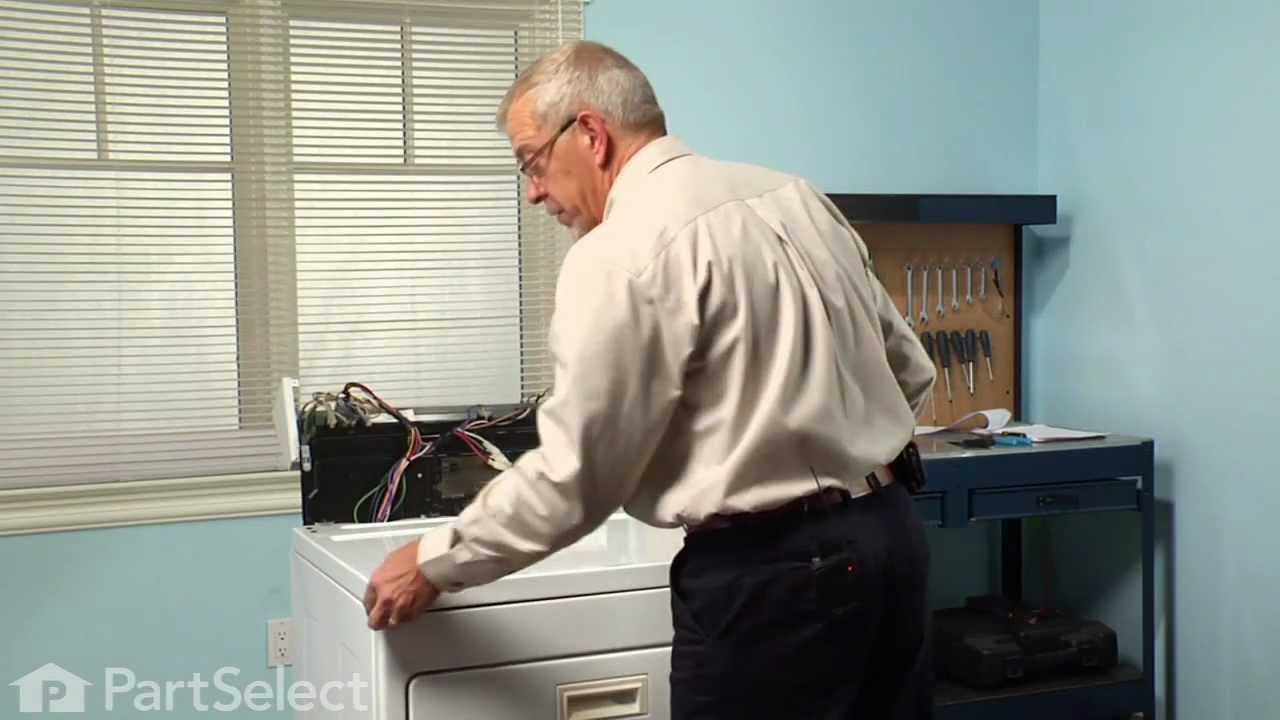
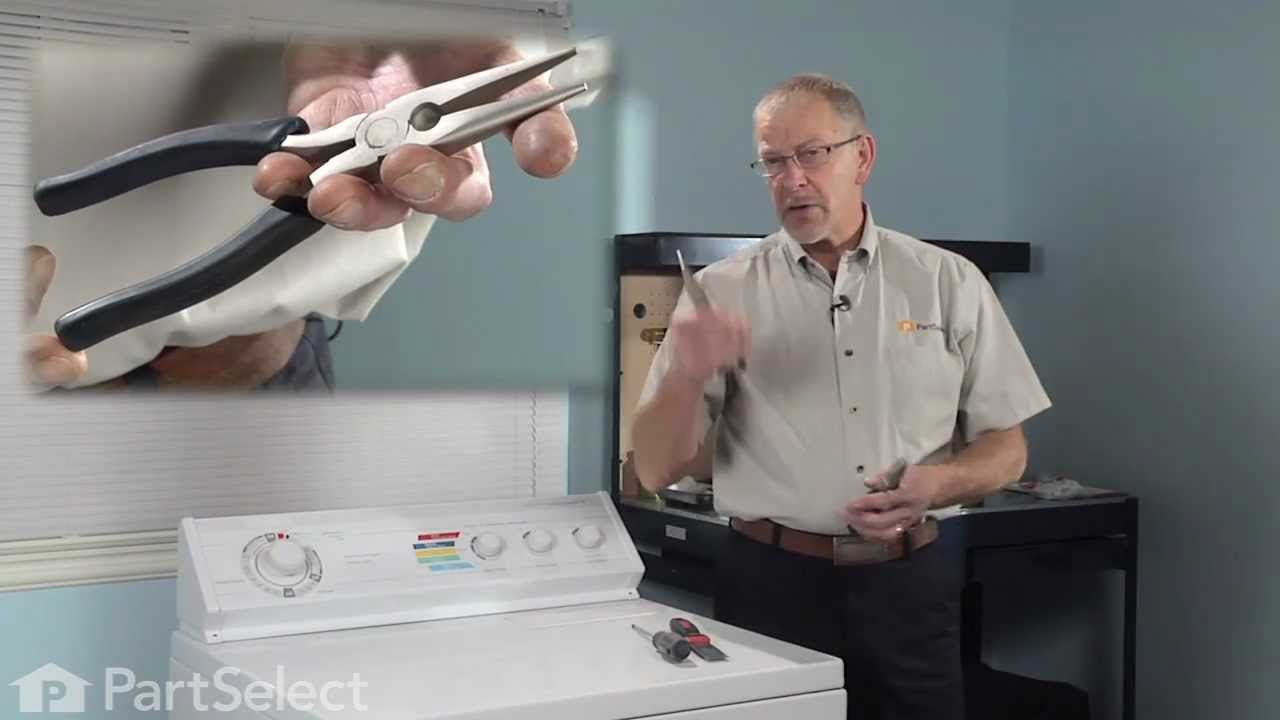
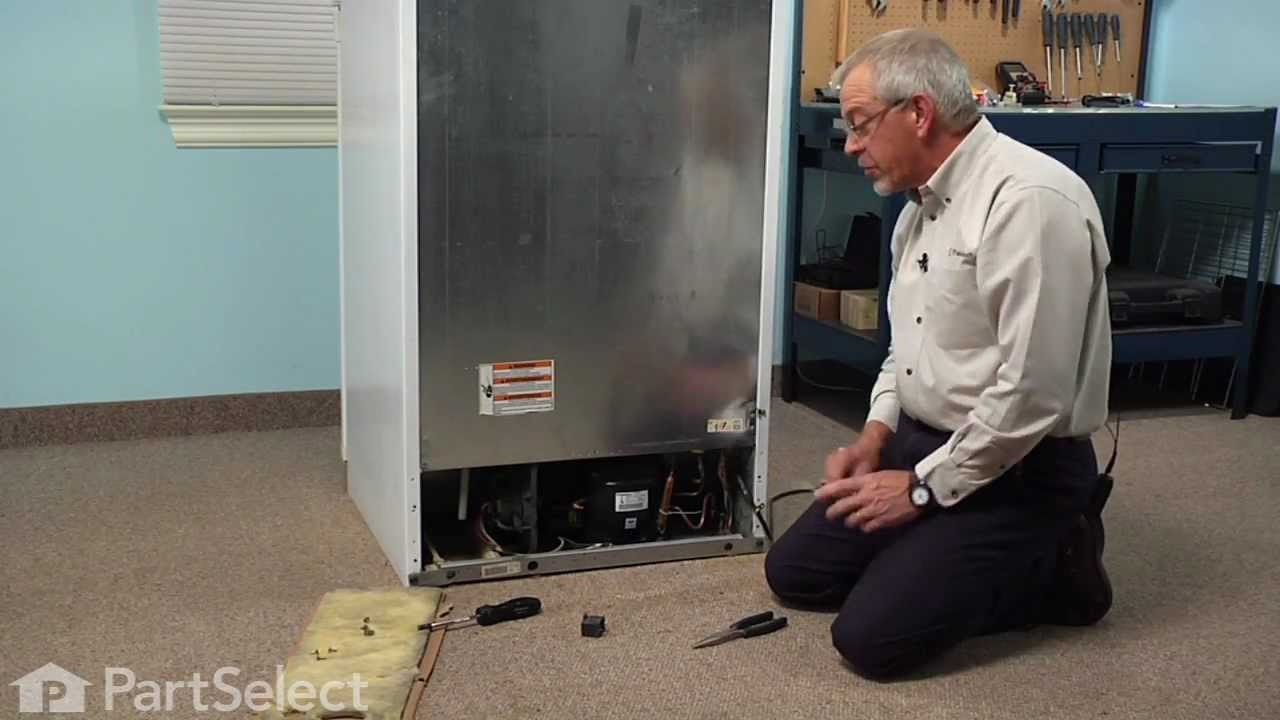

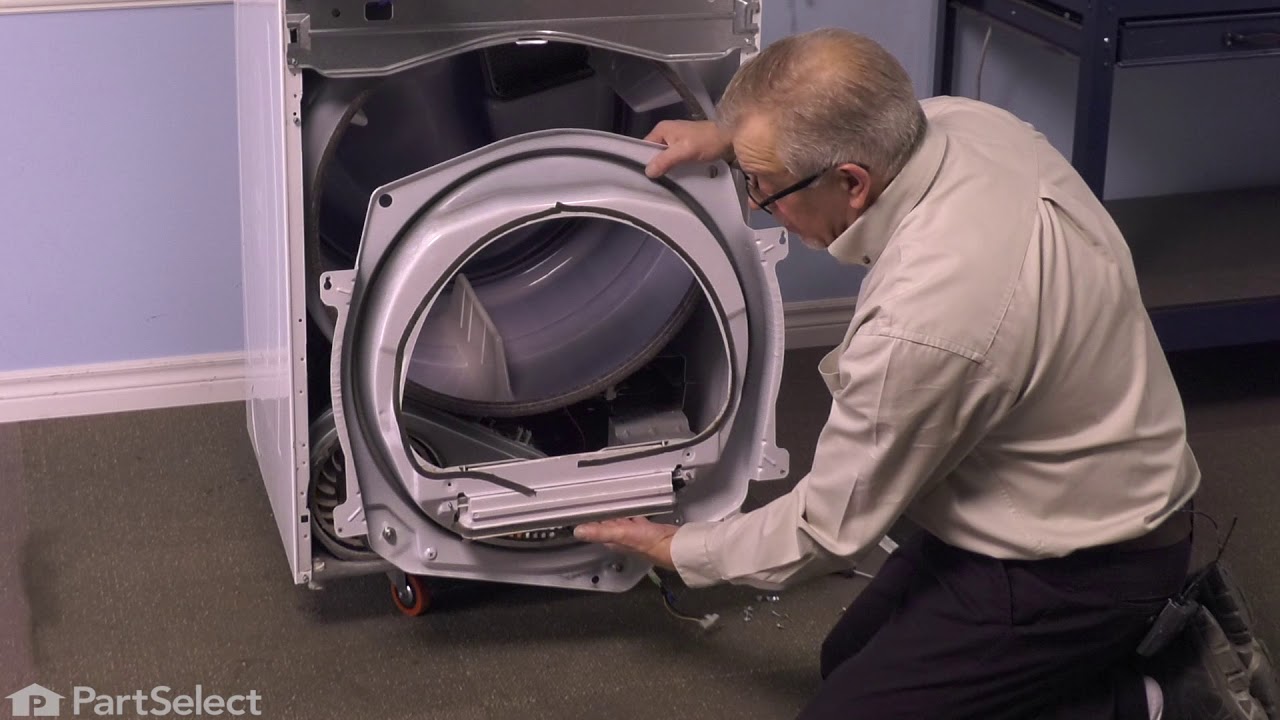
See how others fixed this model. Time, tools, difficulty, and steps that lead to victory!
View More