


 My Orders


1069658680 Kenmore Refrigerator - Overview
Diagrams for 1069658680
See every part. Know exactly what you need.

Enter a part description. DIY Heroes keep it simple, eg. "belt" or "pump".
Search filter:
Clear Filter
Your search term must have 3 or more characters.

$186.07
In Stock
Refrigerator Crisper Drawer
Part #W10854037
The crisper drawer is clear plastic. The drawer does not include the white trim on the front. Sold individually.

$43.83
In Stock

$37.74
In Stock
Refrigerator Crisper Drawer Rail
Part #WP2163835
This part goes in the center of the crisper shelf and acts as a support.

$45.92
In Stock
Defrost Timer
Part #W10822278
This eight-hour defrost timer will replace most other defrost timers. This device acts like a clock. It continually advances and alternates between activating the cooling cycle and the defrost heater. The best way to make sure you get the correct timer for your refrigerator is to conduct a search for your model number. NOTE: The black lead on the defrost timer, will go to terminal number 2.

$51.65
In Stock
Refrigerator Bimetal Defrost Thermostat
Part #WP4387503
This clip-on thermostat will sense the temperature increase in the evaporator during the defrost cycle and will cycle the defrost heater off after the ice or frost is melted.

$96.02
On Order
Icemaker Control Assembly
Part #W10190935
This part is used to help tell the icemaker what to do - it turns the timing cams and the ejector blades. Motor is not sold separately.

$18.95
In Stock
BRACKET-DOOR STOP,ZINC
Part #W11745278
This hinge bracket, also known as a door stop, is attached to the bottom of the door and is used to limit how far the door swings out to protect the refrigerator itself, and any surrounding cabinets from potential damage. If your fridge is having issues opening or staying closed, check the hinges for any damage or cracking. To replace thi...Read mores bracket, simply remove the door off your refrigerator, unscrew and remove this bracket from the bottom of the door, and install the new one. This hinge bracket is an OEM replacement and is compatible with several different makes and models of refrigerator.
Read less

$10.95
In Stock

$46.15
On Order
Refrigerator Water Fill Cup & Bearing
Part #WP628356
This icemaker water inlet cup is three inches long. It is all white in color and is made of plastic.

$15.95
In Stock

$84.65
In Stock
Refrigerator Single Water Inlet Valve
Part #WP2315576
Also known as a Water Solenoid Valve. The water inlet valve is a solenoid-operated switch that, when activated, releases water from the supply line to the water valve and into the compact icemaker mold.

$157.53
In Stock
Refrigerator Meat Pan
Part #WP2218127K
This clear meat pan helps keep your fridge neat and your food fresh. It’s perfect for storing deli meats, cheeses, and other small items, and it catches any drips to keep things clean. Made from sturdy plastic, it’s easy to see what’s inside and simple to slide into place. If your old pan is cracked or missing, this replacement is a quick fix that takes just a few minutes.
Common Symptoms of the 1069658680
How this model fails, and the parts that fix it.
Ice maker not making ice
Fixed by
these parts
these parts


Show All
Light not working
Fixed by
these parts
these parts


Show All
Leaking
Fixed by
these parts
these parts


Show All
Fridge too warm
Fixed by
these parts
these parts

Show All
Freezer not defrosting
Fixed by
these parts
these parts

Show All
Door won’t open or close
Fixed by
these parts
these parts


Show All
Freezer section too warm
Fixed by
these parts
these parts
Show All
Ice maker won’t dispense ice
Fixed by
these parts
these parts

Show All
Will Not Start
Fixed by
these parts
these parts

Show All
Noisy
Fixed by
these parts
these parts


Show All
Fridge and Freezer are too warm
Fixed by
these parts
these parts
Show All
Frost buildup
Fixed by
these parts
these parts
Show All
Fridge runs too long
Fixed by
these parts
these parts
Show All
Fridge too cold
Fixed by
these parts
these parts

Show All
Freezer too cold
Fixed by
these parts
these parts
Show All
Too warm
Fixed by
these parts
these parts
Show All
Not dispensing water
Fixed by
these parts
these parts
Show All
Ice maker dispenses too much ice
Fixed by
these parts
these parts
Show All
Won’t start
Fixed by
these parts
these parts
Show All
Clicking sound
Fixed by
these parts
these parts
Show All
Door Sweating
Fixed by
these parts
these parts
Show All
Watch our pros, then fix it yourself.


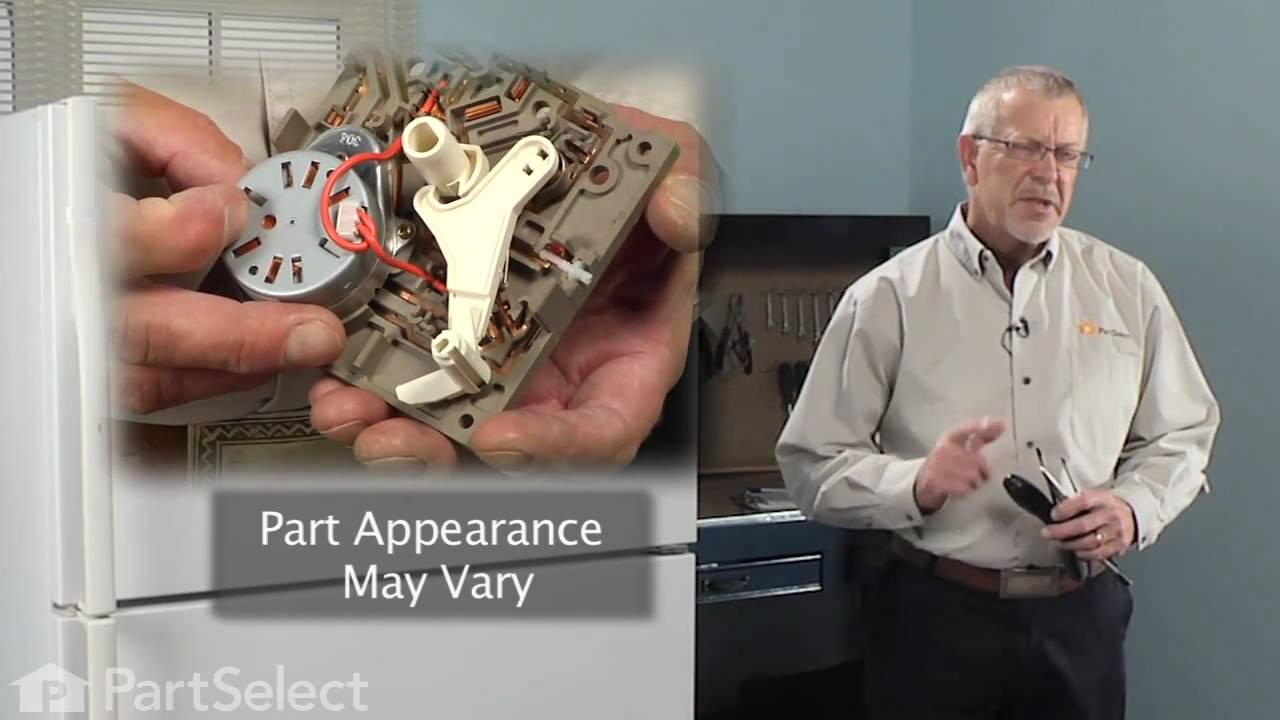

See how others fixed this model. Time, tools, difficulty, and steps that lead to victory!
View More
Search repair tips from other customers using simple keywords like "replace", "fit", "remove", "inspect". DIY doesn't mean you have to do it alone!
Search filter:
Clear Filter
Your search term must have 3 or more characters.
The frost free feature of the freezer was freezing over with ice and cooling coils were being insulated with thickening frost which caused the cooling air to rise in temperature from -5 degrees to 20 degrees.
430 of 518 people
found this instruction helpful.
I troubleshot the problem by reading the electrical schematic and concluding the heating elements (defrost cables) were either defective or the bi-metal temp sensor was open. When closed the temp sensor completes the circuit for the current to flow through the heaters to defrost the cooling coils every 8 hours and then when the bimetal o
... Read more
pens at 55 degrees the circuit is open and the coils are cooled because the refridgeration motor is in run mode. A timer between the motor and heater elements also was defective. The timer controls the cooling period and the defrost period. I ohmed out each part according to the spec sheet of normal resistance of parts and thus the bimetal and timer were defective. I gather a surge of some duration and amplitude affected these parts because a storm 24 hours prior to refridgerator problem had passsed through the area and the AC electrical power had oscillated several times during that event. I used hand tools to do the repair. If you are not mechanically inclined a step by step proceedure would be moot. It is a matter of disassembly and assembly paying close attention to fragile parts.
Read less
Other Parts Used:


Was this helpful?
Thank you for voting!