


 My Orders


1069658184 Kenmore Refrigerator - Overview

Enter a part description. DIY Heroes keep it simple, eg. "belt" or "pump".
Search filter:
Clear Filter
Your search term must have 3 or more characters.

No Longer Available
Touch-Up Paint - White
Part #72017
This 18 ml bottle of white appliance touch-up paint is used to cover scratches or marks on your appliance. The white touch-up paint can be used on refrigerators, microwaves, ranges, clothes dryers, and freezers. This is a genuine OEM part and includes a brush applicator. Please remember to wear gloves to protect your hands when applying this paint.

$186.07
In Stock
Refrigerator Crisper Drawer
Part #W10854037
The crisper drawer is clear plastic. The drawer does not include the white trim on the front. Sold individually.

$43.83
In Stock

$37.74
In Stock
Refrigerator Crisper Drawer Rail
Part #WP2163835
This part goes in the center of the crisper shelf and acts as a support.

$51.65
In Stock
Refrigerator Bimetal Defrost Thermostat
Part #WP4387503
This clip-on thermostat will sense the temperature increase in the evaporator during the defrost cycle and will cycle the defrost heater off after the ice or frost is melted.

$18.95
In Stock
BRACKET-DOOR STOP,ZINC
Part #W11745278
This hinge bracket, also known as a door stop, is attached to the bottom of the door and is used to limit how far the door swings out to protect the refrigerator itself, and any surrounding cabinets from potential damage. If your fridge is having issues opening or staying closed, check the hinges for any damage or cracking. To replace thi...Read mores bracket, simply remove the door off your refrigerator, unscrew and remove this bracket from the bottom of the door, and install the new one. This hinge bracket is an OEM replacement and is compatible with several different makes and models of refrigerator.
Read less

$300.34
In Stock
ICE MAKER KIT-PKG ASSEMBLY (EZ
Part #W11700559
This genuine OEM ice maker kit is designed to fit refrigerators that did not originally come with an ice maker. This kit contains everything needed to install the new ice maker on your refrigerator including: the ice maker, ice bin, inlet valve, fill tube, and hardware. If your new ice maker does not function properly after being installe...Read mored, check the freezer temperature. The freezer must to be around zero degrees Fahrenheit. Remember to disconnect the power and water supply to your refrigerator before beginning this installation. Make sure to check that your model is compatible with this part before ordering.
Note: The manufacturer has updated this part. It may differ in appearance but will function the same as the original.
Read less

$190.40
In Stock
Crisper Drawer - Clear
Part #W10856580
This is a replacement crisper drawer for your refrigerator. It is made of clear plastic and is sold individually. The crisper drawer slides in and out of the refrigerator, and is used to store items. The main reason you would want to replace the crisper drawer, is if the old drawer is cracked, broken, or missing. This is an OEM part sourced directly from the manufacturer.

$17.29
In Stock
Refrigerator Door Shelf Retainer Bar End Cap
Part #WP2156003
The door shelf retainer bar end cap connects to the retainer bar on your refrigerator’s door shelf, and attaches it to the refrigerator door. If your shelf retainer bar has become disconnected, a damaged end cap could be the cause. To remove the end cap, first unhook the release tab on both ends of the retainer bar. Slide out the bar and ...Read morethe end caps, and slide out the defective cap. Now, simply replace the end cap and snap the bar with end caps back in place on the refrigerator door. This part is made of white plastic and is sold individually.
Read less

$15.95
In Stock

No Longer Available

$288.12
In Stock
Condenser Fan Motor
Part #W10822259
NOTE: As per the manufacture the part does not come threaded. A self tapping screw will need to be used to make threads.
Common Symptoms of the 1069658184
How this model fails, and the parts that fix it.
Light not working
Fixed by
these parts
these parts


Show All
Fridge too warm
Fixed by
these parts
these parts


Show All
Door won’t open or close
Fixed by
these parts
these parts


Show All
Leaking
Fixed by
these parts
these parts

Show All
Freezer not defrosting
Fixed by
these parts
these parts
Show All
Noisy
Fixed by
these parts
these parts


Show All
Freezer section too warm
Fixed by
these parts
these parts
Show All
Ice maker not making ice
Fixed by
these parts
these parts

Show All
Will Not Start
Fixed by
these parts
these parts


Show All
Frost buildup
Fixed by
these parts
these parts

Show All
Fridge and Freezer are too warm
Fixed by
these parts
these parts
Show All
Fridge too cold
Fixed by
these parts
these parts

Show All
Freezer too cold
Fixed by
these parts
these parts
Show All
Fridge runs too long
Fixed by
these parts
these parts
Show All
Ice maker won’t dispense ice
Fixed by
these parts
these parts
Show All
Door Sweating
Fixed by
these parts
these parts
Show All
Clicking sound
Fixed by
these parts
these parts
Show All
Too warm
Fixed by
these parts
these parts
Show All
Watch our pros, then fix it yourself.
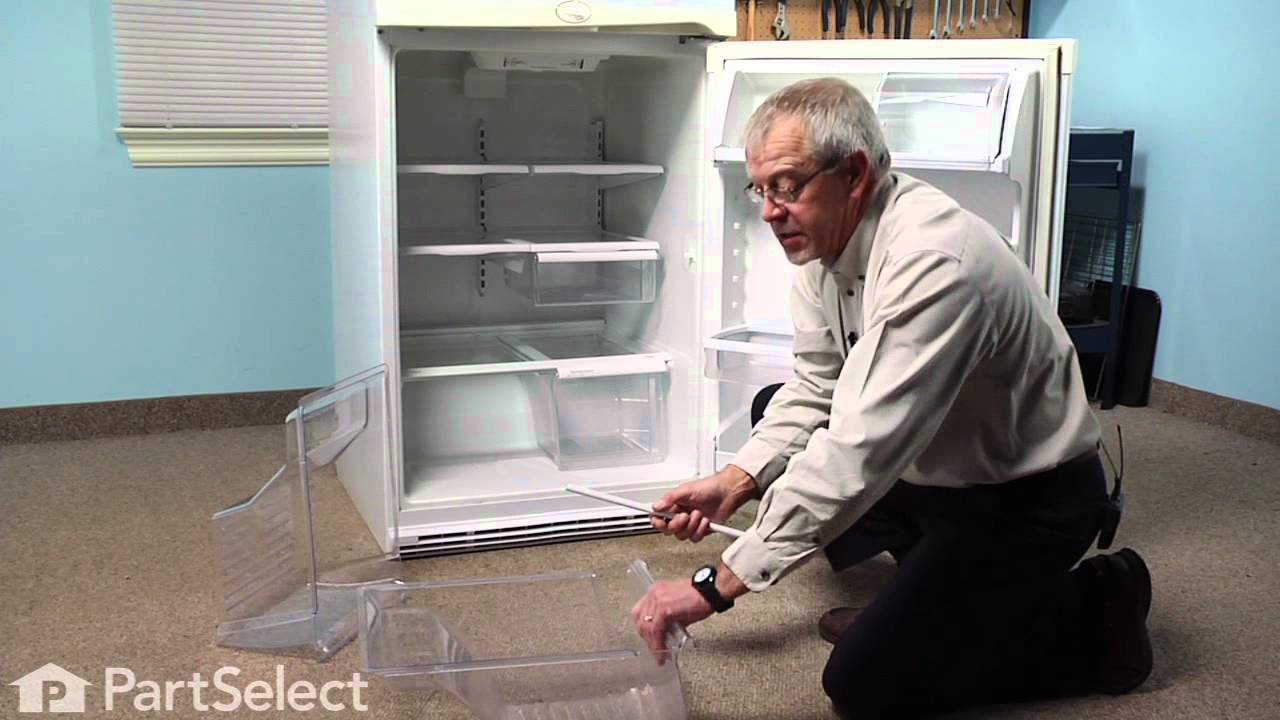

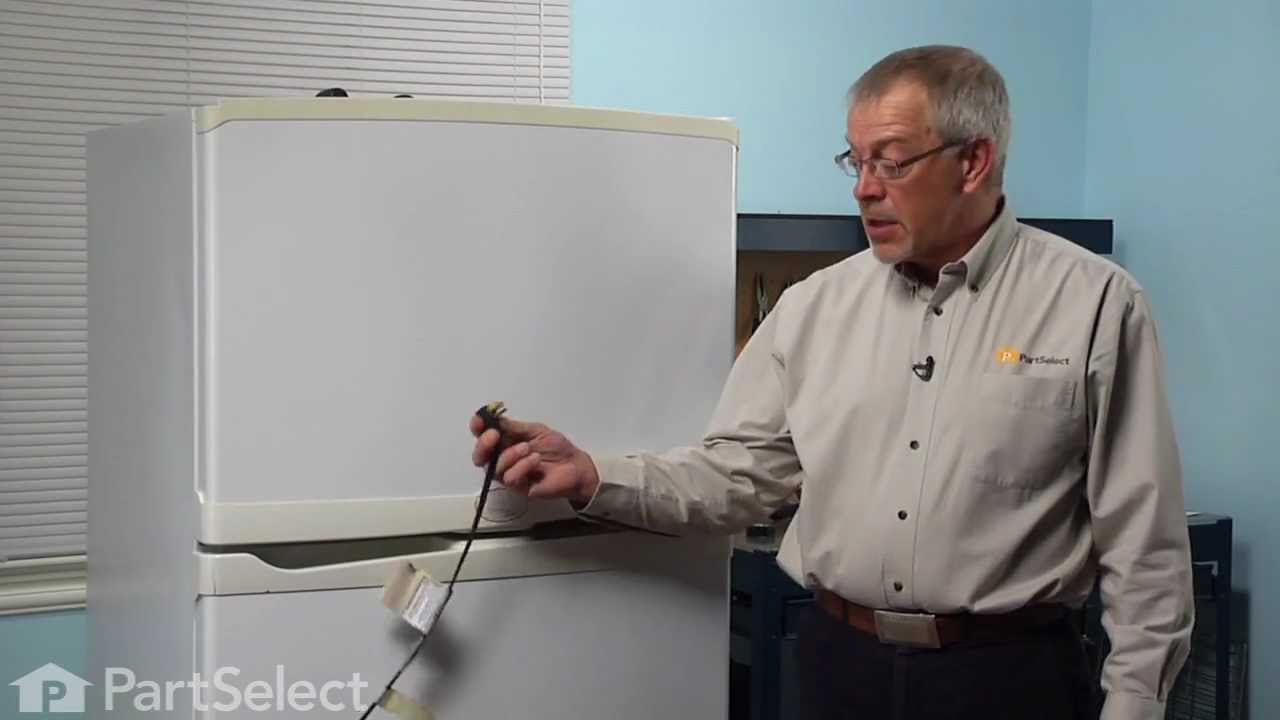
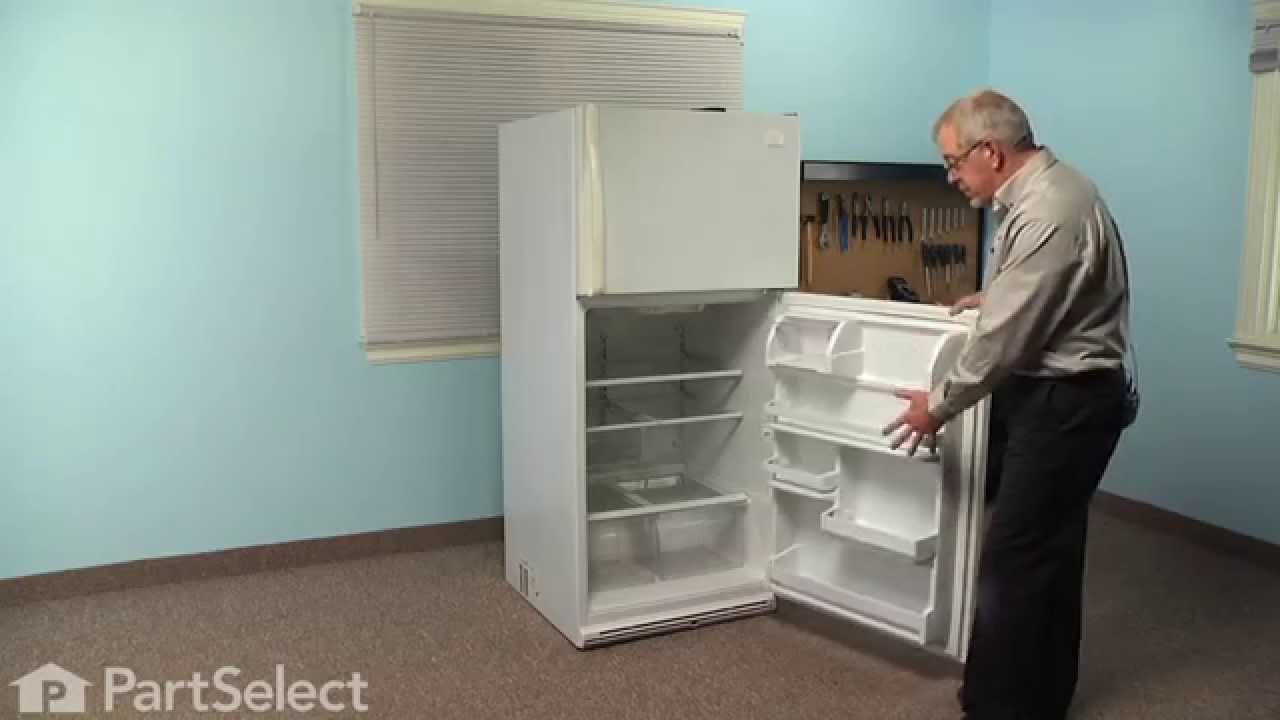


See how others fixed this model. Time, tools, difficulty, and steps that lead to victory!
View More