


 My Orders


1068490280 Kenmore Refrigerator - Overview
Diagrams for 1068490280
See every part. Know exactly what you need.

Enter a part description. DIY Heroes keep it simple, eg. "belt" or "pump".
Search filter:
Clear Filter
Your search term must have 3 or more characters.

$58.29
In Stock
Refrigerator Capacitor
Part #WPW10662129
This part helps the compressor kick on and off while maintaining a constant temperature to keep things frozen in your freezer.

$115.19
In Stock
Refrigerator Condenser Fan Motor Kit
Part #833697
This condenser fan motor operates in a clockwise fashion and carries carries 2W and 115V. It comes with screws, a mounting nut for the blade and a cushion. This part provides forced-air cooling for the condenser coil.

$94.98
In Stock
Refrigerator Thermostat Assembly
Part #WP2198202
The thermostat will sense the temperature increase in the evaporator during the defrost cycle and will cycle the defrost heater off after the ice or frost is melted.

$34.30
In Stock
Shelf Support Stud - White
Part #4388538
This kit contains two options - One that is a push and turn and the other that is a screw in.

$10.50
In Stock
Screw
Part #WP488729
Metallic screw that is less than an inch long. Does not include the plastic washer.

No Longer Available

$54.95
In Stock

$104.55
In Stock
Evaporator Drip Tray
Part #WPW10614158
This is the replacement evaporator drip tray for your refrigerator. It is made of white plastic and is approximately 19 inches by 9 inches. The evaporator drip tray sits below the evaporator to collect dripping water. If the drip tray is damaged, you may notice that your refrigerator is leaking. Because it is made of plastic, the drip tra...Read morey can eventually develop a crack. You will need to pull out the refrigerator from the wall, and take off the bottom panel on the back of your refrigerator in order to access the drip tray for replacement. This is an OEM part sourced directly from the manufacturer.
Read less

$10.41
In Stock

$53.85
In Stock
Refrigerator Tray
Part #WP841180A
This fourteen cube ice cube tray is eleven inches long. It is all white in color and is made entirely of plastic.

$96.09
In Stock
Refrigerator Start Relay Combination
Part #WP2262181
Start relay and overload for production compressor only. The start relay boosts the compressor, and then shuts off as soon as the motor gets up to speed. The overlay provides added protection against excessive current and against excessive temperature use.

$127.78
Special Order
Compressor Relay and Overload Kit
Part #4387535
The overload protects a motor from overheating and the relay boosts the compressor.
Common Symptoms of the 1068490280
How this model fails, and the parts that fix it.
Fridge too warm
Fixed by
these parts
these parts


Show All
Will Not Start
Fixed by
these parts
these parts
Show All
Freezer section too warm
Fixed by
these parts
these parts
Show All
Fridge and Freezer are too warm
Fixed by
these parts
these parts
Show All
Noisy
Fixed by
these parts
these parts

Show All
Light not working
Fixed by
these parts
these parts

Show All
Fridge runs too long
Fixed by
these parts
these parts
Show All
Leaking
Fixed by
these parts
these parts

Show All
Fridge too cold
Fixed by
these parts
these parts
Show All
Clicking sound
Fixed by
these parts
these parts
Show All
Too warm
Fixed by
these parts
these parts
Show All
Freezer too cold
Fixed by
these parts
these parts
Show All
Door Sweating
Fixed by
these parts
these parts

Show All
Won’t start
Fixed by
these parts
these parts
Show All
Freezer not defrosting
Fixed by
these parts
these parts
Show All
Watch our pros, then fix it yourself.
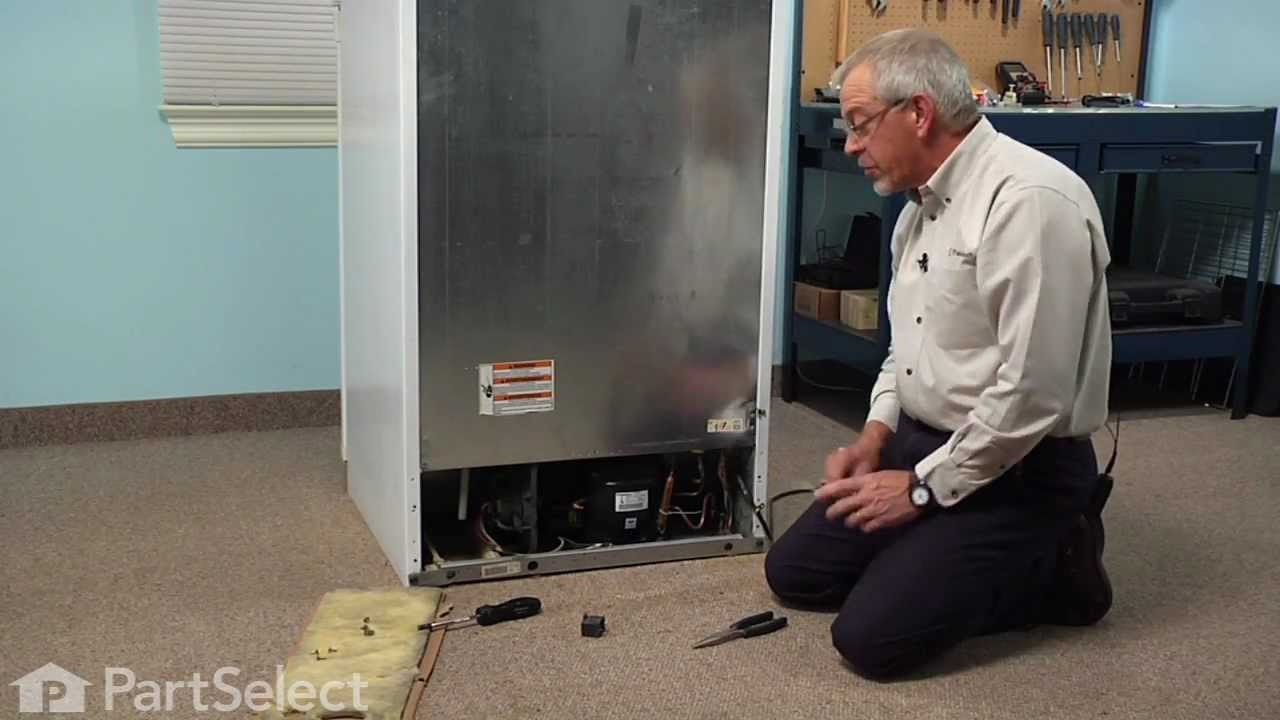
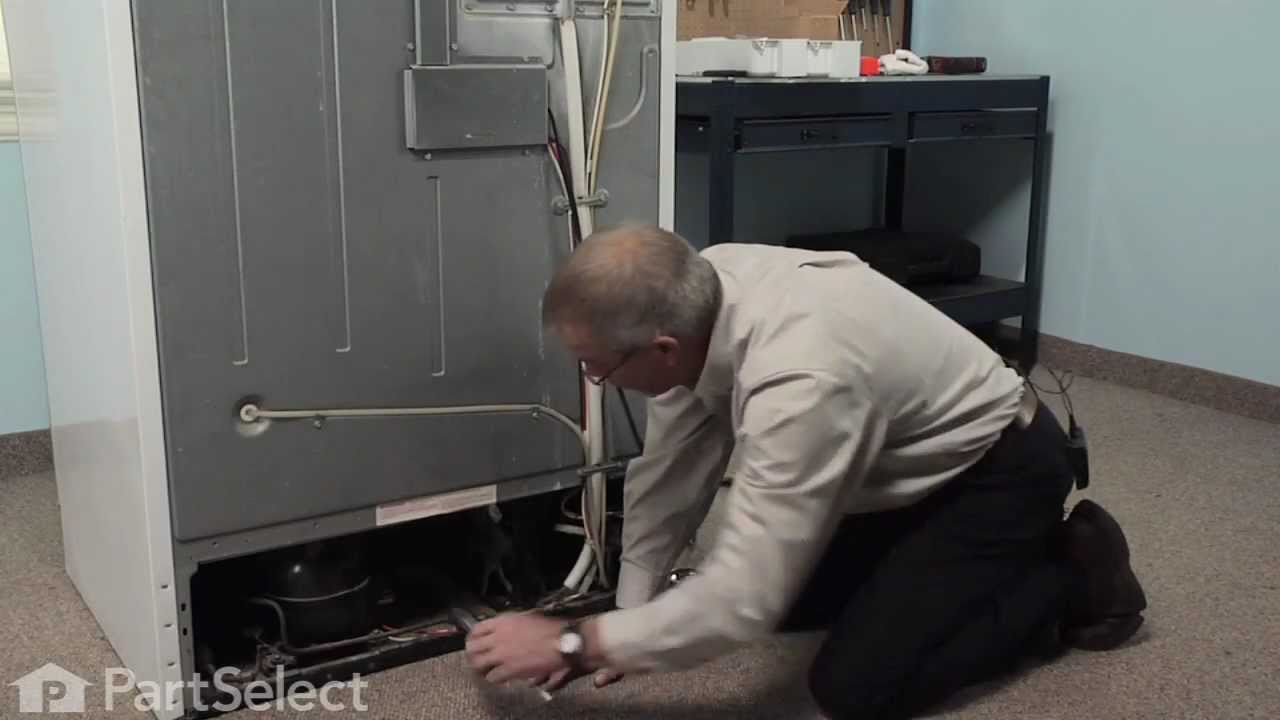

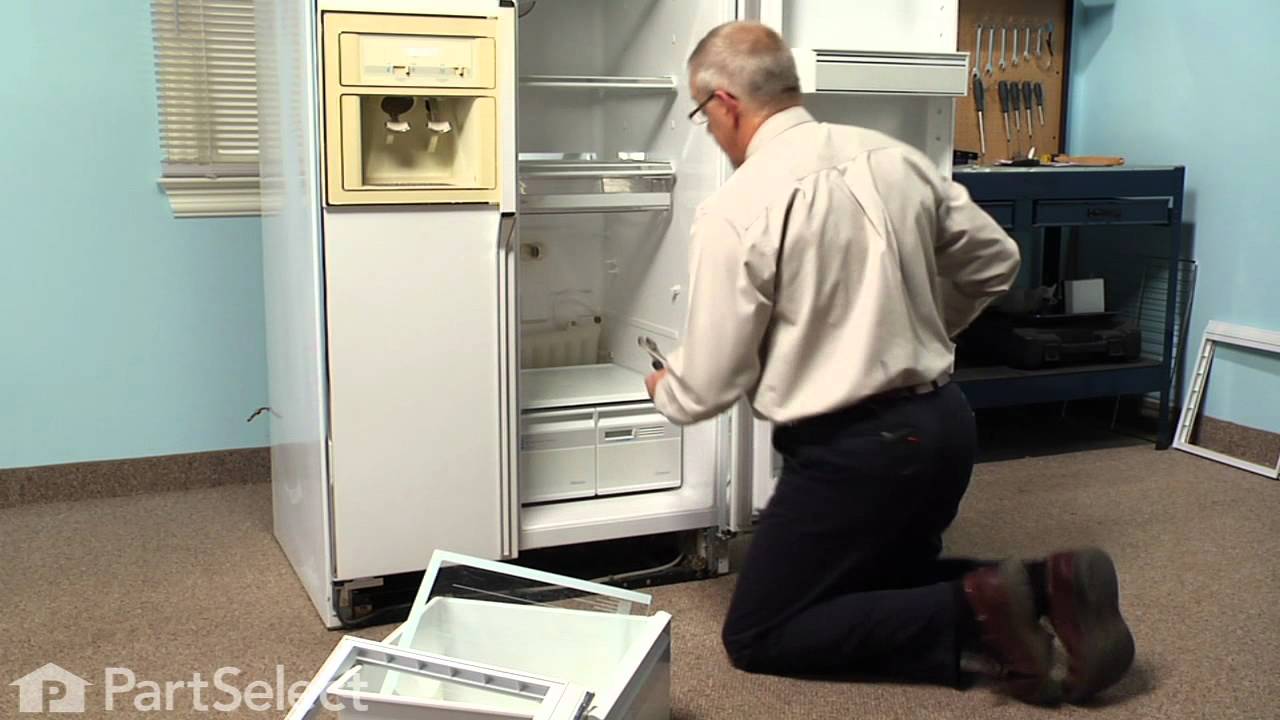
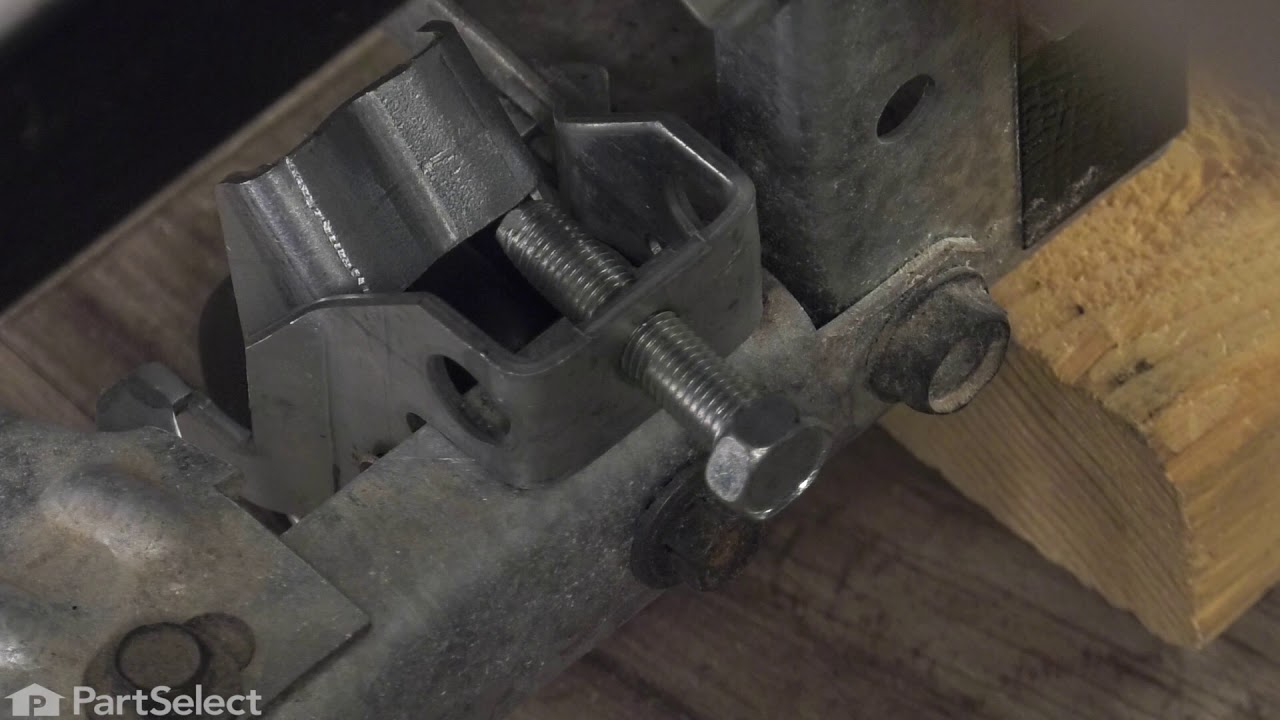
See how others fixed this model. Time, tools, difficulty, and steps that lead to victory!
View More