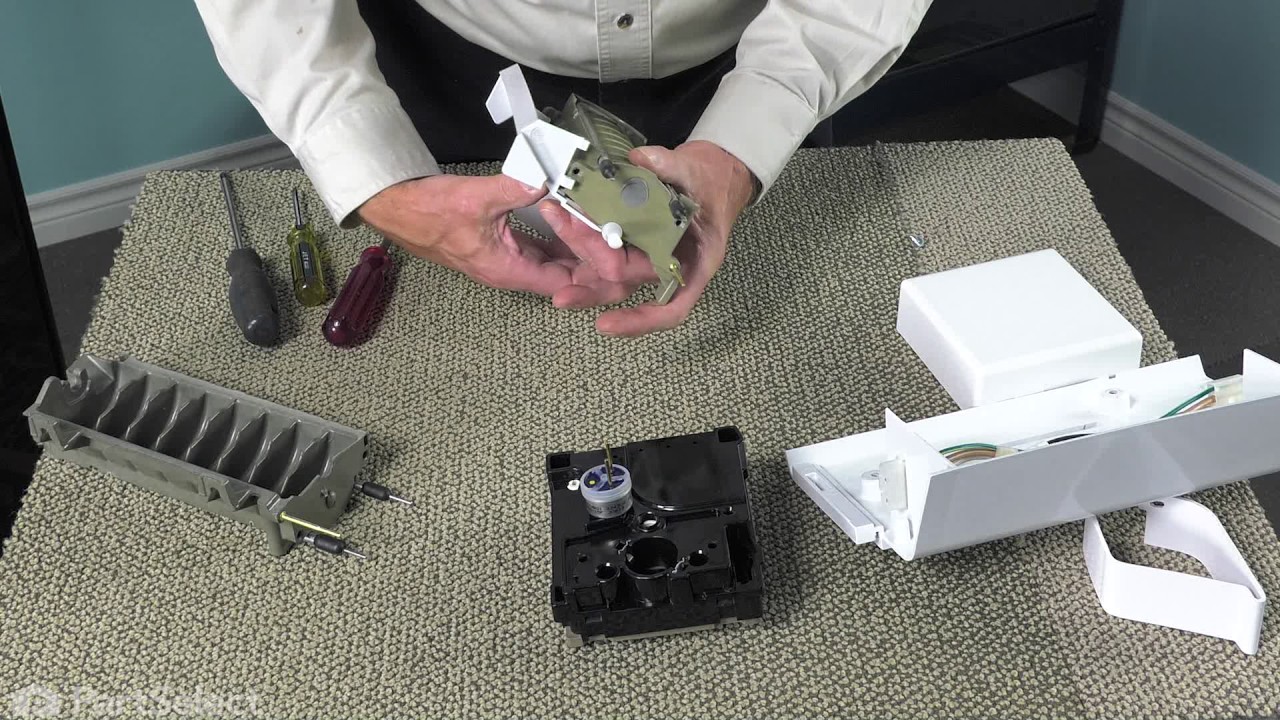
1067982990 Kenmore Refrigerator - Overview

Diagrams for 1067982990

See every part. Know exactly what you need.

Enter a part description. DIY Heroes keep it simple, eg. "belt" or "pump".

Search filter:
Clear Filter
Your search term must have 3 or more characters.
Touch-Up Paint - White – Part Number: 72017
No Longer Available
Touch-Up Paint - White
★★★★★
★★★★★
(23)
Part #72017
This 18 ml bottle of white appliance touch-up paint is used to cover scratches or marks on your appliance. The white touch-up paint can be used on refrigerators, microwaves, ranges, clothes dryers, and freezers. This is a genuine OEM part and includes a brush applicator. Please remember to wear gloves to protect your hands when applying this paint.
Replacement Ice Maker – Part Number: 4317943
$190.47
In Stock
Replacement Ice Maker
★★★★★
★★★★★
(22)
Part #4317943
***NOTE: Ice maker does NOT come with the bail or shut off arm. You must order them separately if required. It does come complete with flat and round plug wiring harness, the mounting hardware, and the instructions. The harness can be reused. The ice maker will not fit refrigerators that have the ice auger mounted on the door.
Refrigerator Water Fill Cup & Bearing – Part Number: WP628356
$46.15
On Order
Refrigerator Water Fill Cup & Bearing
★★★★★
★★★★★
(1)
Part #WP628356
This icemaker water inlet cup is three inches long. It is all white in color and is made of plastic.
Single Outlet Water Valve Kit – Part Number: 4318047
$57.58
In Stock
Single Outlet Water Valve Kit
★★★★★
★★★★★
(1)
Part #4318047
The water inlet valve is a solenoid-operated switch located at the bottom of the refrigerator. When it is energized by electrical power, water is released from the supply line through the water valve and into the compact icemaker mold. ***Please NOTE: This part has been redesigned and may appear different than the original. It has a new quick connection. To install: cut the retaining nut off the existing water line and gently push into new valve. To remove: depress the ring that the tube slides into.
Refrigerator Screw – Part Number: WP489478
$10.41
In Stock
Refrigerator Screw
Part #WP489478
Sold individually.
Refrigerator Ice Mold – Part Number: WPW10190929
$266.76
In Stock
Refrigerator Ice Mold
★★★★★
★★★★★
(4)
Part #WPW10190929
This ice cube mold and heater assembly has a flake resistant surface. It is used with modular style icemakers on some refrigerators.
Refrigerator Compression Nut – Part Number: WP627018
$17.55
On Order
Refrigerator Compression Nut
Part #WP627018
This compression nut is used with the plastic water line of the icemaker assembly.
Spray Paint - 12 oz. - White – Part Number: 350930
No Longer Available
Refrigerator Ice Stripper – Part Number: WP2182124
$60.00
Special Order
Refrigerator Ice Stripper
Part #WP2182124
This part strips ice from the icemaker mold during the ejection cycle to prevent ice pieces from falling back into the mold.
Refrigerator Torx Key Wrench – Part Number: WP1117510
No Longer Available
BRACKET – Part Number: W11500948
$37.35
In Stock
BRACKET
★★★★★
★★★★★
(1)
Part #W11500948
This bracket is used in conjunction with the ice maker.
Silicone Lubricant – Part Number: WP99003172
$23.66
Special Order
Silicone Lubricant
Part #WP99003172

Common Symptoms of the 1067982990

How this model fails, and the parts that fix it.

Watch our pros, then fix it yourself.

See how others fixed this model. Time, tools, difficulty, and steps that lead to victory! View More

Search repair tips from other customers using simple keywords like "replace", "fit", "remove", "inspect". DIY doesn't mean you have to do it alone!

Search filter:
Clear Filter
Your search term must have 3 or more characters.
Ice Maker quit working, I could manually cycle unit but then the water would overflow when unit was re-filling.
596 of 639 people found this instruction helpful.
  • Max from Green Castle, IN
  • Really Easy
  • 15 - 30 mins
  • Nutdriver, Screw drivers
I backed out the 2 top screws about a quarter inch and then removed bottem screw with a quater inch nut driver. I then lifted Ice Maker clear of the two top screws and lowered it enough to unclip the power connection with a small screwdriver. The new Ice Maker was wired correctley for my refrigeator so all I had to do wea reconnect the power connection and mount new Ice Maker on the two top screws and install the bottem screw. It took e while for the new Ice Maker to start it's cycle but after it did, it worked GREAT. Part Select service was OUTSTANDING, ordered part one day and received the next. THANKS!!!!
Was this helpful?
Thank you for voting!
No Ice in the Ice Maker
201 of 237 people found this instruction helpful.
  • Chris from Duluth, GA
  • Really Easy
  • Less than 15 mins
  • Socket set
I am NOT a handyman, and my family laughed at me when I said I was going to fix the ice maker all by myself. I ordered a replacement ice maker. When it arrived, I opened the box and read the instructions. It seemed easy. I removed the old ice maker, with a socket set. I then took off the shut off lever from the old one and placed it on the new one, since the new one didn't come with it. I then put the new one in place. All the parts fit perfectly. The ice machine was making ice within an hour. My family was amazed... and I got the last laugh!
Was this helpful?
Thank you for voting!
The Bearing Cup Assembly was broken and ice would jamb against it during the ice making cycle.
110 of 140 people found this instruction helpful.
  • David from Chester, CA
  • Really Easy
  • Less than 15 mins
  • Nutdriver, Screw drivers
I removed the ice maker from the refrigerator, by removing one screw on the underside bracket and loosening the two screws at the top side, then lifting the ice maker off the loosened screws. I then unplugged the electrical harness that supplies power from the refrigerator to the ice maker. I then disassembled the ice maker by removing the front cover which is snapped in place, then removing two recessed screws at the front. I removed the broken part, I then reassembled the ice maker with the new part. I replaced the two recessed screws at the front and snapped on the cover. Then I reinstalled the ice maker in the refrigator by plugging in the harness, slipping the ice maker over the loosened screws in the refrigerator and replacing the screw that was removed from the underside bracket. Tightening all the screws completed the project.
Was this helpful?
Thank you for voting!