


 My Orders


10679722900 Kenmore Refrigerator - Overview
Diagrams for 10679722900
See every part. Know exactly what you need.

Enter a part description. DIY Heroes keep it simple, eg. "belt" or "pump".
Search filter:
Clear Filter
Your search term must have 3 or more characters.

$26.41
In Stock
Light Bulb - 40W
Part #8009
This an authentic OEM 40-Watt replacement light bulb, used in a number of household appliances. It is specially designed to withstand extreme temperatures, which is why these replacement bulbs are most often used to light the inside of refrigerators and ranges. It features a standard socket base, which means you simply unscrew the burnt-o...Read moreut bulb and screw in the replacement. Depending on the appliance you may require a screwdriver or nut driver to access the light bulb. We recommend you wear work gloves while handling this replacement part. It is constructed of glass and metal and is sold individually. Depending on the appliance and location of the bulb within it, you may want to consider disconnecting power and using a flashlight for easier access to unscrewing and re-screwing in your bulb during this repair.
Read less

No Longer Available
Touch-Up Paint - White
Part #72017
This 18 ml bottle of white appliance touch-up paint is used to cover scratches or marks on your appliance. The white touch-up paint can be used on refrigerators, microwaves, ranges, clothes dryers, and freezers. This is a genuine OEM part and includes a brush applicator. Please remember to wear gloves to protect your hands when applying this paint.

$48.43
In Stock
Refrigerator Bimetal Defrost Thermostat
Part #WPW10225581
If ice is building up in your freezer or if your freezer is getting too warm on the defrost cycle you may need to replace the bi-metal thermostat.

$43.83
In Stock

$45.92
In Stock
Defrost Timer
Part #W10822278
This eight-hour defrost timer will replace most other defrost timers. This device acts like a clock. It continually advances and alternates between activating the cooling cycle and the defrost heater. The best way to make sure you get the correct timer for your refrigerator is to conduct a search for your model number. NOTE: The black lead on the defrost timer, will go to terminal number 2.

$18.95
In Stock
BRACKET-DOOR STOP,ZINC
Part #W11745278
This hinge bracket, also known as a door stop, is attached to the bottom of the door and is used to limit how far the door swings out to protect the refrigerator itself, and any surrounding cabinets from potential damage. If your fridge is having issues opening or staying closed, check the hinges for any damage or cracking. To replace thi...Read mores bracket, simply remove the door off your refrigerator, unscrew and remove this bracket from the bottom of the door, and install the new one. This hinge bracket is an OEM replacement and is compatible with several different makes and models of refrigerator.
Read less

$169.10
In Stock
Crisper Pan
Part #WP2256704
This clear crisper pan helps keep produce fresh by maintaining the right humidity inside your refrigerator. It measures roughly 13 inches by 10 inches at the base and is made of sturdy plastic. Always unplug your fridge before installation and refer to your manual for proper placement.

$190.47
In Stock
Replacement Ice Maker
Part #4317943
***NOTE: Ice maker does NOT come with the bail or shut off arm. You must order them separately if required. It does come complete with flat and round plug wiring harness, the mounting hardware, and the instructions. The harness can be reused. The ice maker will not fit refrigerators that have the ice auger mounted on the door.

$10.95
In Stock

$223.09
In Stock
Refrigerator Shelf Glass Insert
Part #WP2262441
Restore the functionality and appearance of your refrigerator with this replacement glass shelf. Made from durable tempered glass, it serves as both a storage surface and a crisper cover, helping to keep your fridge organized and efficient. The shelf is designed for a secure fit in select refrigerator models and installs easily without tools. Its clear design allows for better visibility and a clean, modern look.

$24.11
In Stock
Ice Maker Water Fill Tube Kit
Part #WP2196157
This kit comes with a fill tube and a compression nut.

$17.29
In Stock
Refrigerator Door Shelf Retainer Bar End Cap
Part #WP2156003
The door shelf retainer bar end cap connects to the retainer bar on your refrigerator’s door shelf, and attaches it to the refrigerator door. If your shelf retainer bar has become disconnected, a damaged end cap could be the cause. To remove the end cap, first unhook the release tab on both ends of the retainer bar. Slide out the bar and ...Read morethe end caps, and slide out the defective cap. Now, simply replace the end cap and snap the bar with end caps back in place on the refrigerator door. This part is made of white plastic and is sold individually.
Read less
Manuals & Care Guides for 10679722900
Click to downloadCommon Symptoms of the 10679722900
How this model fails, and the parts that fix it.
Ice maker not making ice
Fixed by
these parts
these parts


Show All
Leaking
Fixed by
these parts
these parts

Show All
Light not working
Fixed by
these parts
these parts


Show All
Fridge too warm
Fixed by
these parts
these parts


Show All
Freezer not defrosting
Fixed by
these parts
these parts
Show All
Door won’t open or close
Fixed by
these parts
these parts


Show All
Freezer section too warm
Fixed by
these parts
these parts
Show All
Ice maker won’t dispense ice
Fixed by
these parts
these parts

Show All
Will Not Start
Fixed by
these parts
these parts
Show All
Fridge and Freezer are too warm
Fixed by
these parts
these parts
Show All
Frost buildup
Fixed by
these parts
these parts

Show All
Fridge too cold
Fixed by
these parts
these parts
Show All
Freezer too cold
Fixed by
these parts
these parts
Show All
Fridge runs too long
Fixed by
these parts
these parts
Show All
Too warm
Fixed by
these parts
these parts
Show All
Not dispensing water
Fixed by
these parts
these parts

Show All
Noisy
Fixed by
these parts
these parts

Show All
Ice maker dispenses too little ice
Fixed by
these parts
these parts
Show All
Ice maker dispenses too much ice
Fixed by
these parts
these parts
Show All
Won’t start
Fixed by
these parts
these parts
Show All
Clicking sound
Fixed by
these parts
these parts
Show All
Watch our pros, then fix it yourself.

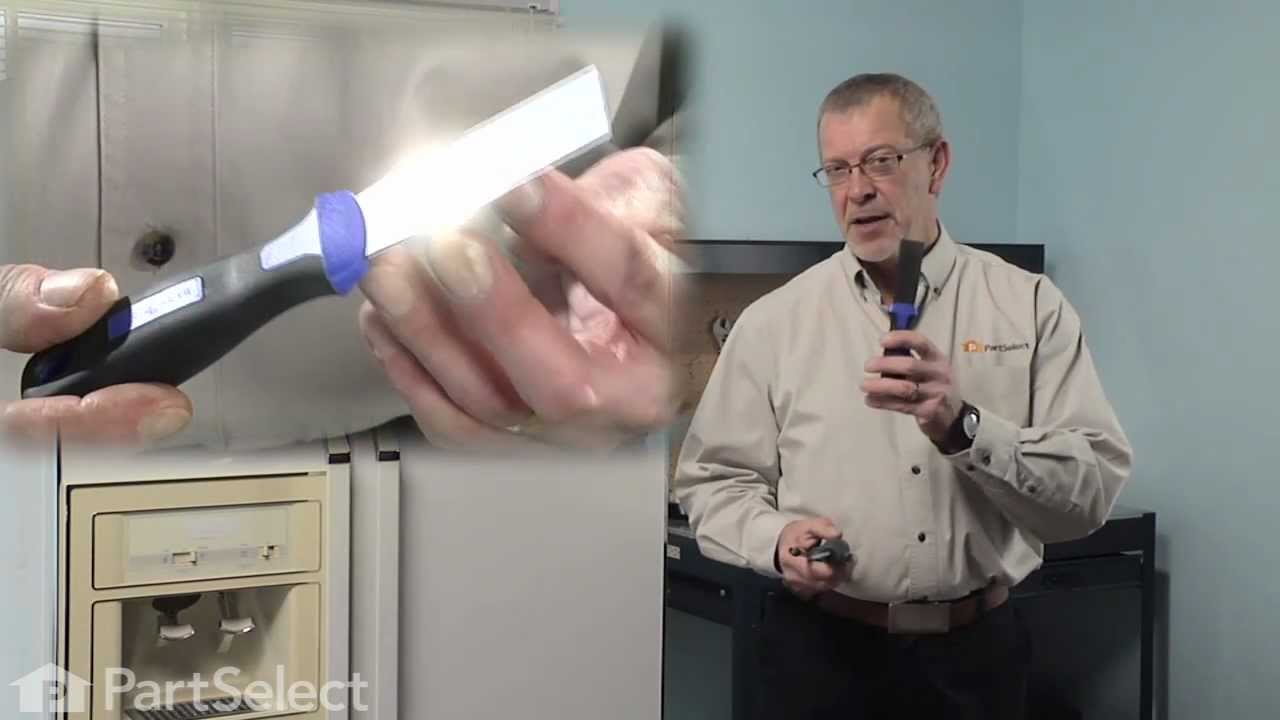
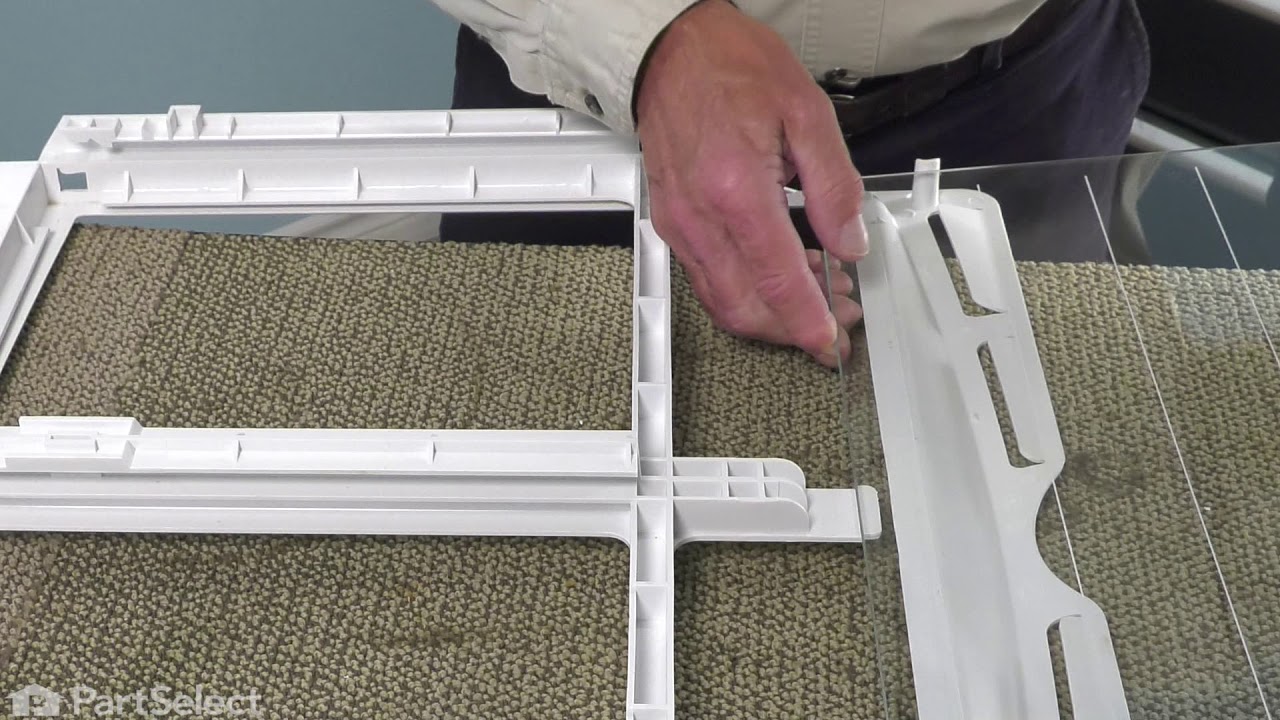
See how others fixed this model. Time, tools, difficulty, and steps that lead to victory!
View More