


 My Orders


10676392410 Kenmore Refrigerator - Overview
Diagrams for 10676392410
See every part. Know exactly what you need.


Enter a part description. DIY Heroes keep it simple, eg. "belt" or "pump".
Search filter:
Clear Filter
Your search term must have 3 or more characters.

$58.29
In Stock
Refrigerator Capacitor
Part #WPW10662129
This part helps the compressor kick on and off while maintaining a constant temperature to keep things frozen in your freezer.

No Longer Available
Touch-Up Paint - White
Part #72017
This 18 ml bottle of white appliance touch-up paint is used to cover scratches or marks on your appliance. The white touch-up paint can be used on refrigerators, microwaves, ranges, clothes dryers, and freezers. This is a genuine OEM part and includes a brush applicator. Please remember to wear gloves to protect your hands when applying this paint.

$48.43
In Stock
Refrigerator Bimetal Defrost Thermostat
Part #WPW10225581
If ice is building up in your freezer or if your freezer is getting too warm on the defrost cycle you may need to replace the bi-metal thermostat.

$43.83
In Stock

$18.95
In Stock
BRACKET-DOOR STOP,ZINC
Part #W11745278
This hinge bracket, also known as a door stop, is attached to the bottom of the door and is used to limit how far the door swings out to protect the refrigerator itself, and any surrounding cabinets from potential damage. If your fridge is having issues opening or staying closed, check the hinges for any damage or cracking. To replace thi...Read mores bracket, simply remove the door off your refrigerator, unscrew and remove this bracket from the bottom of the door, and install the new one. This hinge bracket is an OEM replacement and is compatible with several different makes and models of refrigerator.
Read less

$10.95
In Stock

$17.55
In Stock

No Longer Available

$16.72
In Stock
Refrigerator Door Hinge Nylon Washer
Part #WP487576
This small hinge washer acts as a spacer between the refrigerator door and hinge. It helps keep the door aligned and reduces wear as the door moves. Replace a missing, cracked, or worn washer. Empty the door shelves and have another person support the door during installation. Use the exact model number to confirm fit.

$123.43
In Stock
Start Relay
Part #WPW10448874
The Compressor Start Relay with Overload is an OEM replacement part designed for use with several refrigerator models. This part attaches to the compressor to help start the motor, ensuring that your refrigerator runs smoothly. The overload protection feature helps safeguard the compressor from damage. Always unplug the refrigerator and s...Read moretore perishable items before installing the relay. Be sure to wear work gloves during installation for safety, and verify compatibility with your model to ensure a proper fit.
Read less

$10.41
In Stock

$17.55
In Stock
Refrigerator Insert
Part #WP489467
Have a Whirlpool refrigerator that's not functioning properly due to a faulty door hinge? We understand your problem and we have just the right solution for you ? the authentic OEM Insert Hinge Shim, designed specifically for a range of Whirlpool models. This essential part fits your appliance perfectly, ensuring your fridge's door operat...Read morees smoothly once again, just like when it was brand new! Before you proceed with your purchase, please confirm that it's a match for your model. There might be similar parts out there with slight variations in size and shape, this helps to ensure we're solving your problem right the first time ? no more worries about unnecessary mess-ups or returns. Safety comes first! We recommend wearing work gloves during the installation of the Insert Hinge Shim. This part doesn't just restore your refrigerator to its optimal working condition'it also extends your appliance's life, resulting in a more efficient and dependable refrigerator. Choose the reliable Insert Hinge Shim for your Whirlpool appliance. We're here to see your refrigerator up and running and your life back to normal.
Read less
Common Symptoms of the 10676392410
How this model fails, and the parts that fix it.
Light not working
Fixed by
these parts
these parts

Show All
Fridge too warm
Fixed by
these parts
these parts


Show All
Fridge and Freezer are too warm
Fixed by
these parts
these parts

Show All
Freezer section too warm
Fixed by
these parts
these parts
Show All
Will Not Start
Fixed by
these parts
these parts
Show All
Door won’t open or close
Fixed by
these parts
these parts


Show All
Freezer not defrosting
Fixed by
these parts
these parts
Show All
Clicking sound
Fixed by
these parts
these parts
Show All
Too warm
Fixed by
these parts
these parts
Show All
Fridge too cold
Fixed by
these parts
these parts
Show All
Frost buildup
Fixed by
these parts
these parts
Show All
Freezer too cold
Fixed by
these parts
these parts
Show All
Noisy
Fixed by
these parts
these parts

Show All
Fridge runs too long
Fixed by
these parts
these parts
Show All
Won’t start
Fixed by
these parts
these parts
Show All
Leaking
Fixed by
these parts
these parts
Show All
Ice maker not making ice
Fixed by
these parts
these parts

Show All
Watch our pros, then fix it yourself.
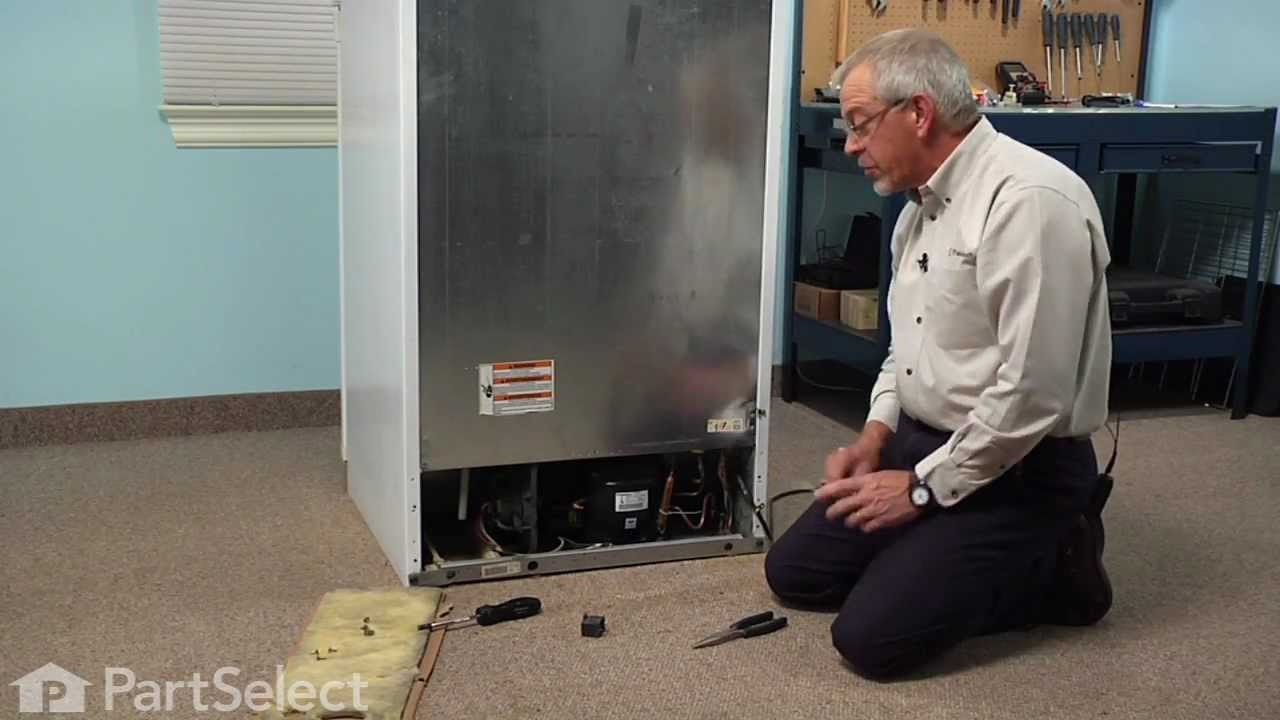
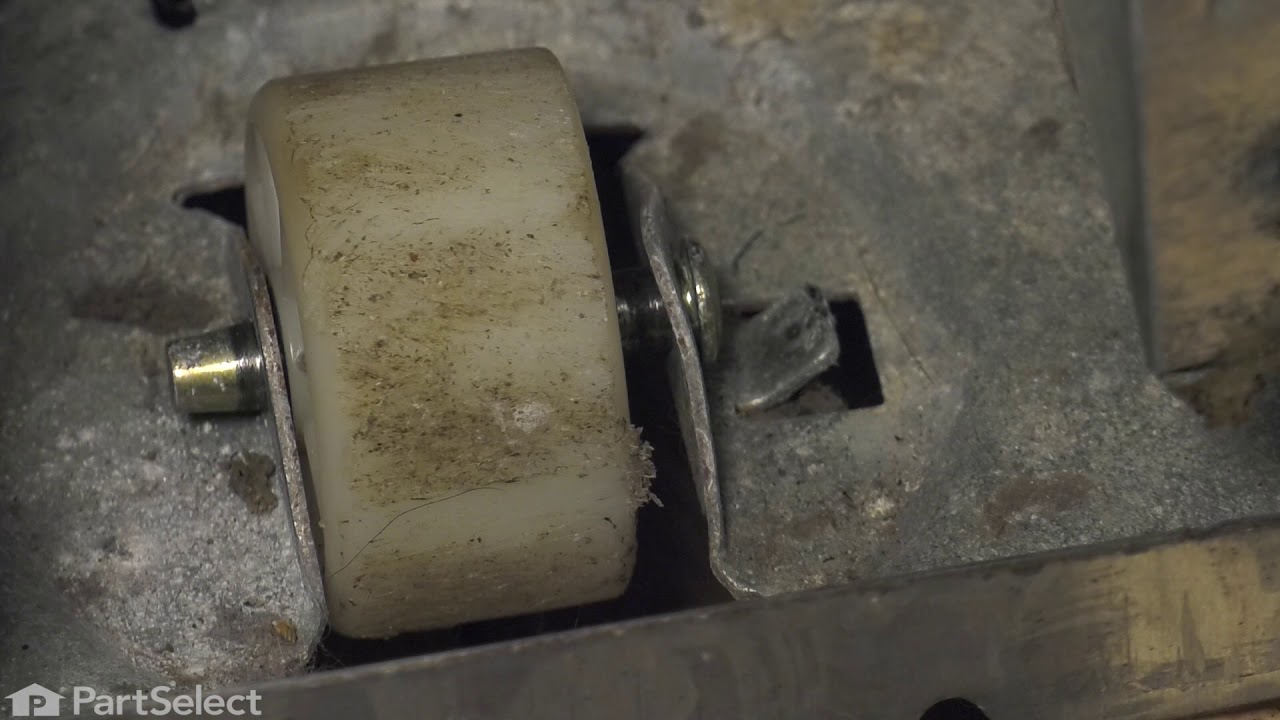

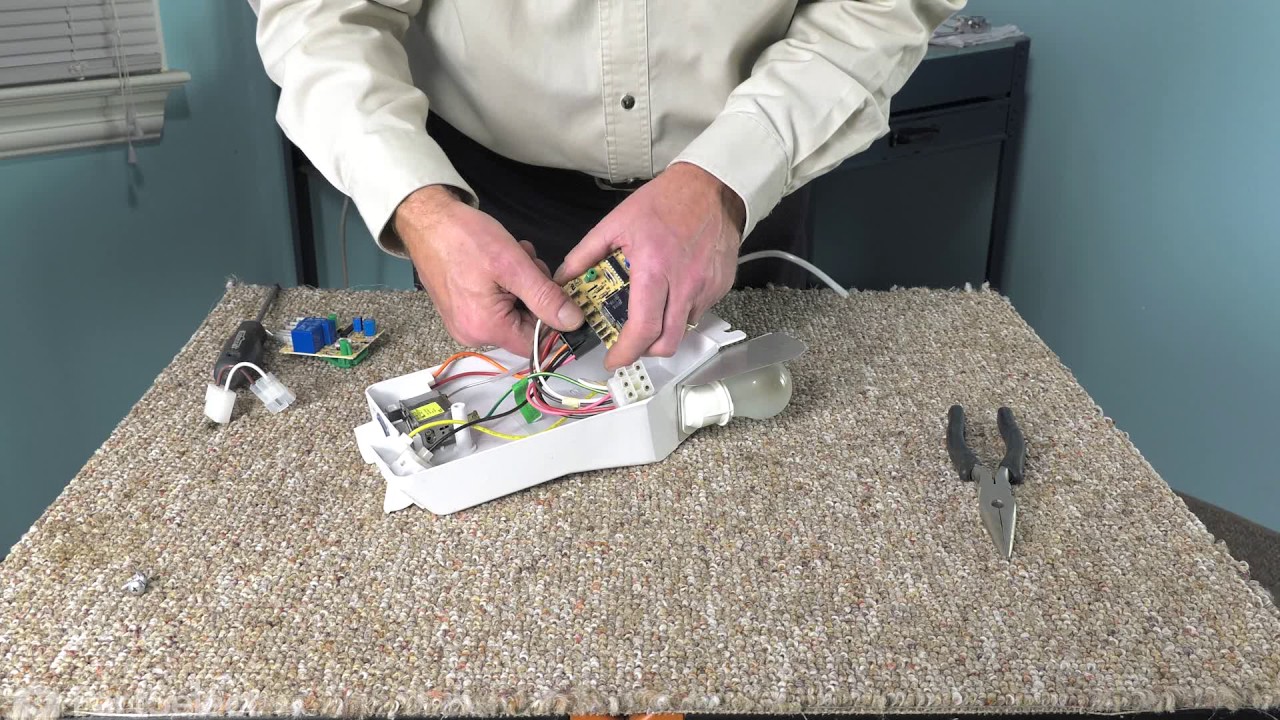

See how others fixed this model. Time, tools, difficulty, and steps that lead to victory!
View More