


 My Orders


1067201 Kenmore - Overview
Models starting with 1067201
Click on the best match to narrow your results.
- 106720120 Kenmore Freezer
- 10672012010 Kenmore Refrigerator
- 106720122 Kenmore Freezer
- 106720123 Kenmore Freezer
- 106720124 Kenmore Freezer
- 10672013010 Kenmore Refrigerator
- 10672013017 Kenmore Refrigerator (REFRIGERATOR)
- 106720140 Kenmore Freezer
- 106720141 Kenmore Freezer
- 10672019010 Kenmore Refrigerator
Enter a part description. DIY Heroes keep it simple, eg. "belt" or "pump".
Search filter:
Clear Filter
Your search term must have 3 or more characters.

$52.60
In Stock
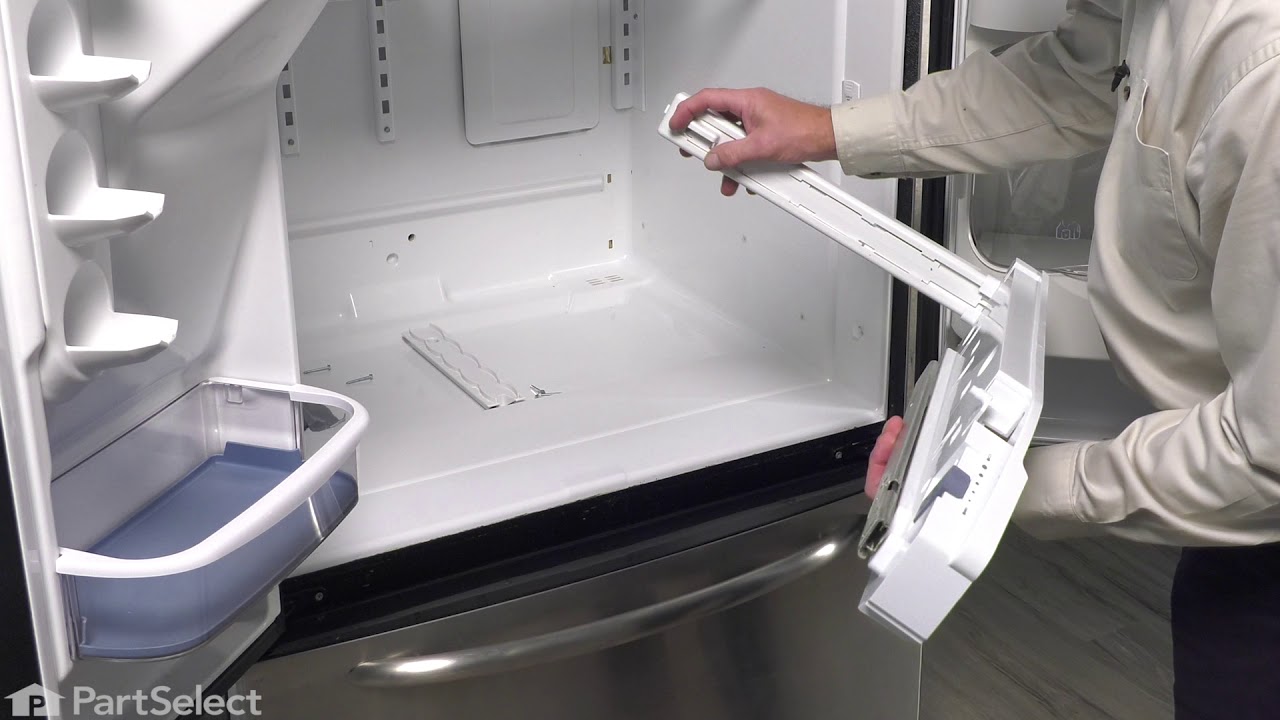
Pantry End Cap Kit, LH and RH
Part #W10874836
This manufacturer-approved Refrigerator Pantry End Cap Kit, also known as the Refrigerator Drawer Support, is a kit containing all parts of the Pantry End Cap. It snaps into place on the appliance’s pantry drawer to help contain the items inside and to keep your refrigerator door from sliding all the way out. It is rated as "medium" diff...Read moreiculty to install, is constructed of plastic and comes in white. If broken or missing, the pantry drawer will not stay in place and the part should be replaced. Refer to your user manual and model number to ensure this is the correct part for you. This kit includes both the right and left side end caps, as well as the pins that will hold them in place. To replace an end cap, remove the three screws holding it in place. Then, remove the pin and end cap, replacing the old end cap with the new end cap. In the past, the left and right end caps were sold separately, but the part has been updated and now includes both sides. The part is sold as a kit, and unfortunately, as such none of the parts are available individually.
Read less

$26.41
In Stock
Light Bulb - 40W
Part #8009
This an authentic OEM 40-Watt replacement light bulb, used in a number of household appliances. It is specially designed to withstand extreme temperatures, which is why these replacement bulbs are most often used to light the inside of refrigerators and ranges. It features a standard socket base, which means you simply unscrew the burnt-o...Read moreut bulb and screw in the replacement. Depending on the appliance you may require a screwdriver or nut driver to access the light bulb. We recommend you wear work gloves while handling this replacement part. It is constructed of glass and metal and is sold individually. Depending on the appliance and location of the bulb within it, you may want to consider disconnecting power and using a flashlight for easier access to unscrewing and re-screwing in your bulb during this repair.
Read less

$38.32
In Stock
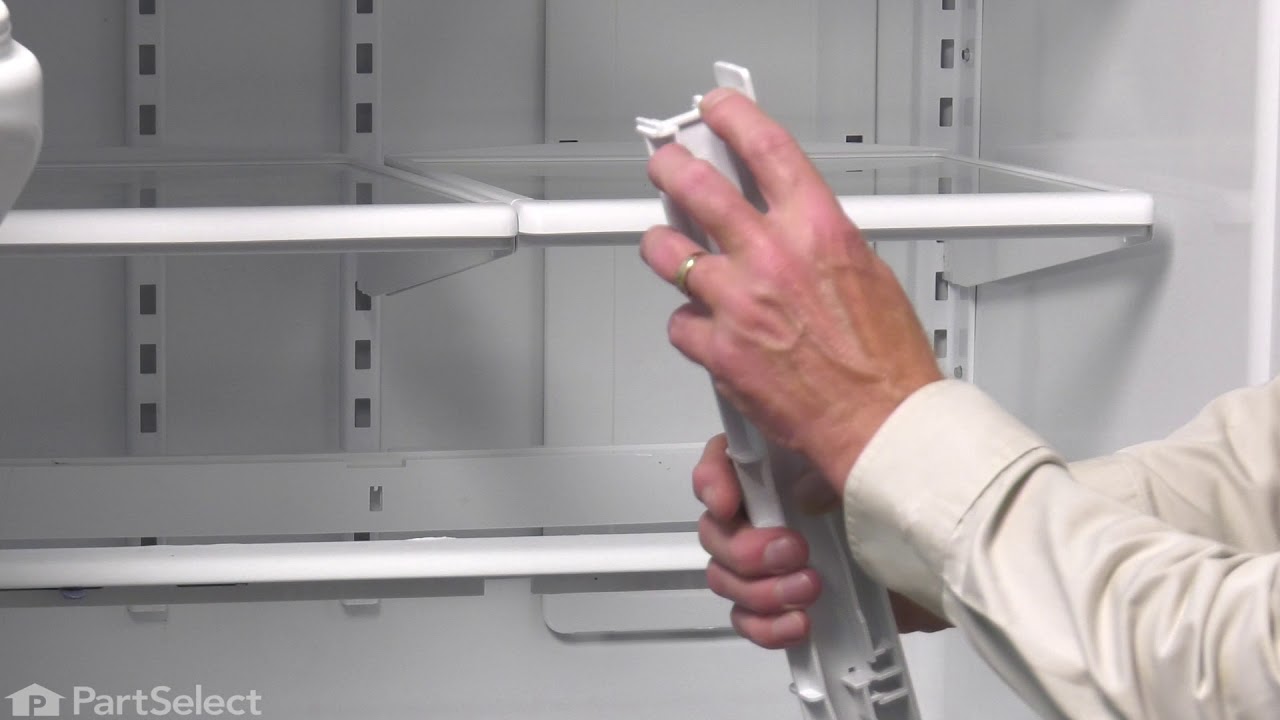
Refrigerator Center Rail
Part #WPW10326469
This OEM Center Rail is a white plastic part which supports the crisper frame, which holds the crisper. Fifteen inches long and white in colour, if broken, the support may no longer hold properly. Refer to your model number and user manual to see if this part will be right for your appliance. This part is a very easy repair which only ta...Read morekes a few minutes and does not require any tools. Just slide the crisper drawers out, lift out the glass shelf, slide the new rale into place and replace the glass shelf and crisper drawers. This part is sold individually and not as part of a set.
Read less

$52.75
In Stock
P-Trap Drain Tube Kit
Part #W10619951
Also known as a duck bill. This kit includes the tube extension piece and spacer.

$214.33
In Stock
Refrigerator Pantry Drawer Door Cover
Part #W10827015
The pantry drawer lid helps keep everything inside the drawer, it acts as a cover and keeps your drawer at the proper temperature by creating a seal. If the door will not open or close, or if the drawer section is too cold, you may need to replace the lid. The pantry drawer lid is a genuine OEM part.

$173.83
In Stock
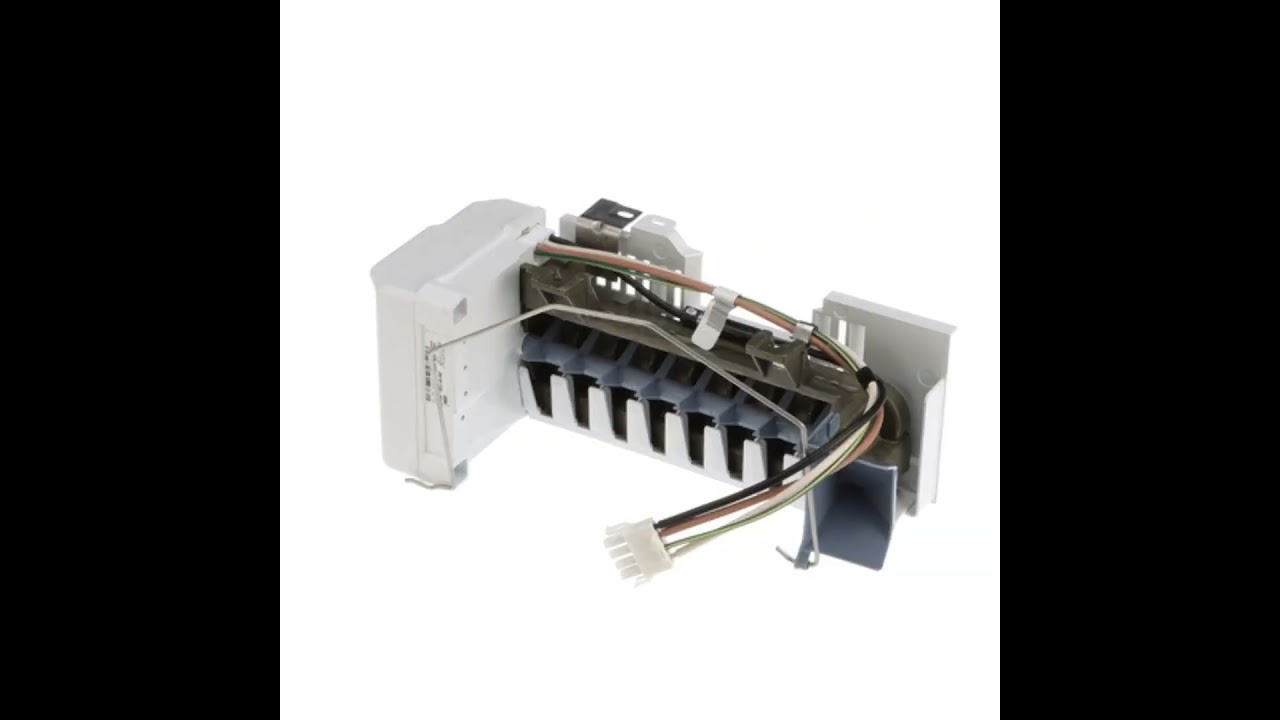
Refrigerator Ice Maker Assembly
Part #W10884390
This ice maker assembly is designed to produce and dispense ice efficiently within the freezer compartment of compatible refrigerator models. It includes a built-in shut-off arm and a wire harness for proper installation, ensuring reliable operation and integration with the appliance’s electrical system. The unit functions by freezing wat...Read moreer into ice cubes, ejecting them into the ice bucket, and preparing them for dispensing. If your current ice maker is failing to produce ice or is not ejecting ice properly, replacement is recommended. This assembly is sold individually and does not include additional accessories or components. Installation typically involves disconnecting power, removing the old unit, and securing the new assembly in place using the provided harness and mounting points.
Read less

$147.86
In Stock
Replacement Ice Maker
Part #D7824706Q
This modular ice maker assembly replaces worn-out units to restore ice production in refrigerators. It includes the ice mold and control device but excludes the cover, ice level arm, wire harness, and mounting hardware, which must be reused or ordered separately. Unplug the refrigerator before installation and use work gloves for safety. Check compatibility with your model number before purchase.

$58.29
In Stock
Refrigerator Capacitor
Part #WPW10662129
This part helps the compressor kick on and off while maintaining a constant temperature to keep things frozen in your freezer.

No Longer Available
Touch-Up Paint - White
Part #72017
This 18 ml bottle of white appliance touch-up paint is used to cover scratches or marks on your appliance. The white touch-up paint can be used on refrigerators, microwaves, ranges, clothes dryers, and freezers. This is a genuine OEM part and includes a brush applicator. Please remember to wear gloves to protect your hands when applying this paint.

$266.76
In Stock
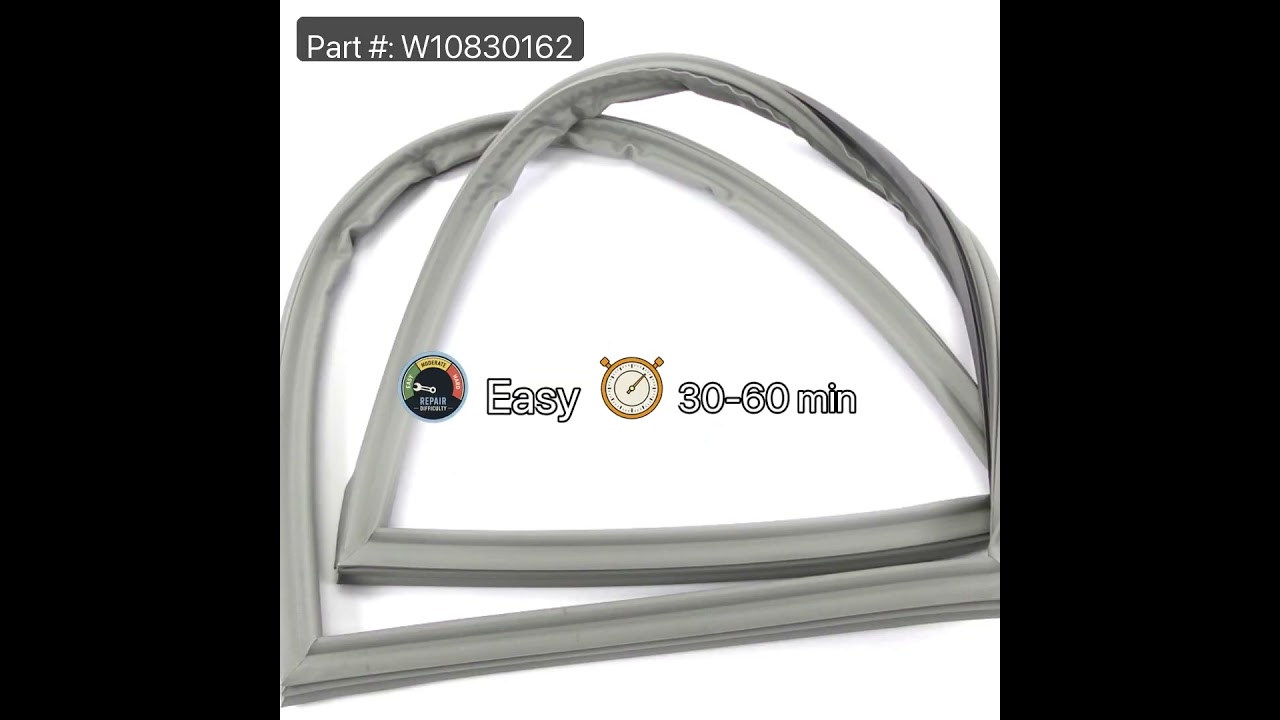
Door Gasket - Gray
Part #W10830162
If your fridge door is sweating or hard to open and close, the gasket might need replacing. This gray magnetic gasket helps seal the door tightly to keep cold air in and warm air out. It runs along all sides of the door and helps your fridge stay efficient. If it’s cracked or not sealing well, swapping it out is a simple fix that can make a big difference.

$43.83
In Stock

$56.05
In Stock
Refrigerator Water Filter Bypass
Part #W11395888
This water filter bypass cap is a genuine OEM component designed for select Whirlpool, Maytag, KitchenAid, and affiliated refrigerator models. Installed in place of the water filter, it allows uninterrupted water flow to the dispenser and ice maker when the filter is removed or non-functional. The cap fits securely into the water filter h...Read moreead, providing a temporary or permanent bypass solution without filtering the water. It is commonly used during troubleshooting or when a replacement filter is unavailable. The kit includes the bypass cap and may feature installation instructions for quick and secure setup. Note: This part does not purify water and should not be used as a substitute for a functioning filter in systems requiring filtration.
Read less
Common Symptoms of models starting with 1067201
How this model fails, and the parts that fix it.
Ice maker not making ice
Fixed by
these parts
these parts


Show All
Leaking
Fixed by
these parts
these parts


Show All
Light not working
Fixed by
these parts
these parts


Show All
Door won’t open or close
Fixed by
these parts
these parts


Show All
Fridge too warm
Fixed by
these parts
these parts


Show All
Will Not Start
Fixed by
these parts
these parts

Show All
Freezer section too warm
Fixed by
these parts
these parts
Show All
Noisy
Fixed by
these parts
these parts


Show All
Ice maker won’t dispense ice
Fixed by
these parts
these parts
Show All
Fridge and Freezer are too warm
Fixed by
these parts
these parts
Show All
Freezer not defrosting
Fixed by
these parts
these parts

Show All
Frost buildup
Fixed by
these parts
these parts

Show All
Not dispensing water
Fixed by
these parts
these parts


Show All
Door Sweating
Fixed by
these parts
these parts


Show All
Clicking sound
Fixed by
these parts
these parts

Show All
Fridge too cold
Fixed by
these parts
these parts

Show All
Too warm
Fixed by
these parts
these parts
Show All
Fridge runs too long
Fixed by
these parts
these parts
Show All
Ice maker dispenses too much ice
Fixed by
these parts
these parts
Show All
Won’t start
Fixed by
these parts
these parts
Show All
Ice maker dispenses too little ice
Fixed by
these parts
these parts
Show All
Freezer too cold
Fixed by
these parts
these parts
Show All
Watch our pros, then fix it yourself.
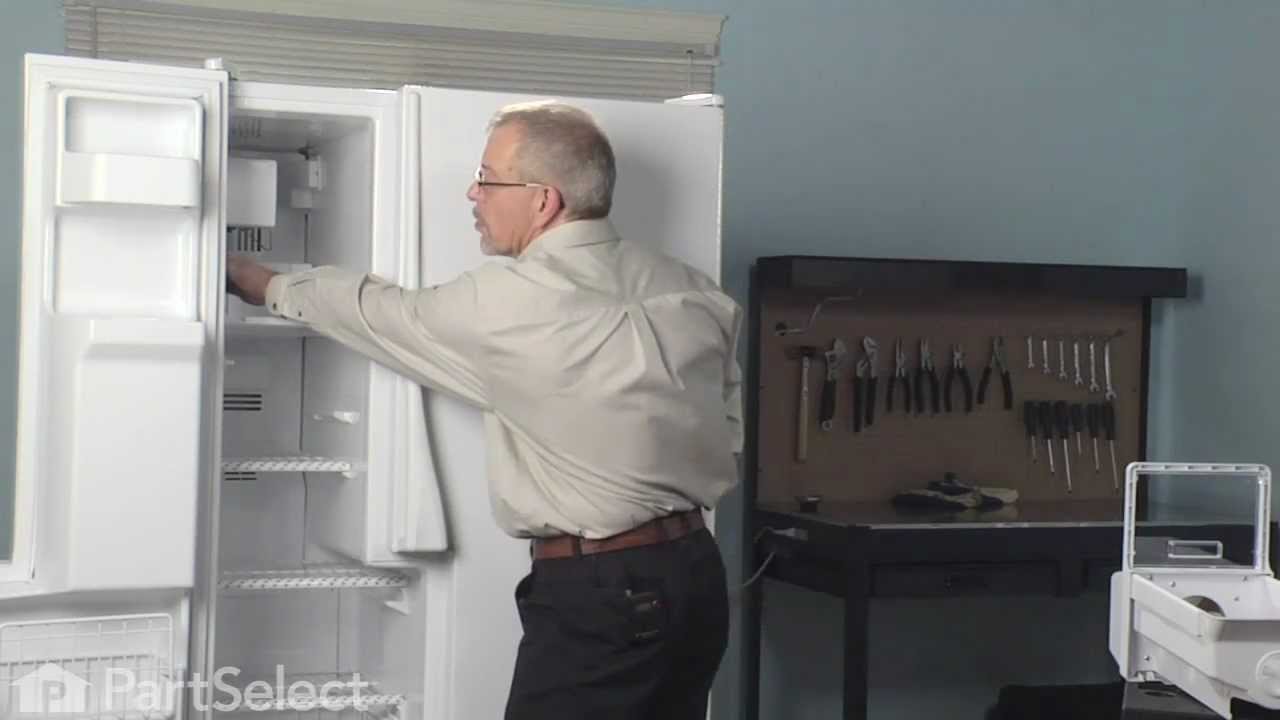
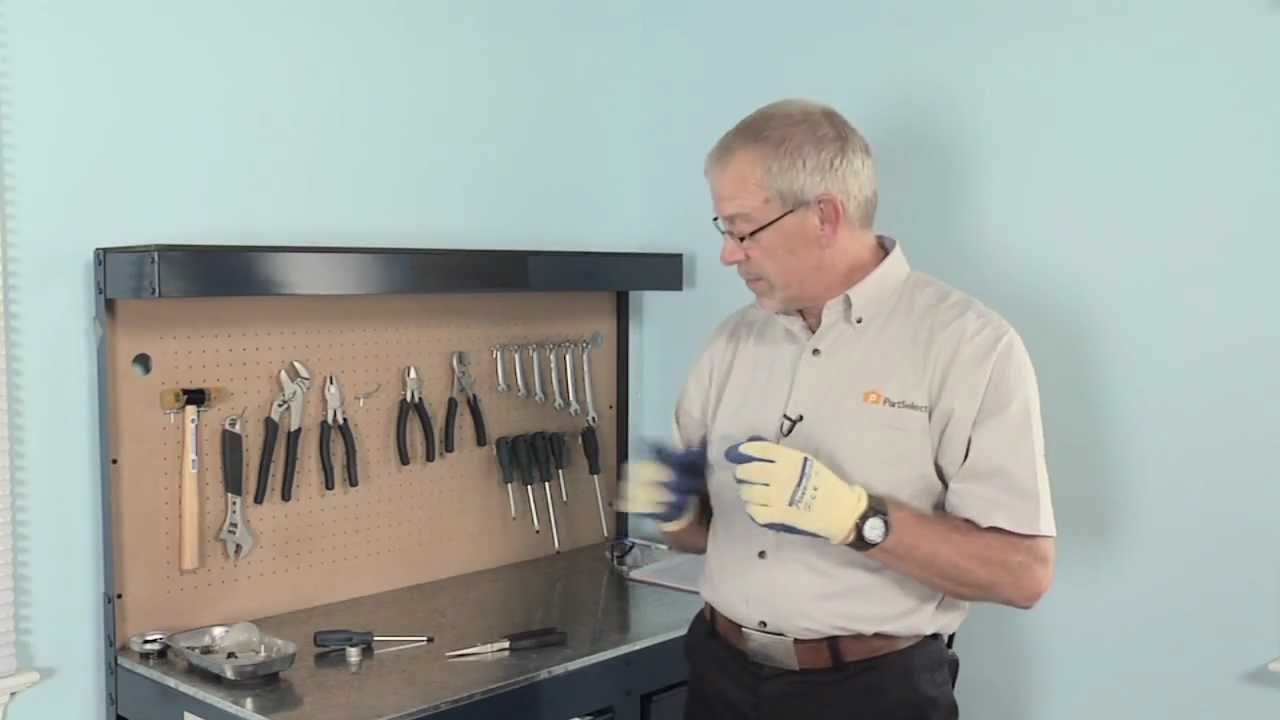
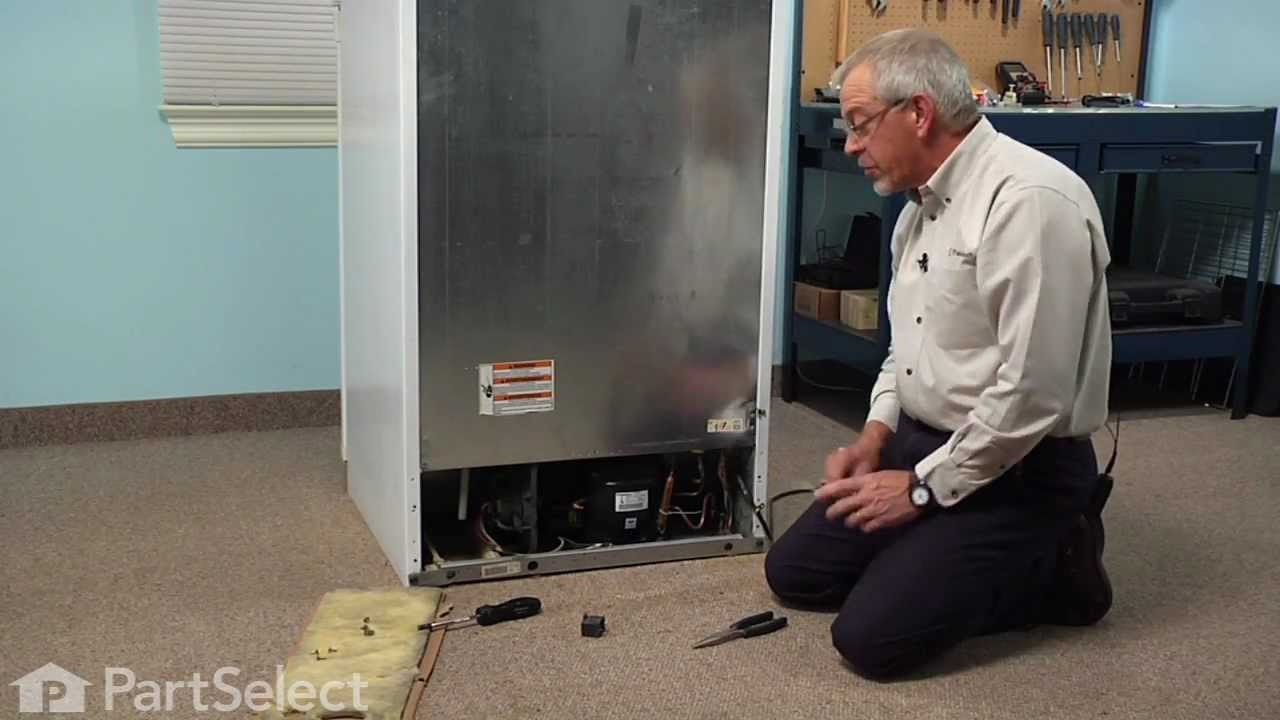
See how others fixed this model. Time, tools, difficulty, and steps that lead to victory!
View More