


 My Orders


1066748621 Kenmore Refrigerator - Overview
Diagrams for 1066748621
See every part. Know exactly what you need.

Enter a part description. DIY Heroes keep it simple, eg. "belt" or "pump".
Search filter:
Clear Filter
Your search term must have 3 or more characters.

$43.83
In Stock

$18.95
In Stock
BRACKET-DOOR STOP,ZINC
Part #W11745278
This hinge bracket, also known as a door stop, is attached to the bottom of the door and is used to limit how far the door swings out to protect the refrigerator itself, and any surrounding cabinets from potential damage. If your fridge is having issues opening or staying closed, check the hinges for any damage or cracking. To replace thi...Read mores bracket, simply remove the door off your refrigerator, unscrew and remove this bracket from the bottom of the door, and install the new one. This hinge bracket is an OEM replacement and is compatible with several different makes and models of refrigerator.
Read less

$190.47
In Stock
Replacement Ice Maker
Part #4317943
***NOTE: Ice maker does NOT come with the bail or shut off arm. You must order them separately if required. It does come complete with flat and round plug wiring harness, the mounting hardware, and the instructions. The harness can be reused. The ice maker will not fit refrigerators that have the ice auger mounted on the door.

$115.19
In Stock
Refrigerator Condenser Fan Motor Kit
Part #833697
This condenser fan motor operates in a clockwise fashion and carries carries 2W and 115V. It comes with screws, a mounting nut for the blade and a cushion. This part provides forced-air cooling for the condenser coil.

$24.11
In Stock
Ice Maker Water Fill Tube Kit
Part #WP2196157
This kit comes with a fill tube and a compression nut.

$57.58
In Stock
Single Outlet Water Valve Kit
Part #4318047
The water inlet valve is a solenoid-operated switch located at the bottom of the refrigerator. When it is energized by electrical power, water is released from the supply line through the water valve and into the compact icemaker mold.
***Please NOTE: This part has been redesigned and may appear different than the original. It has a new...Read more quick connection. To install: cut the retaining nut off the existing water line and gently push into new valve. To remove: depress the ring that the tube slides into.
Read less

$10.50
In Stock
Screw
Part #WP488729
Metallic screw that is less than an inch long. Does not include the plastic washer.

$13.85
In Stock
Refrigerator Hinge Washer
Part #WP488296
This part can be used on either side of the center door hinges for some refrigerators.

$11.96
In Stock

$43.95
In Stock
Water Tube Kit
Part #W10823511
This is the replacement water tube kit for your refrigerator. This tubing is made of plastic, is 1/4 inch in diameter, and comes with 2 inserts. This tube may be longer than the original tube, and may need to be cut. This water tube transports water to the ice and water dispensers. If your refrigerator is leaking, or if the ice and water ...Read moredispensers are not dispensing properly, you may need to replace this tube. This part is sold individually and is an OEM part sourced directly from the manufacturer.
Read less

$10.95
In Stock
Refrigerator Screw
Part #WP98165
This screw is a little under an inch long and is made of metal. It is used with a refrigerator's ice maker assembly. Sold individually.

$10.47
Special Order
Common Symptoms of the 1066748621
How this model fails, and the parts that fix it.
Ice maker not making ice
Fixed by
these parts
these parts


Show All
Light not working
Fixed by
these parts
these parts


Show All
Leaking
Fixed by
these parts
these parts

Show All
Noisy
Fixed by
these parts
these parts


Show All
Fridge too warm
Fixed by
these parts
these parts
Show All
Door won’t open or close
Fixed by
these parts
these parts


Show All
Freezer section too warm
Fixed by
these parts
these parts
Show All
Ice maker won’t dispense ice
Fixed by
these parts
these parts
Show All
Fridge runs too long
Fixed by
these parts
these parts
Show All
Fridge and Freezer are too warm
Fixed by
these parts
these parts
Show All
Will Not Start
Fixed by
these parts
these parts

Show All
Not dispensing water
Fixed by
these parts
these parts

Show All
Ice maker dispenses too little ice
Fixed by
these parts
these parts
Show All
Ice maker dispenses too much ice
Fixed by
these parts
these parts
Show All
Fridge too cold
Fixed by
these parts
these parts
Show All
Won’t start
Fixed by
these parts
these parts
Show All
Too warm
Fixed by
these parts
these parts
Show All
Clicking sound
Fixed by
these parts
these parts
Show All
Watch our pros, then fix it yourself.


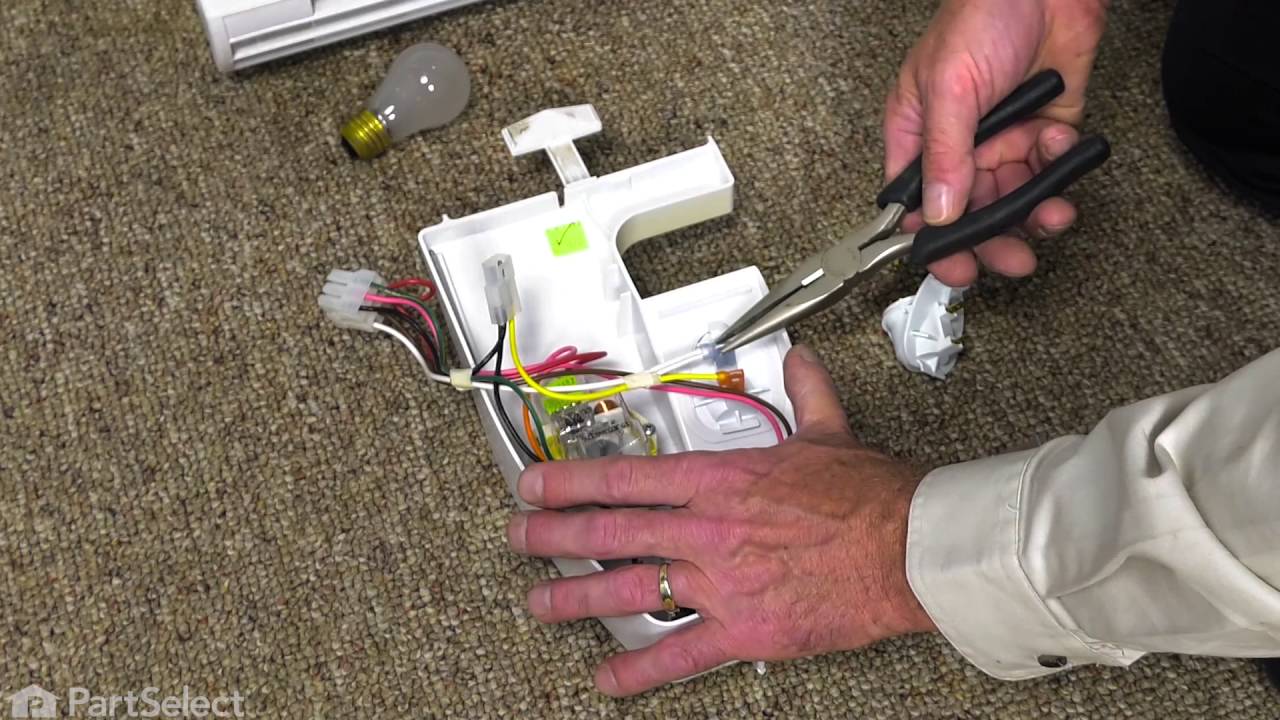
See how others fixed this model. Time, tools, difficulty, and steps that lead to victory!
View More