


 My Orders


10658557891 Kenmore Refrigerator - Overview

Enter a part description. DIY Heroes keep it simple, eg. "belt" or "pump".
Search filter:
Clear Filter
Your search term must have 3 or more characters.

No Longer Available
Touch-Up Paint - White
Part #72017
This 18 ml bottle of white appliance touch-up paint is used to cover scratches or marks on your appliance. The white touch-up paint can be used on refrigerators, microwaves, ranges, clothes dryers, and freezers. This is a genuine OEM part and includes a brush applicator. Please remember to wear gloves to protect your hands when applying this paint.

$108.19
In Stock
Water Inlet Valve
Part #W10408179
This water inlet valve supplies water to your refrigerator’s ice maker and dispenser. It includes a valve, tubing, and a coupling. The pre-filter bracket connector must be purchased separately if required. Unplug the refrigerator and wear gloves for safe installation.

$48.43
In Stock
Refrigerator Bimetal Defrost Thermostat
Part #WPW10225581
If ice is building up in your freezer or if your freezer is getting too warm on the defrost cycle you may need to replace the bi-metal thermostat.

$190.47
In Stock
Replacement Ice Maker
Part #4317943
***NOTE: Ice maker does NOT come with the bail or shut off arm. You must order them separately if required. It does come complete with flat and round plug wiring harness, the mounting hardware, and the instructions. The harness can be reused. The ice maker will not fit refrigerators that have the ice auger mounted on the door.

$24.11
In Stock
Ice Maker Water Fill Tube Kit
Part #WP2196157
This kit comes with a fill tube and a compression nut.

$46.15
On Order
Refrigerator Water Fill Cup & Bearing
Part #WP628356
This icemaker water inlet cup is three inches long. It is all white in color and is made of plastic.

$84.02
Special Order
Refrigerator Start Relay
Part #W10920279
This is a push-on start relay for your refrigerator. It attaches to the compressor and starts it by briefly boosting it. It will then shut off as soon as the motor is up to the required speed. You may need a new relay if your appliance is too warm or will not start. The tools you will need to make this repair include a flat-blade screwdri...Read morever and a pair of needle-nose pliers. This start relay measures to be just over one square inch.
Read less

No Longer Available

$29.95
In Stock
Freezer Defrost Tube Heater Kit
Part #819043
Also known as heat probe. This part prevents drain freeze-ups.

$10.41
In Stock

$266.76
In Stock
Refrigerator Ice Mold
Part #WPW10190929
This ice cube mold and heater assembly has a flake resistant surface. It is used with modular style icemakers on some refrigerators.

$17.55
Special Order
Refrigerator Compression Nut
Part #WP627018
This compression nut is used with the plastic water line of the icemaker assembly.
Common Symptoms of the 10658557891
How this model fails, and the parts that fix it.
Ice maker not making ice
Fixed by
these parts
these parts


Show All
Leaking
Fixed by
these parts
these parts
Show All
Fridge too warm
Fixed by
these parts
these parts


Show All
Not dispensing water
Fixed by
these parts
these parts
Show All
Freezer not defrosting
Fixed by
these parts
these parts
Show All
Ice maker won’t dispense ice
Fixed by
these parts
these parts

Show All
Freezer section too warm
Fixed by
these parts
these parts
Show All
Fridge and Freezer are too warm
Fixed by
these parts
these parts
Show All
Will Not Start
Fixed by
these parts
these parts
Show All
Fridge too cold
Fixed by
these parts
these parts
Show All
Frost buildup
Fixed by
these parts
these parts
Show All
Freezer too cold
Fixed by
these parts
these parts
Show All
Ice maker dispenses too little ice
Fixed by
these parts
these parts
Show All
Ice maker dispenses too much ice
Fixed by
these parts
these parts

Show All
Too warm
Fixed by
these parts
these parts
Show All
Fridge runs too long
Fixed by
these parts
these parts
Show All
Clicking sound
Fixed by
these parts
these parts
Show All
Won’t start
Fixed by
these parts
these parts
Show All
Watch our pros, then fix it yourself.

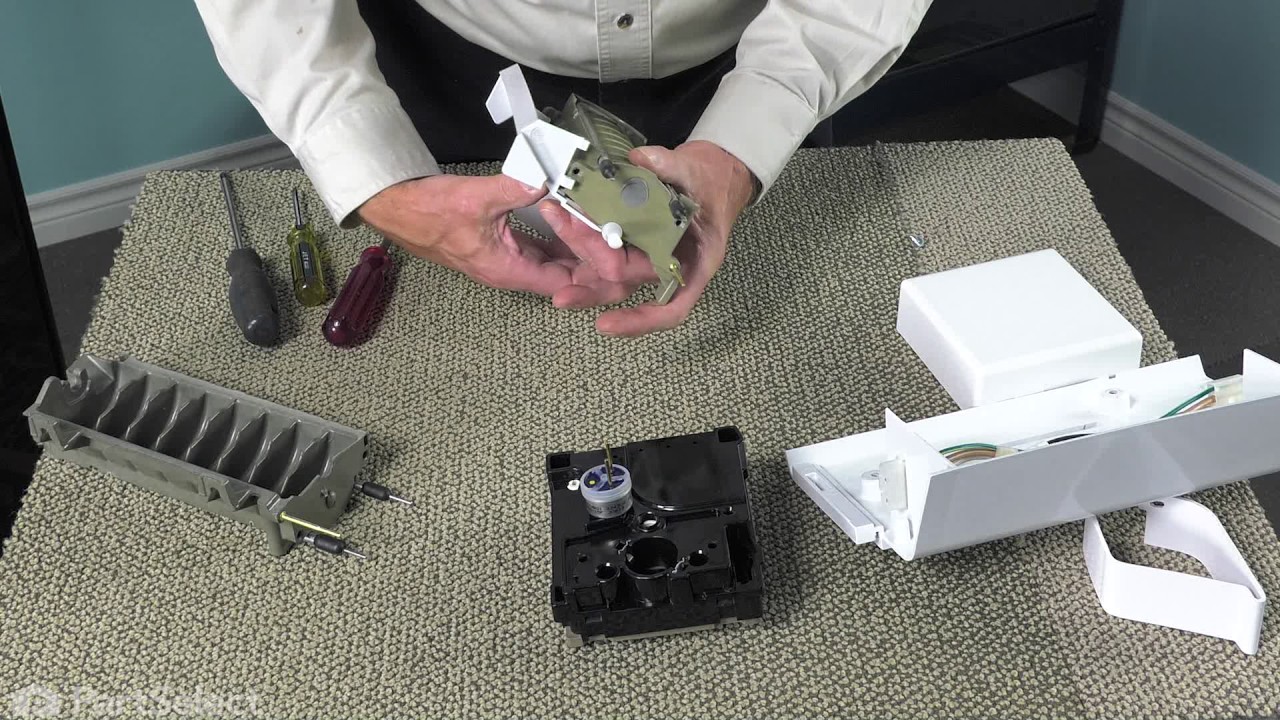
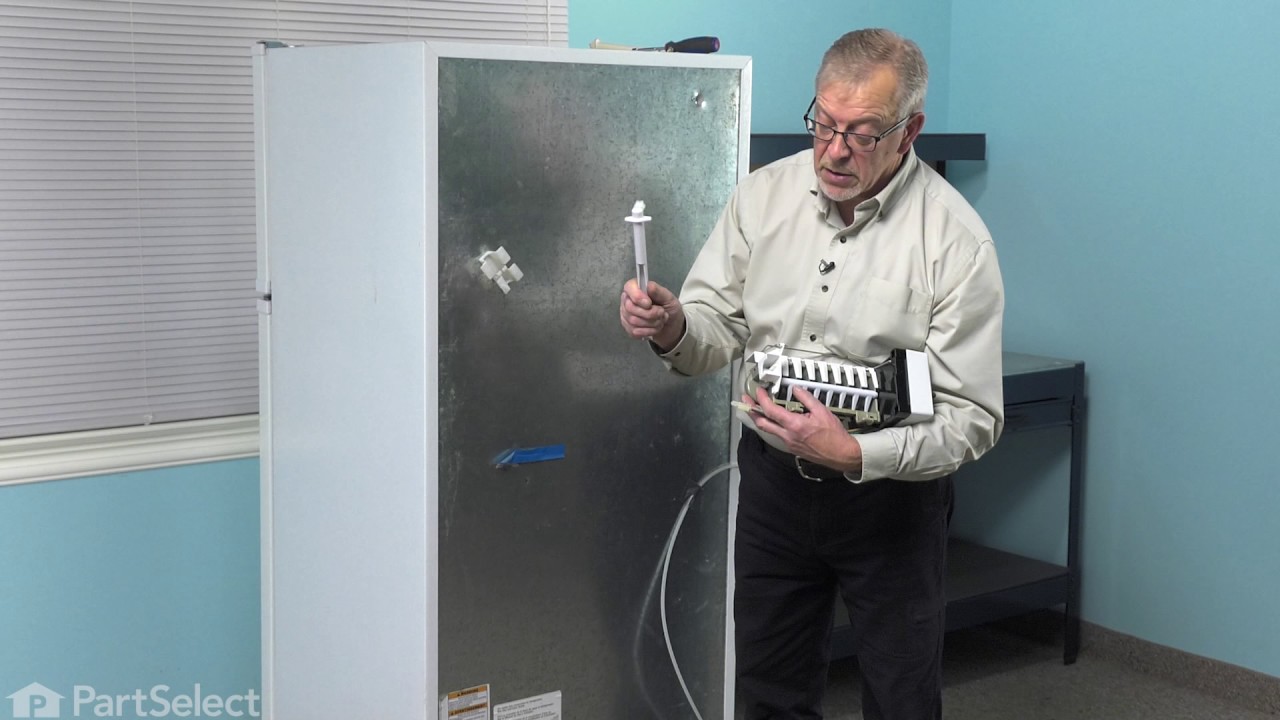

See how others fixed this model. Time, tools, difficulty, and steps that lead to victory!
View More
Search repair tips from other customers using simple keywords like "replace", "fit", "remove", "inspect". DIY doesn't mean you have to do it alone!
Search filter:
Clear Filter
Your search term must have 3 or more characters.
was not making ice
700 of 781 people
found this instruction helpful.
take out ice bucket, just loosen the top 2 screws, remove the bottom screw, slide ice maker up & out, srewdriver to release wiring harness clip, reverse to put back in. was very simple. did not install water inlet kit yet. water under fridge stopped after i changed the ice maker.
Other Parts Used:


Was this helpful?
Thank you for voting!