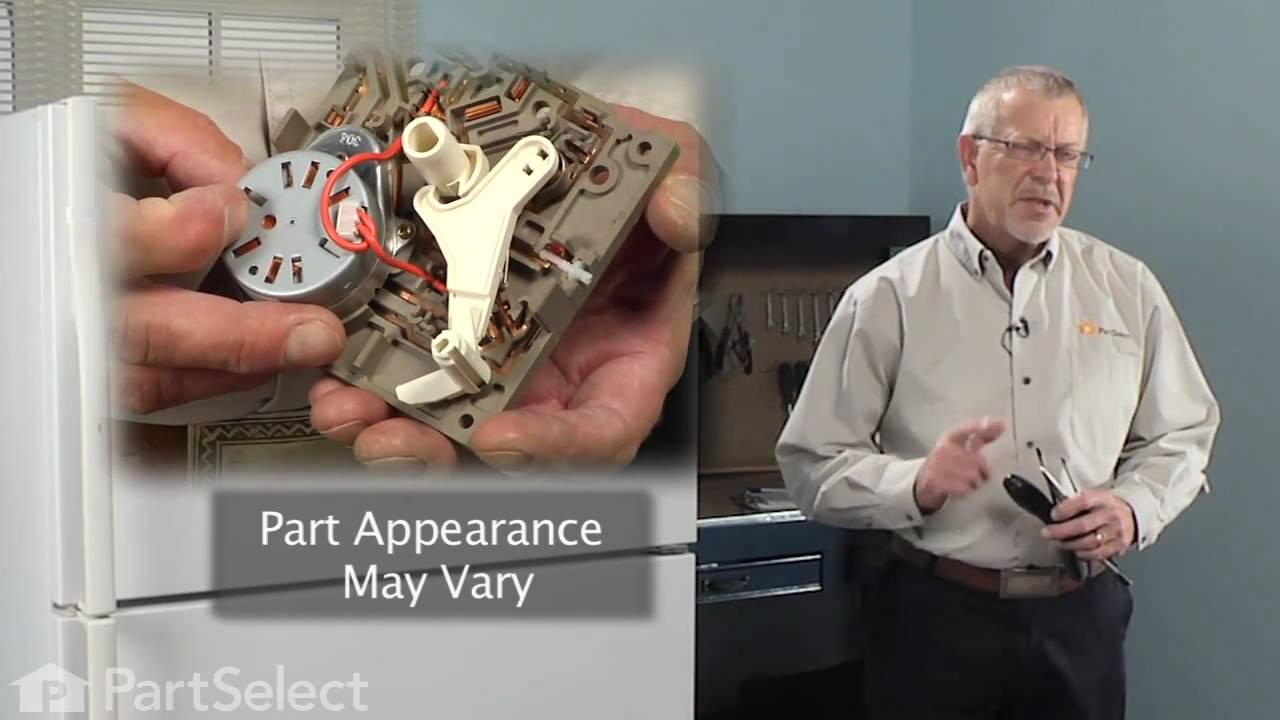
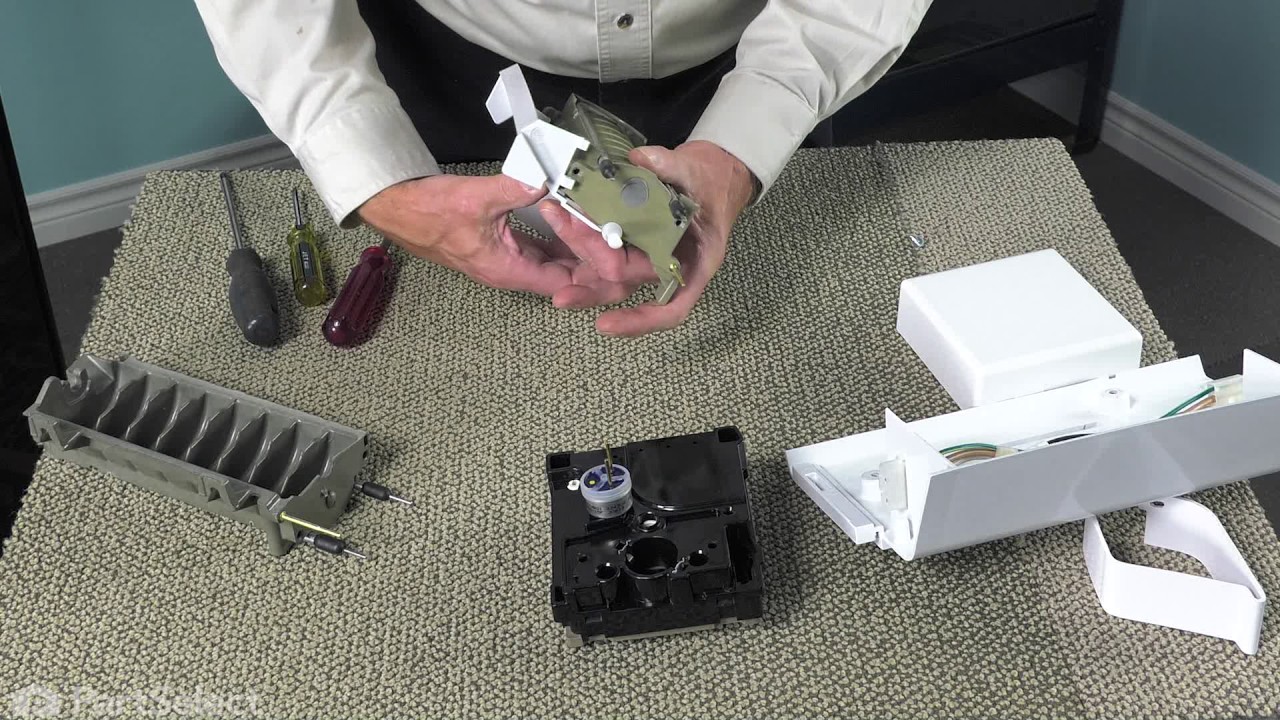
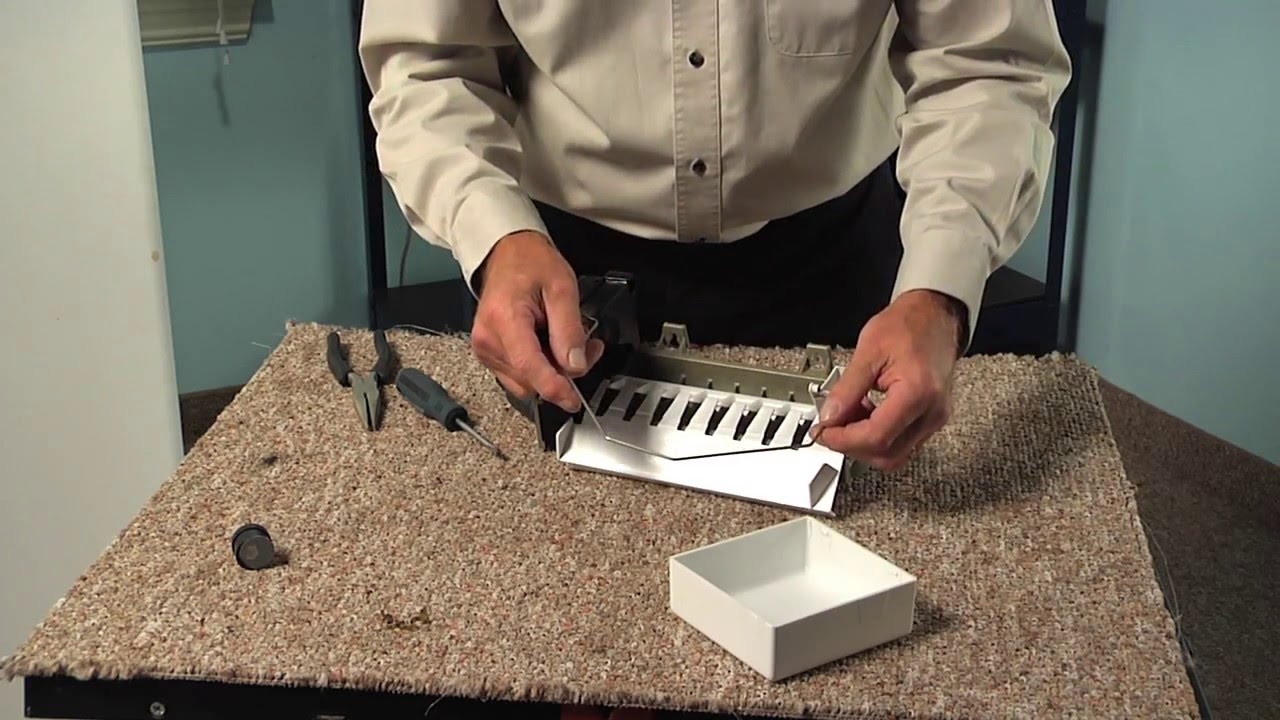
Also known as a Water Solenoid Valve. The water inlet valve is a solenoid-operated switch that, when activated, releases water from the supply line to the water valve and into the compact icemaker mold.
When the shut off arm is high enough the ice maker will shut off and no more ice will be made until the level of the ice in the bin drops. Also the ice maker can be turned off by lifting the arm all the way to the top until in a locked position.
Ask our experts a question about this model and we'll get back to you as soon as possible!
We may have answered a similar question already! Search questions and answers left by others using simple keywords like "fit", "broken", "easy", or "quality" to find questions that match.
Search filter:
Clear Filter
Your search term must have 3 or more characters.
Sort by:
Prev
1
Next
Sorry, we couldn't find any existing answers that matched.Try using some different or simpler keywords, or submit your new question by using the "Ask a Question" button above!
Carla - For model number 1062155184
April 20, 2024
Actually, I have a Kenmore Elite bottom freezer, Model KLBH031ATE, and I haven't had it two years and cannot find a water inlet valve, 60154-0002706-00, or 60154-0006100-00. Please help me find something so I can use my water and ice cube.
thank you
Hello Carla, thank you for getting in touch. The compatible water inlet valve for your model is part number PS11740365. If you require assistance to place an order, please contact customer service!
See how others fixed this model. Time, tools, difficulty, and steps that lead to victory!View More
Search repair tips from other customers using simple keywords like "replace", "fit", "remove", "inspect". DIY doesn't mean you have to do it alone!
Search filter:
Clear Filter
Your search term must have 3 or more characters.
No ice
567 of 688 peoplefound this instruction helpful.
Daniel from Suwanee, GA
Easy
15 - 30 mins
Screw drivers, Socket set
removed flap door in front of icemaker...removed 3 screws with bolt heads...removed one additional screw with bolt head and ice unit slid out. I removed motor unit (pops out no screws). Replaced and had ice within 3 hours.
Was this helpful?
Thank you for voting!
Ice Maker stopped working
135 of 154 peoplefound this instruction helpful.
Robert from Port Washington, NY
Really Easy
15 - 30 mins
Screw drivers, Socket set
With socket wrench un-screwed the 3 screws and pulled out the ice maker assembly.
Pulled off white plastic end-cap and noticed the plastic gear disk had snapped off (sub part # R0167202)
However, it is all-one-part of the motor assembly unit # w10190935 (part # PS2341896) which must be ordered as a complete part.
... Read more /> Unscrewed the motor assembly (3 screws) with phillips head screw driver.
Screwed in the new unit.
Placed ice maker back into location and tightend the bacing srews.
1 hour later ice was falling!
Read less
Was this helpful?
Thank you for voting!
The Bearing Cup Assembly was broken and ice would jamb against it during the ice making cycle.
110 of 140 peoplefound this instruction helpful.
David from Chester, CA
Really Easy
Less than 15 mins
Nutdriver, Screw drivers
I removed the ice maker from the refrigerator, by removing one screw on the underside bracket and loosening the two screws at the top side, then lifting the ice maker off the loosened screws. I then unplugged the electrical harness that supplies power from the refrigerator to the ice maker. I then disassembled the ice maker by removing
... Read morethe front cover which is snapped in place, then removing two recessed screws at the front. I removed the broken part, I then reassembled the ice maker with the new part. I replaced the two recessed screws at the front and snapped on the cover. Then I reinstalled the ice maker in the refrigator by plugging in the harness, slipping the ice maker over the loosened screws in the refrigerator and replacing the screw that was removed from the underside bracket. Tightening all the screws completed the project.



 My Orders