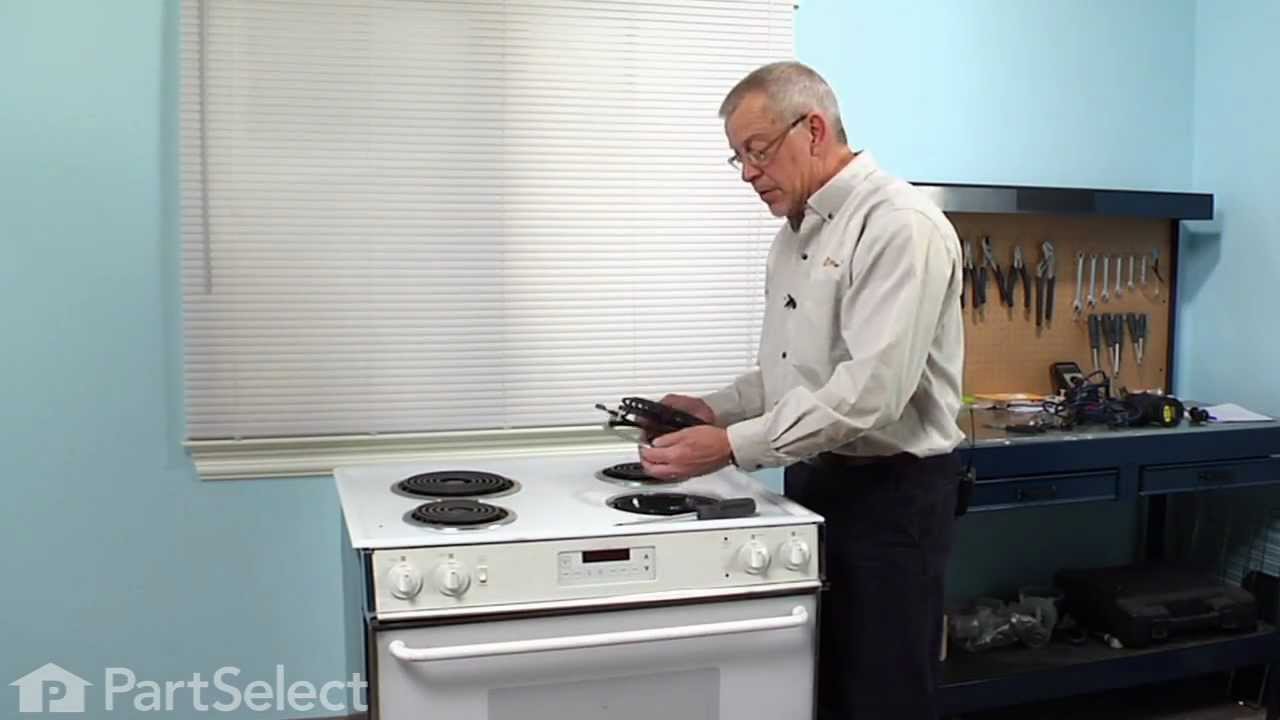
1039567811 Kenmore Range - Overview

Diagrams for 1039567811

See every part. Know exactly what you need.

Enter a part description. DIY Heroes keep it simple, eg. "belt" or "pump".

Search filter:
Clear Filter
Your search term must have 3 or more characters.
Dishwasher Screw 818 X 5/8 – Part Number: WP9741232
$10.40
In Stock
Dishwasher Screw 818 X 5/8
Part #WP9741232
Sold individually.
Air Conditioner Cover Screw – Part Number: WP308685
$10.95
In Stock
Air Conditioner Cover Screw
Part #WP308685
Sold individually.
Drip Bowl - 8 Inch – Part Number: WB32X106
$70.92
Special Order
Drip Bowl - 8 Inch
★★★★★
★★★★★
(1)
Part #WB32X106
This 8-inch chrome drip pan is designed to sit beneath the heating element on electric ranges, serving as a protective barrier that catches spills, drips, and food particles during cooking. Measuring approximately 9.5 inches in diameter and 1.5 inches in height, it is constructed from durable, chrome-plated steel for long-lasting performance and easy cleaning. By preventing residue buildup beneath the burners, it helps maintain a clean and efficient cooking surface. This drip pan is compatible with a variety of electric range models and is ideal for replacing worn, stained, or missing burner bowls. Installation is simple and requires no tools—just lift the element and place the pan underneath.
Drip Bowl - 6 Inch – Part Number: WB32X107
$19.95
Special Order
Drip Bowl - 6 Inch
★★★★★
★★★★★
(2)
Part #WB32X107
This six inch chrome drip bowl is intended for use with rolled terminal style plug in surface element units.
Surface Element Switch – Part Number: W10900107
$59.35
In Stock
Range Infinite Heat Switch Kit – Part Number: WB21X36771
No Longer Available
Range Infinite Heat Switch Kit
Part #WB21X36771
The infinite switch controls the stove top surface burner. This switch will work with most of the electrical range models with coil burner elements.
Washer Screw 818 X 1/2 – Part Number: WP3390631
$10.40
In Stock
Washer Screw 818 X 1/2
Part #WP3390631
This screw is sold individually.
Screw – Part Number: WB1X1130
$13.95
Special Order
Screw
Part #WB1X1130
Sold Individually.
2 Pack Light Bulb - 40W – Part Number: 5304490731
$47.00
Special Order
2 Pack Light Bulb - 40W
Part #5304490731
Surface Burner Terminal Block Kit – Part Number: WB17X210
$91.36
Special Order
Surface Burner Terminal Block Kit
Part #WB17X210
This kit comes with the terminal block, mounting clip and wires.
Range Rocker Switch (Black) – Part Number: WP4314961
$70.35
Special Order
Range Rocker Switch (Black)
★★★★★
★★★★★
(1)
Part #WP4314961
This rocker switch can be used for both the oven selector and/or the oven light.
Retainer – Part Number: WP304666
$31.31
Special Order
Retainer
Part #WP304666

Common Symptoms of the 1039567811

How this model fails, and the parts that fix it.

Watch our pros, then fix it yourself.

See how others fixed this model. Time, tools, difficulty, and steps that lead to victory! View More

Search repair tips from other customers using simple keywords like "replace", "fit", "remove", "inspect". DIY doesn't mean you have to do it alone!

Search filter:
Clear Filter
Your search term must have 3 or more characters.
There was no heat on the coils.
48 of 52 people found this instruction helpful.
  • Shaohui from East Lansing, MI
  • Easy
  • 15 - 30 mins
  • Pliers
I opened the lid, and found that the terminal blocks were burnt, the wires were melted. I ordered one set of terminal block to replace the burnt one, and it worked. Before I started, I shut off the electricity in the whole house to be safe.
Was this helpful?
Thank you for voting!
Burner would not heat
27 of 35 people found this instruction helpful.
  • Edward from Malvern, AR
  • A Bit Difficult
  • 30 - 60 mins
  • Pliers, Screw drivers
First i shut off the power since this is an electric cook top/range. I then removed the knob and the two screws that hold the burner switch in place. I removed the wires one at a time and connected each to the new switch. I then reattached the screws to the switch. The most difficult part to me was breaking off the switch stem at the right level. I got that done and finally selected the appropriate adapter for the stem/knob fit.
Was this helpful?
Thank you for voting!
Large burner would operate on high setting only.
22 of 28 people found this instruction helpful.
  • Ernest from Bellevue, NE
  • Really Easy
  • 15 - 30 mins
  • Pliers, Socket set
1. Removed the back panel.
2. Disconnected the wires from the old switch while connecting wires to the new switch one at a time.
3. Installed the new switch and broke off the excess metal on the post which fits into the burner knob on front of the range.
4. Replaced the burner knob and replaced the back panel.
Was this helpful?
Thank you for voting!