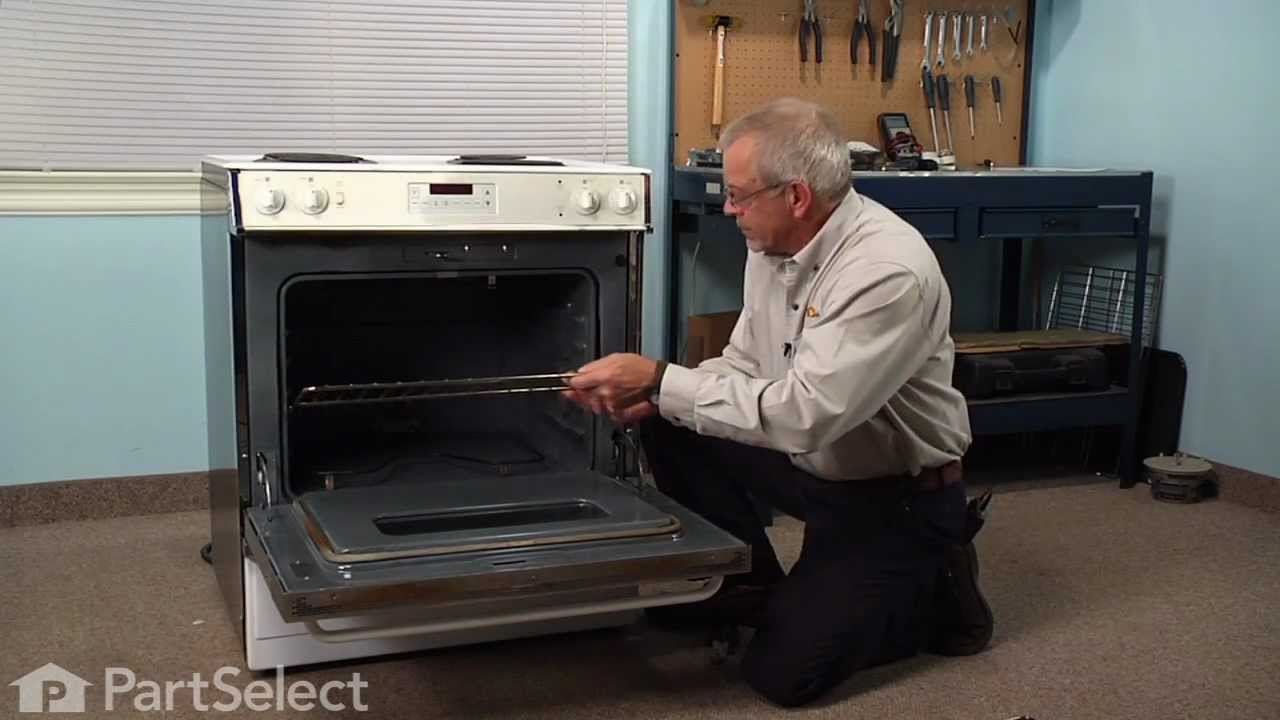
1039327610 Kenmore Range - Overview

Enter a part description. DIY Heroes keep it simple, eg. "belt" or "pump".

Search filter:
Clear Filter
Your search term must have 3 or more characters.
Drip Bowl - 8 Inch – Part Number: WB32X106
$70.92
Special Order
Drip Bowl - 8 Inch
★★★★★
★★★★★
(1)
Part #WB32X106
This 8-inch chrome drip pan is designed to sit beneath the heating element on electric ranges, serving as a protective barrier that catches spills, drips, and food particles during cooking. Measuring approximately 9.5 inches in diameter and 1.5 inches in height, it is constructed from durable, chrome-plated steel for long-lasting performance and easy cleaning. By preventing residue buildup beneath the burners, it helps maintain a clean and efficient cooking surface. This drip pan is compatible with a variety of electric range models and is ideal for replacing worn, stained, or missing burner bowls. Installation is simple and requires no tools—just lift the element and place the pan underneath.
Drip Bowl - 6 Inch – Part Number: WB32X107
$19.95
Special Order
Drip Bowl - 6 Inch
★★★★★
★★★★★
(2)
Part #WB32X107
This six inch chrome drip bowl is intended for use with rolled terminal style plug in surface element units.
Single Heating Element Support Clip – Part Number: WB2X9719
$21.50
Special Order
Single Heating Element Support Clip
★★★★★
★★★★★
(2)
Part #WB2X9719
This metallic clip is used to help support the broil element. Sold individually.
Range Infinite Heat Switch Kit – Part Number: WB21X36771
No Longer Available
Range Infinite Heat Switch Kit
Part #WB21X36771
The infinite switch controls the stove top surface burner. This switch will work with most of the electrical range models with coil burner elements.
Screw – Part Number: WB1X1130
$13.95
Special Order
Screw
Part #WB1X1130
Sold Individually.
Surface Burner Terminal Block Kit – Part Number: WB17X210
$91.36
Special Order
Surface Burner Terminal Block Kit
Part #WB17X210
This kit comes with the terminal block, mounting clip and wires.
Broil Element - 3400W 240V – Part Number: WB44M5
$76.39
Special Order
INSULATION-BACK & Bottom – Part Number: WB35K5113
No Longer Available
INSULATION-BACK & Bottom
Part #WB35K5113
Rear Drawer Glide – Part Number: WB2X9146
No Longer Available
Rear Drawer Glide
Part #WB2X9146
Also called Rear Block.
Drawer Glide Block – Part Number: WB2X9148
No Longer Available
Drawer Glide Block
Part #WB2X9148
This part attaches to the drawer support to help guide the bottom drawer.
GASKET – Part Number: WB2X9373
$104.10
Special Order
GASKET
Part #WB2X9373
CLIP – Part Number: WB2X9573
$13.95
Special Order
CLIP
Part #WB2X9573

Common Symptoms of the 1039327610

How this model fails, and the parts that fix it.

Watch our pros, then fix it yourself.
See how others fixed this model. Time, tools, difficulty, and steps that lead to victory! View More

Search repair tips from other customers using simple keywords like "replace", "fit", "remove", "inspect". DIY doesn't mean you have to do it alone!

Search filter:
Clear Filter
Your search term must have 3 or more characters.
There was no heat on the coils.
48 of 52 people found this instruction helpful.
  • Shaohui from East Lansing, MI
  • Easy
  • 15 - 30 mins
  • Pliers
I opened the lid, and found that the terminal blocks were burnt, the wires were melted. I ordered one set of terminal block to replace the burnt one, and it worked. Before I started, I shut off the electricity in the whole house to be safe.
Was this helpful?
Thank you for voting!
Large burner would operate on high setting only.
22 of 28 people found this instruction helpful.
  • Ernest from Bellevue, NE
  • Really Easy
  • 15 - 30 mins
  • Pliers, Socket set
1. Removed the back panel.
2. Disconnected the wires from the old switch while connecting wires to the new switch one at a time.
3. Installed the new switch and broke off the excess metal on the post which fits into the burner knob on front of the range.
4. Replaced the burner knob and replaced the back panel.
Was this helpful?
Thank you for voting!
Surface burner coil did not work.
23 of 33 people found this instruction helpful.
  • Gregory from Mont Belvieu, TX
  • Easy
  • 30 - 60 mins
  • Nutdriver, Screw drivers, Socket set
TURN OFF ALL POWER TO KITCHEN. Took off all burner coils and plates below them. Lift hood. Locate part. Remove old part and replace with new part in same way as was previously installed. The wire that comes with the kit is actually too much wire, but just arrange it the best you can and leave it....no big deal. I didn't have a magnet , but needed one. The wire from burner coil to switch runs through a harness which is screwed on to the body of the oven (below the range). Be careful NOT to drop it behind oven when taking it out. I dropped it and took forever to get it. That turned a 20 minuate job into an hour and a half. Otherwise this is an easy job that anyone can do. Refrigerator compressor is next. Have fun.
Was this helpful?
Thank you for voting!