


 My Orders


103432 Kenmore Cooktop - Overview
Models starting with 103432
Click on the best match to narrow your results.
- 1034326720 Kenmore Cooktop
- 1034326740 Kenmore Cooktop
- 1034327000 Kenmore Cooktop
- 1034327020 Kenmore Cooktop
- 1034327040 Kenmore Cooktop
- 1034327060 Kenmore Cooktop
- 1034327080 Kenmore Cooktop
- 1034327200 Kenmore Cooktop
- 1034327201 Kenmore Cooktop
- 1034327202 Kenmore Cooktop
- 1034327203 Kenmore Cooktop
- 1034327211 Kenmore Cooktop
- 1034327212 Kenmore Cooktop
- 1034327213 Kenmore Cooktop
- 1034327221 Kenmore Cooktop
- 1034327222 Kenmore Cooktop
- 1034327223 Kenmore Cooktop
- 1034327241 Kenmore Cooktop
- 1034327242 Kenmore Cooktop
- 1034327243 Kenmore Cooktop
- 1034327261 Kenmore Cooktop
- 1034327262 Kenmore Cooktop
- 1034327263 Kenmore Cooktop
- 1034327280 Kenmore Cooktop
- 1034327281 Kenmore Cooktop
- 1034327282 Kenmore Cooktop
- 1034327283 Kenmore Cooktop
- 1034327510 Kenmore Cooktop
- 1034327520 Kenmore Cooktop
- 1034327540 Kenmore Cooktop
- 1034327560 Kenmore Cooktop
- 1034327580 Kenmore Cooktop
- 1034327610 Kenmore Cooktop
- 1034327611 Kenmore Cooktop
- 1034327810 Kenmore Cooktop
- 1034327910 Kenmore Cooktop
- 1034327911 Kenmore Cooktop
- 1034327912 Kenmore Cooktop
Enter a part description. DIY Heroes keep it simple, eg. "belt" or "pump".
Search filter:
Clear Filter
Your search term must have 3 or more characters.

$13.95
Special Order

$70.92
Special Order
Drip Bowl - 8 Inch
Part #WB32X106
This 8-inch chrome drip pan is designed to sit beneath the heating element on electric ranges, serving as a protective barrier that catches spills, drips, and food particles during cooking. Measuring approximately 9.5 inches in diameter and 1.5 inches in height, it is constructed from durable, chrome-plated steel for long-lasting performa...Read morence and easy cleaning. By preventing residue buildup beneath the burners, it helps maintain a clean and efficient cooking surface. This drip pan is compatible with a variety of electric range models and is ideal for replacing worn, stained, or missing burner bowls. Installation is simple and requires no tools—just lift the element and place the pan underneath.
Read less

$19.95
Special Order
Drip Bowl - 6 Inch
Part #WB32X107
This six inch chrome drip bowl is intended for use with rolled terminal style plug in surface element units.

No Longer Available
Range Infinite Heat Switch Kit
Part #WB21X36771
The infinite switch controls the stove top surface burner. This switch will work with most of the electrical range models with coil burner elements.

$13.95
Special Order

No Longer Available
IND LIGHT
Part #WB25M3

$91.36
Special Order
Surface Burner Terminal Block Kit
Part #WB17X210
This kit comes with the terminal block, mounting clip and wires.

$27.63
Special Order
CONTROL SEAL
Part #WB6X3

No Longer Available
MEDALLION
Part #WB4X122

$12.95
Special Order
Screw (Pack of 12)
Part #WB1X1424D

$13.95
Special Order
Screw
Part #WB1X1425

$26.75
Special Order
Exact Part matches for your search term

No Longer Available
Common Symptoms of models starting with 103432
How this model fails, and the parts that fix it.
Element will not heat
Fixed by
these parts
these parts


Show All
Little to no heat when baking
Fixed by
these parts
these parts

Show All
Watch our pros, then fix it yourself.
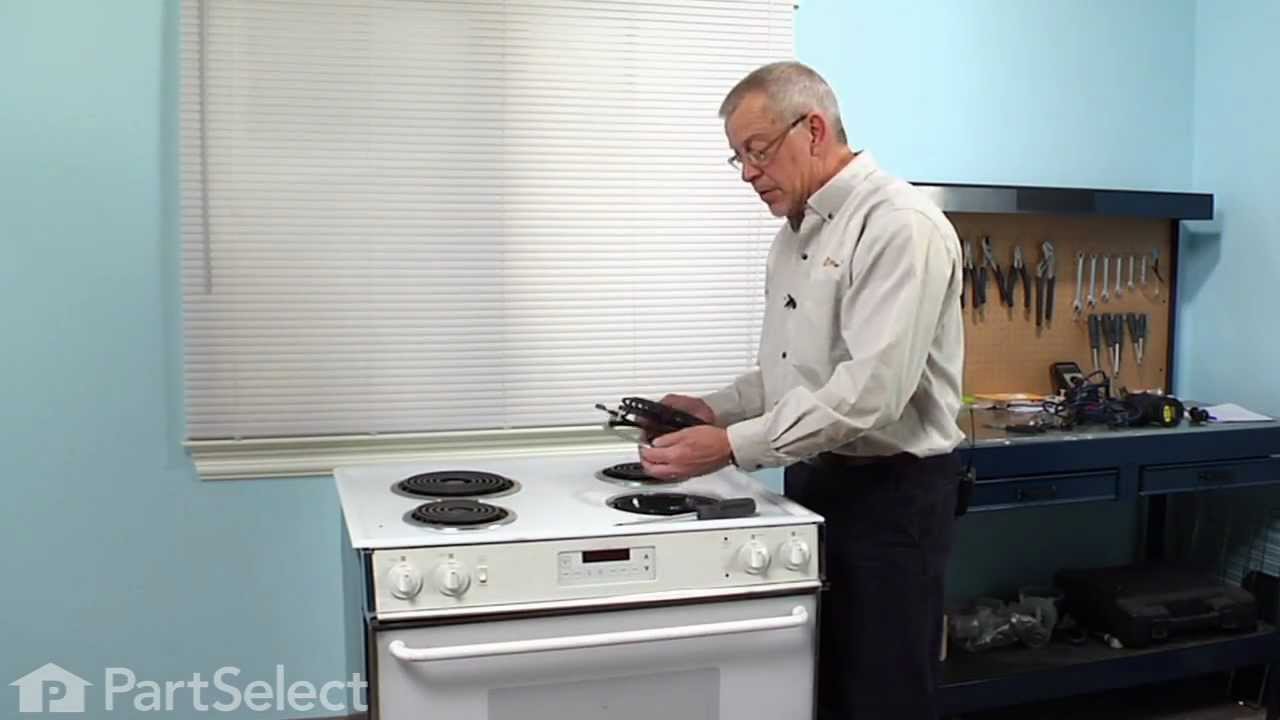
See how others fixed this model. Time, tools, difficulty, and steps that lead to victory!
View More