


 My Orders


101963 Kenmore - Overview
Models starting with 101963
Click on the best match to narrow your results.
- 101963580 Kenmore Washer (Kenmore Washing Machine Model 101.963580 (101963580, 101 963580) Parts)
- 101963581 Kenmore Washer (Kenmore Washing Machine Model 101.963581 (101963581, 101 963581) Parts)
- 101963582 Kenmore Washer (Kenmore Washing Machine Model 101.963582 (101963582, 101 963582) Parts)
- 101963610 Kenmore Range (Kenmore Range/Stove/Oven Model 101.963610 (101963610, 101 963610) Parts)
- 101963620 Kenmore Range (Kenmore Range/Stove/Oven Model 101.963620 (101963620, 101 963620) Parts)
- 101963630 Kenmore Range (Kenmore Range/Stove/Oven Model 101.963630 (101963630, 101 963630) Parts)
- 1019636400 Kenmore Range (Kenmore Range/Stove/Oven Model 101.9636400 (1019636400, 101 9636400) Parts)
- 1019636500 Kenmore Range (Kenmore Range/Stove/Oven Model 101.9636500 (1019636500, 101 9636500) Parts)
Enter a part description. DIY Heroes keep it simple, eg. "belt" or "pump".
Search filter:
Clear Filter
Your search term must have 3 or more characters.

$58.25
In Stock
Lid Check Switch
Part #WP207166
This is used to start your washer once the desired water level is reached.

$15.68
In Stock

$10.65
Special Order

No Longer Available
Idler Pulley Spring
Part #WP40061401
This idler spring is almost four inches long. It is made of metal.

No Longer Available
Fabric Softener Kit
Part #40002101W
This part is on top of the agitator and automatically dispenses the liquid fabric softener at the right time during the wash cycle.

No Longer Available
Balancing Leg Spring
Part #WP27239

No Longer Available
BOARD-FILL
Part #876826
No Longer Available
UPPER OR Lower DOOR HANDLE SPACER
Part #104444
No Longer Available
DISCONTINUED
Part #29427
No Longer Available
DISCONTINUED
Part #344101
No Longer Available
OPER. INSTRUC. (LWC18AW)
Part #39060
$121.18
Special Order
BASE
Part #31653P
Exact Part matches for your search term
No Longer Available
No Longer Available
SVC-MOUNTING BRACKET KIT;101963,PHW
This part number matches the current model number 101963
Part #DE81-06005A
Common Symptoms of models starting with 101963
How this model fails, and the parts that fix it.
Will Not Start
Fixed by
these parts
these parts

Show All
Leaking
Fixed by
these parts
these parts

Show All
Will not agitate
Fixed by
these parts
these parts
Show All
Will not drain
Fixed by
these parts
these parts
Show All
Watch our pros, then fix it yourself.
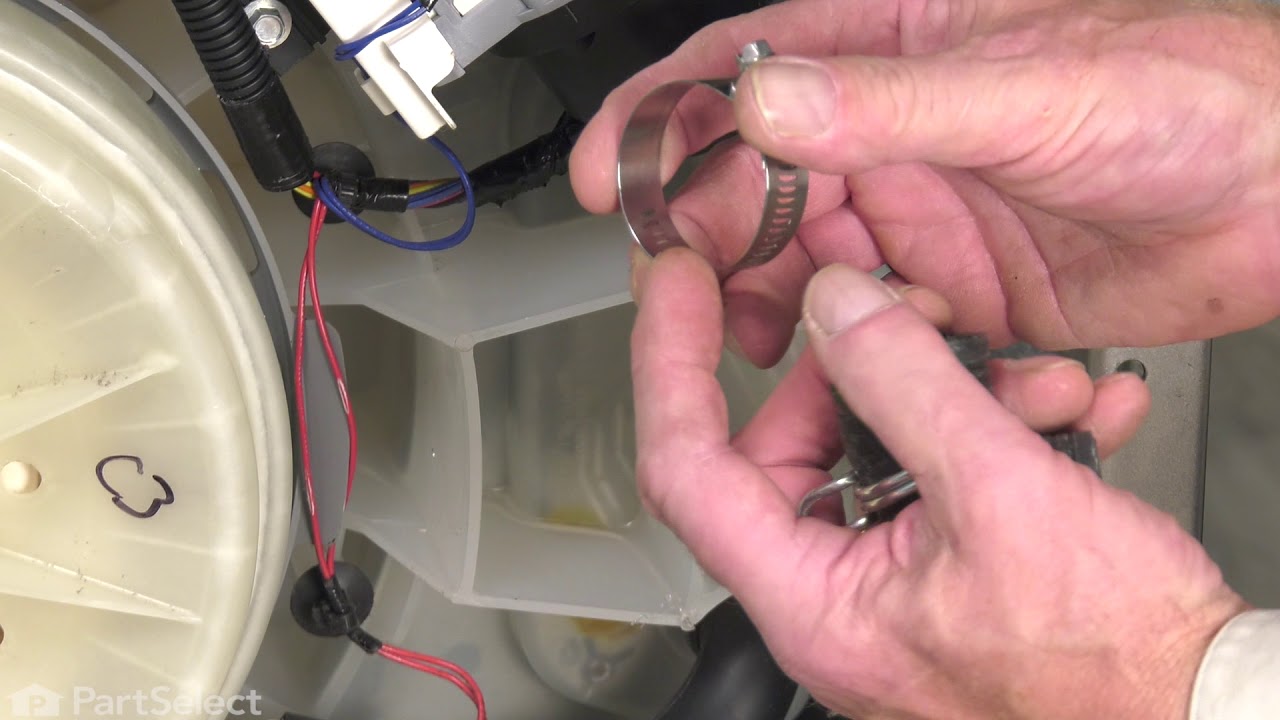
See how others fixed this model. Time, tools, difficulty, and steps that lead to victory!
View More