


 My Orders


1013 - Overview
Models starting with 1013
Click on the best match to narrow your results.
- 1013 Jenn-Air Range (Jenn Air Range/Stove/Oven 1013)
- 1013-0 Briggs and Stratton Generator (7,500 XL Portable Generator)
- 10130A Samsung Refrigerator
- 10137120 Craftsman Lawn Mower (Lawn Mower)
- 1013VSR (0601045639) Bosch Electric Drill (3/8 inch Electric Drill)
- 1013VSR (3601K456A0) Bosch Cordless Drill (Drill 1013vsr)
Enter a part description. DIY Heroes keep it simple, eg. "belt" or "pump".
Search filter:
Clear Filter
Your search term must have 3 or more characters.

No Longer Available
Wall Vent Cap Kit - 5 Inch duct - with Gray Cover
Part #A405
This wall vent cap kit comes with a spring loaded damper. This part can be painted.

$166.48
In Stock
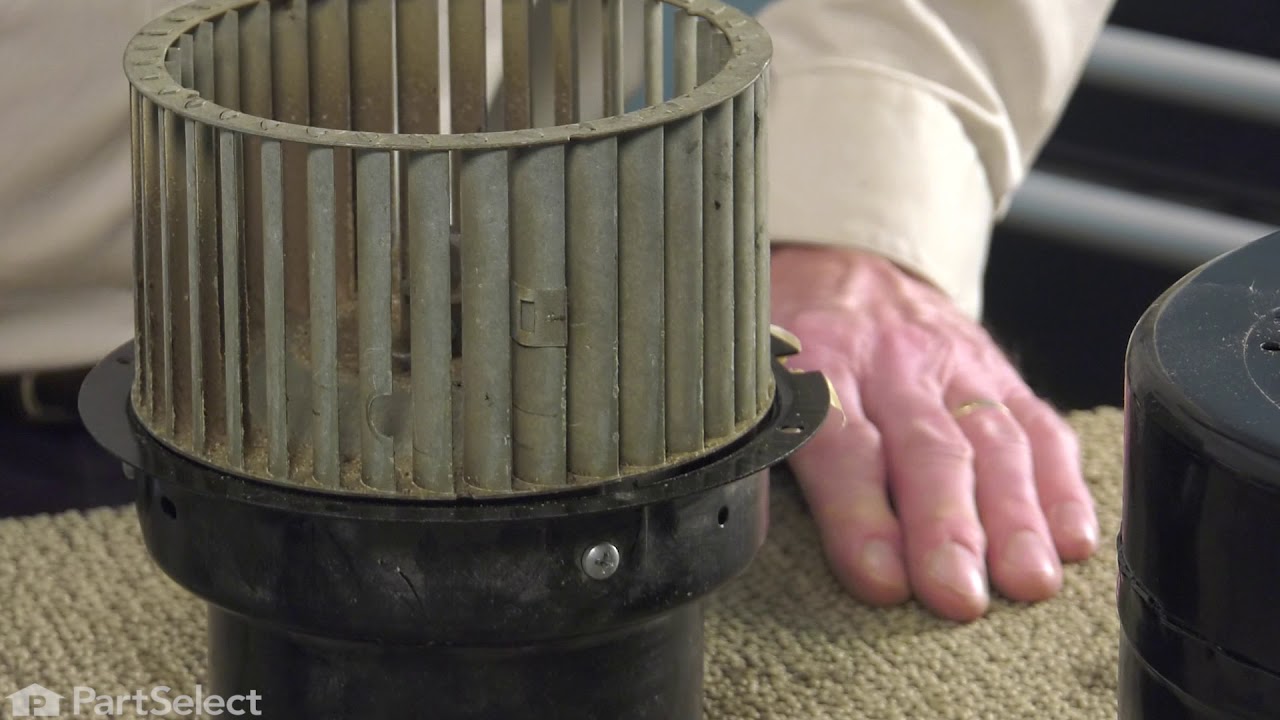
Range Exhaust Vent Blower Wheel
Part #WPY707985
This blower wheel attaches to the ventilation motor to draw in and exhaust smoke, steam, and cooking vapors, helping maintain clean airflow in your kitchen. Built from durable metal for heat resistance and long-lasting performance, it measures approximately 7 inches in diameter and under 4 inches deep for a secure, efficient fit. Designed...Read more to spin smoothly on the motor shaft, replacing a worn or damaged blower wheel can restore proper airflow, reduce noise, and ensure reliable ventilation performance.
Read less

$456.50
On Order
Blower Motor
Part #707704K
This part is used with down-draft models. It helps draw the steam and odors through the vent when the fan switch is activated.

No Longer Available
Wall Vent Cap Kit - 6 Inch duct
Part #A406
This wall vent cap kit comes with a spring loaded damper and instructions. It is designed for a 6" diameter outside vent.

No Longer Available
Infinite Switch Kit
Part #715230K

No Longer Available
Motor Isolator - Black
Part #Y707395

$33.95
Special Order
Fuel Valve With Bushing
Part #192980GS
This is a genuine replacement part sourced directly from the manufacturer. The valve fuel kit is commonly found in Craftsman pressure washers and generators. This part includes the valve made of high-quality plastic, and a rubber cap. It is used to carry fuel from the tank into the engine. You may require a screwdriver or Allen wrench when replacing this item.

$65.95
Special Order
Power Regulator Assembly
Part #84132GS
This is a genuine OEM supplied part that is specially designed for Briggs and Stratton portable generators. The item provides an identical replacement for a faulty or a missing power regulator assembly that was installed on a new unit. It is made of high-quality materials and is sold as an individual item. Refer to the owner's manual and the appropriate diagrams for your model to ensure the correct repair procedure.

$43.95
Special Order
Assembly, Holder, Brush
Part #66386GS
This brush holder assembly is an authentic OEM replacement part that is specially designed for use on Briggs and Stratton generators. Brushes help to conduct electric current in the motor that powers the unit. This assembly includes one plastic brush holder and two carbon brushes with a lead wires and springs attached. You would need a screwdriver to complete this job.

$11.95
Special Order
Switch, Rocker
Part #82538GS

$47.95
Special Order
Outlet, 120/125v, 15/20a
Part #68759GS
This item is available as an individual replacement part. The outlet is made out of metal and plastic. It may require a wrench during installation. This item will need to be replaced if it breaks. It is a replacement part directly sourced from the manufacturer for use in generators made by Briggs & Stratton and Snapper.

$6.95
Special Order
Grommet,tank
Part #83465GS
This is an authentic OEM part from Briggs and Stratton and Snapper for use with Generators. The fuel tank mounting grommet forms a cushion between the fuel tank and the fuel tank mounting bolts. The most common reasons for replacing the grommet is if the fuel is leaking from the fuel tank, the fuel lines are loose at the tank or the rubbe...Read morer grommet is cracked and not sealing. This part is made out of rubber and is sold individually. Here is a list of tools that are needed to replace the grommet a receptacle for draining fuel, a wire hook (to retrieve fuel lines), screwdriver, wire cutters or scissors.
Read less
Exact Part matches for your search term

No Longer Available
No Longer Available
No Longer Available
Common Symptoms of models starting with 1013
How this model fails, and the parts that fix it.


Watch our pros, then fix it yourself.
See how others fixed this model. Time, tools, difficulty, and steps that lead to victory!
View More