


 My Orders


1012 - Overview
Models starting with 1012
Click on the best match to narrow your results.
- 1012 Jenn-Air Range (Jenn Air Range/Stove/Oven 1012)
- 10121200 Craftsman Lathe (6" Metal Turning Lathe)
- 10121400 Craftsman Lathe (6" Metal Turning Lathe)
- 10121407 Craftsman Drill Press (Universal And Independent Chucks)
- 1012150 Craftsman Drill Press (Universal And Independent Chucks)
- 1012155 Craftsman Drill Press (Universal And Independent Chucks)
- 10121581 Craftsman Drill Press (Universal And Independent Chucks)
- 1012159 Craftsman Drill Press (Universal And Independent Chucks)
- 1012165 Craftsman Drill Press (Universal And Independent Chucks)
- 1012168 Craftsman Drill Press (Universal And Independent Chucks)
- 1012290 Craftsman Band Saw (Metal Cutting Band Saw)
- 10122901 Craftsman Band Saw (Metal Cutting Band Saw)
- 10122922 Craftsman Reciprocating Saw (Continuous-blade Power Hacksaw)
- 10122923 Craftsman Band Saw (Metal Cutting Band Saw)
- 10122940 Craftsman Reciprocating Saw (Power Hack Saw)
- 10122941 Craftsman Reciprocating Saw (Power Hack Saw)
- 10122942 Craftsman Reciprocating Saw (Power Hack Saw)
- 10122950 Craftsman Band Saw (Metal Cutting Convertible Band Saw)
- 10122960 Craftsman Band Saw (Metal Cutting Convertible Band Saw)
- 10127430 Craftsman Lathe (Metal Turning Lathe)
- 10127440 Craftsman Lathe (Metal Turning Lathe)
- 10127580 Craftsman Lathe (12-Inch Metal Turning Lathe)
- 10127590 Craftsman Lathe (12-Inch Metal Turning Lathe)
- 10128900 Craftsman Lathe (12" Metal Turning Lathe)
- 10128910 Craftsman Lathe (12" Metal Turning Lathe)
- 10128930 Craftsman Lathe (12-Inch Metal Turning Lathe)
- 10128940 Craftsman Lathe (12-Inch Metal Turning Lathe)
- 10128950 Craftsman Lathe (12-Inch Metal Turning Lathe)
- 10128970 Craftsman Lathe (12-Inch Metal Turning Lathe)
- 10128980 Craftsman Lathe (12" Metal Turning Lathe)
- 10128990 Craftsman Lathe (12" Metal Turning Lathe)
- 10128991 Craftsman Lathe (12" Metal Turning Lathe)
- 101290681 Craftsman Lawn Mower (Sears Til-Row Attachment)
- 10129069 Craftsman Lawn Mower (Til-Row Attachment)
- 10129980 Craftsman Bench Grinder (Tool Post Grinder)
- 1012VSR (0601044739) Bosch Electric Drill (3/8 inch Electric Drill)
Enter a part description. DIY Heroes keep it simple, eg. "belt" or "pump".
Search filter:
Clear Filter
Your search term must have 3 or more characters.

No Longer Available
Wall Vent Cap Kit - 5 Inch duct - with Gray Cover
Part #A405
This wall vent cap kit comes with a spring loaded damper. This part can be painted.

$166.48
In Stock
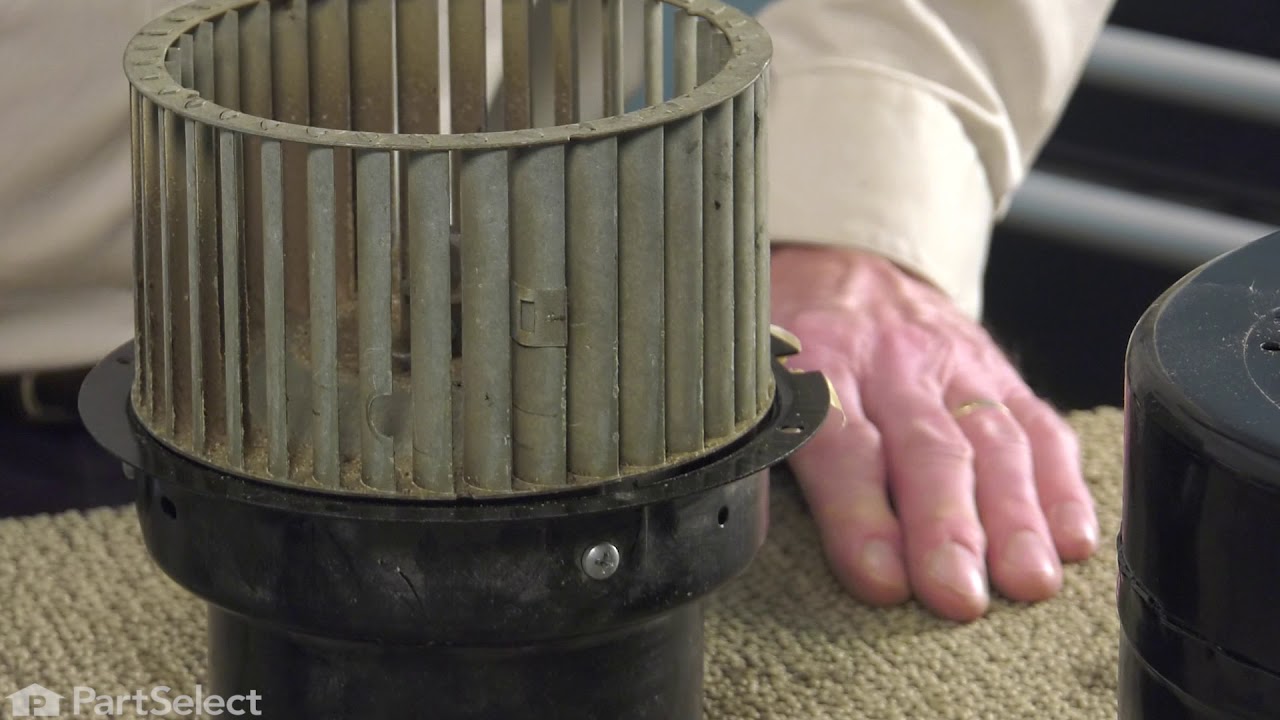
Range Exhaust Vent Blower Wheel
Part #WPY707985
This blower wheel attaches to the ventilation motor to draw in and exhaust smoke, steam, and cooking vapors, helping maintain clean airflow in your kitchen. Built from durable metal for heat resistance and long-lasting performance, it measures approximately 7 inches in diameter and under 4 inches deep for a secure, efficient fit. Designed...Read more to spin smoothly on the motor shaft, replacing a worn or damaged blower wheel can restore proper airflow, reduce noise, and ensure reliable ventilation performance.
Read less

$456.50
On Order
Blower Motor
Part #707704K
This part is used with down-draft models. It helps draw the steam and odors through the vent when the fan switch is activated.

No Longer Available
Wall Vent Cap Kit - 6 Inch duct
Part #A406
This wall vent cap kit comes with a spring loaded damper and instructions. It is designed for a 6" diameter outside vent.

No Longer Available
Infinite Switch Kit
Part #715230K

No Longer Available
Motor Isolator - Black
Part #Y707395

$6.95
Special Order
Gasket-breather
Part #27549S
This is the gasket that helps to provide an air tight seal for the breather assembly. It is a high quality item that is supplied by original equipment manufacturer for use with Briggs and Stratton and Toro equipment. It is made with durable composite material and it is sold individually. Over time gaskets tend to get compressed and deteriorate, eventually requiring replacement.

$7.95
Special Order
Cap-oil Fill
Part #281658S
This manufacturer approved replacement part is specially produced for use with Briggs and Stratton engines commonly installed on Toro lawn and garden equipment. It is utilized to keep the oil in the tank. Please note this durable plastic oil fill cap is sold individually.

$13.95
Special Order
Spring-condensor
Part #260374

$6.95
Special Order
Gasket-intake
Part #27355S
This is an authentic manufacturer sourced replacement part designed for use with a variety of lawn and garden equipment. This carburetor intake gasket which provides an air tight seal for the carburetor. Over time gaskets tend to deteriorate and would need to be replaced. It is made out of compound material and it is sold individually. You would need a screwdriver to replace this item.

$10.95
Special Order
Retainer-valve
Part #692194
This is an authentic replacement part manufactured for use with Briggs & Stratton small engines. The special retainer is commonly used as spacing between the head of the valve and the valve spring. The retainer is available as an individual replacement part, please see model diagram for associative parts.

$7.95
In Stock
Lawn Mower Spark Plug
Part #796112S
This is an OEM replacement part and is sold individually. Its propose is to deliver an electric current from an ignition system to the combustion chamber of a gas fueled engine. It will ignite the air fuel mixture by the spark. Spark Plugs will usually have to gapped to the manufactures specifications found in the owners manual. Over tim...Read moree a Spark Plug will become fouled because the air/fuel ratio may be set wrong,worn piston rings, carbon build up and other factors. It is better to replace a fouled spark plug, rather then trying to clean it.
Read less
Exact Part matches for your search term

No Longer Available
No Longer Available
Common Symptoms of models starting with 1012
How this model fails, and the parts that fix it.

Watch our pros, then fix it yourself.
See how others fixed this model. Time, tools, difficulty, and steps that lead to victory!
View More