This 18 ml bottle of white appliance touch-up paint is used to cover scratches or marks on your appliance. The white touch-up paint can be used on refrigerators, microwaves, ranges, clothes dryers, an...
$10.20
In Stock
Order within the next 1 hr and 46 mins and your part ships today!
This temperature sensor detects the temperature within the oven cavity. This oven temperature sensor, for ranges, works together with the oven control board to measure and regulate the oven temperatur...
$120.73
In Stock
Order within the next 1 hr and 46 mins and your part ships today!
This is a multi-use and multi-appliance screw. It can be used on a microwave, refrigerator, range/oven, air conditioner, dehumidifier, washer, or dryer. The measurements of this screw are 8 x 1/2 inch...
$26.51
In Stock
Order within the next 1 hr and 46 mins and your part ships today!
Ask our experts a question about this model and we'll get back to you as soon as possible!
19 questions answered by our experts.
< Prev
1
2
3
Next >
Sort by:
Search filter:
Clear Filter
Your search term must have 3 or more characters.
Keep searches simple. Use keywords, e.g. "leaking", "pump", "broken" or "fit".
Sorry, we couldn't find any existing answers that matched.Try using some different or simpler keywords, or submit your new question by using the "Ask a Question" button above!
Troy
March 18, 2020
Oven wont work on broil or bake wont heat up
For model number WFG320M0BS3
Hello, Thank you for your question. There are a few parts that could cause this issue in your appliance. First I would say test your elements with a multi meter to see if they are working correctly or not. They should be reading between 0 - 50 ohms to be working correctly. The other part you should check would be your oven temperature sensor. That can also be tested with a multi meter and should be reading between 1000 - 1100 ohms. If those three parts are fine however, then the issue may be in your control board. I hope that helps. Good luck with your repair.
6 people found this helpful.
Was this helpful?
Thank you for voting!
Duke
February 2, 2023
How can I order this heater igniter for my whirlpool stove(oven)
For model number WFG320M0BS3
Hello Duke, Thank you for contacting us. We have researched the model you have provided and have found the part you are looking for is PartSelect Number PS12348439. You just add the part to your cart and proceed with the order to choose the shipping option and fill in your information. We hope this helps!
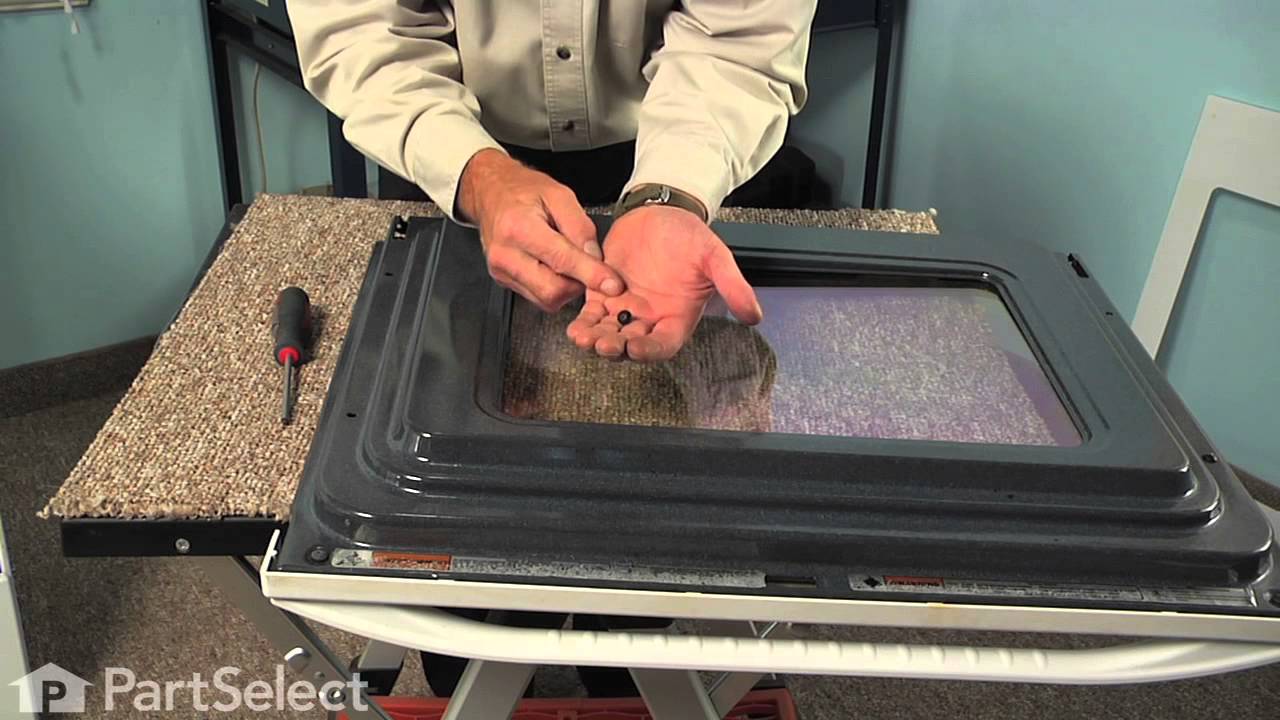
Hello Barbara, Thank you for your inquiry. Researching the model number that you have provided, we show that the front glass and frame of the door is part# PS12348440. We have included a link to our video for a similar part to give you a general idea of the repair. We hope this helps.
1 person found this helpful.
Was this helpful?
Thank you for voting!
Ross
June 14, 2023
What year is this gas stove?
For model number WFG320M0BS3
Hi Ross, thank you for reaching out. According to our research, your model was most probably manufactured in 2013. To get the exact year please provide us with the serial number. We hope this helps!
1 person found this helpful.
Was this helpful?
Thank you for voting!
GLENDA
September 14, 2023
How do I reattach the oven door handle that has come loose which causes the corner of the door to reattach when open????
For model number WFG320M0BS3
Hello Glenda, thank you for reaching out. To reattach the oven door, you may follow the following steps. These may not be of exact model but will help you with the process. To replace the oven door handle, unplug the power cord or shut off the power supply. Fully open the oven door and the door hinge locks back. Partially close the door, then lift and pull the door to remove. Set the door on a sturdy surface. Use a Phillips head screwdriver to unthread the screws on the bottom, securing the inner and outer door assemblies. Slide the outer door assembly of the inner panel and set it aside. Now unthread the screws to release the vent trim and handle from the inner panel. Unthread the door-handle mounting screws and fully remove the old handle. Transfer the spacers from the old handle to the new one. Align the trim on the handle and spacers, then thread and tighten the mounting screws. Align the handle and trim assembly on the inner door panel and secure it with the screws. Slide the outer oven door assembly into position on the inner panel assembly. Thread and tighten the three screws at the bottom. Reinstall the oven door by inserting the door hinges into the hinge slots. Lower the door to its fully open position, then rotate the hinge locks forward. We hope this information helps!
1 person found this helpful.
Was this helpful?
Thank you for voting!
< Prev
1
2
3
Next >
✖
Ask a Question
Ask our experts a question on this model and we'll respond as soon as we can.
Opened up the back of the stove. Unpluged the sensor. Replaced the sensor. Replace the back of the stove.
The sensor that has been replaced is not what is expected. After reading all of the instructions for adjusting the temperatures, the only temp that stays steady is when we first turn on the oven to 350 degrees. That stays steady but when I turn it to 400 it slowly goes up to 425 degrees.
I numbered every part. ex: 1 L., for first part removed left side. I used a magic marker to circle the holes and wrote the number of screws used on the part, set the srews in a separete place, so that I new where these screws went to. The cleanup was pretty time consuming, but I was able to keep my stove, when every repairman I called to fix my stove told me I was better off buying a new stove. ($600.00 stove 2 years old)Please Note: The insulation blanket needed for the entire stove is two pieces, the sides and top are one part # and the bottom and back, are another part #. I did not know this. I just purchased the top and sides. I got lucky, the back and bottom were still in good shape. So I guess I should have read the description of the part more carefully to see what it covers, before I ordered it. It took two people two hours to do the work, it was really nice to have an extra set of eyes, to remember what direction pieces of metal from the stove went. I would do it all over in a heart beat instead of buying a new stove.
This product comes in a bottle with a brush like Liquid Paper. It goes on incredibly easy. A second coat might be needed. I wanted to prevent rust from setting in so I covered the scratches and dings. The paint is a little brighter since my washer is 10 years old but it still looks great.