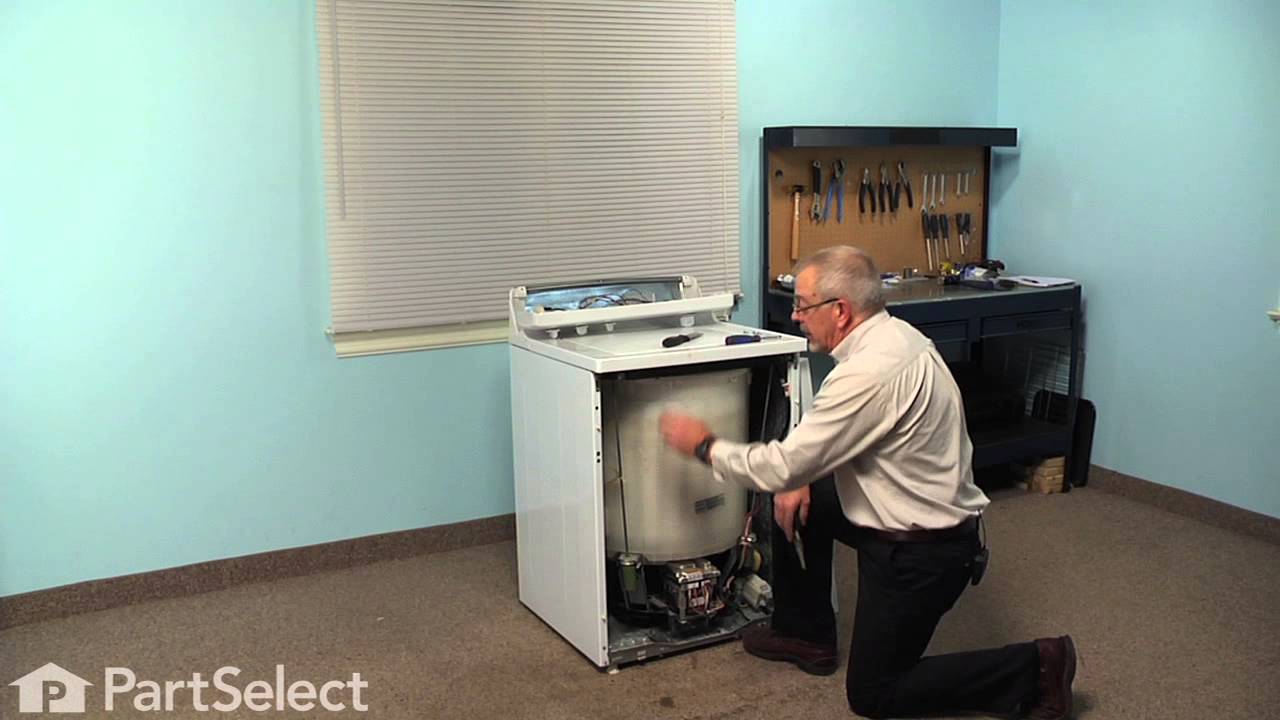
The purpose of the triple water valve is to properly fill your washer with water by controlling the hot and cold water going into the tub. If your washer is overfilling or not filling, you may need to replace this part. It is about 5.5 inches in total length. You will find your water inlet valve at the back of your washer.
How Buying OEM Parts Can Save You Time and Money
Troubleshooting
This part fixes the following symptoms:
Leaking | No hot or cold water
This part works with the following products:
Washer.
This part works with the following products:
General Electric.
Part# WH13X10053 replaces these:
AP5629504, WH13X22314
Customer Repair Stories
Average Repair Rating: 3.9 / 5.0, 6 reviews.
What's this?
< Prev
1
Next >
Sort by:
Search filter:
Clear Filter
Your search term must have 3 or more characters.
Keep searches simple. Use keywords, e.g. "leaking", "pump", "broken" or "fit".
Sorry, we couldn't find any existing installation instruction that matched.
Cold water would not stop running into tub after machine completed all cycles. Machine occasionally overfilled during wash cycle.
1. Unplugged the washing machine. 2. Shut off both hot and cold water. 3. Removed water hoses from back of machine. 4. Removed three screws from back of control panel. 5. Pull back hose clamp between valve and flex hose to shower head. 6. Remove two electrical connections on valve. 7. Remove two screws that hold triple water valve to base. 8. Replace valve in reverse order above steps 7->1.
Other Parts Used:
Larry from TULLAHOMA, TN
Difficulty Level:
Really Easy
Total Repair Time:
15 - 30 mins
Tools:
Nutdriver, Pliers
8 of 8 peoplefound this instruction helpful.
Was this instruction helpful to you?
Thank you for voting!
Would go through the whole cycle 50% of the time. The pump run but would only pump water out half the times. Sometimes cold water wouldn't work.
I was about to buy a new washer but thought I'd give this a go. I'm about average with mechanical things and good with electrical. The washer would work great for 10 loads then suddenly we'd come in and it wouldn't have drained. We would turn it to "spin and drain" and that would take care of it. Then it started happening more. And, since we moved, the water was always hotter than we were setting it for. I think the cold water shut entry valve was failing.
Unplug the washer. Pull off the front panel there are two clips 1" below the top, where the panel and the top meet. Slide a 1" putty knife about 5" from the right edge and push to disengage the retainer. Ditto left side. The pump is exposed on the bottom right. Super easy to remove but make sure you have 4" glass cooking pan or another way to get the water that remains in the line that goes to the washer tub. The hardest part is those stupid retaining clips. The back one is too far to get two hands back there, so holding the wrench, the pump, and the hose is almost impossible without another set of hands, which I didn't have. Took me 15 minutes for one clip. I suggest you first unplug the electrical and unbolt the pump before you do it so you can get more reach with the hoses. Ditto on the reverse.
I replaced the temperature sensor at the same time as the inlet valves. Unscrew three bolts to the back of the washer top where the controls are. Move the washer forward 3" so its not even with the dryer if the dryer is on the right side of the washer. The top assembly pops out and then to the right 3/4" to remove it. Take a picture of the electrical connections before you do anything. Unplug all the quick disconnect electrical connections so you don't mess up and smack the circuit boards, or pull too hard on a wire. Set it aside. The valve replacement is straight forward, just a few nuts holding it down, adjustable pliers to unscrew the hoses, and a hose clamp. Remove the valve. Then remove the temperature sensor. It's held in place on top of the water inlet, the Y-shaped part inside the washing machine that lets the water drop down. You need to unscrew that Y-shaped piece with its 2 sheet metal screws. Easy job. Pull it out and guide the electrical wires down the hole. Replace the sensor and reinstall the opposite way. But, you will see some tape on the wires which I think is to make sure the jiggling and vibrations don't rub through the insulation where it hits the metal (in the area where the valves are). Get some strapping tape or something to protect it. Carefully pull the wires back up the channel and tape around the areas that contact the metal when the wire turns 90 degrees to be plugged in. Install the valves. Plug everything back in. In my washer the electrical connections are all keyed so you shouldn't be able to plug it into the wrong spot. However, the red wire on the temperature sensor that goes to the far left can be plugged into a different slot if you aren't careful. Check the photo. Also, use zip ties to keep the wires from bouncing around.
I ran a few loads before putting the front back on. I don't recommend that if you have kids or stupid adults or cats or .... so cordon off the area if you aren't alone. That way you can see if you have any leaks from the pump and you don't have to take things apart again.
All works fine now! The biggest cost of the job is your labor, so if you are replacing the valves, buy and replace the temperature sensor because it tells the valves when to open and close. It might be the faulty part and not the valve. Good luck.
As an 89 years old ignorant about washing machine repairs, I contacted a company to come and install the new filter, which would have cost me $85,00, just to come, not to replace the filter, that price graduated me to become an instant washing machine mechanic; but then, I read the extremely easy instructions how to do the work; I just followed the instructions, and the machine now works like new!. my order # was 22526491. The Part # was PS3652834
I was instructed to call 1-888-895-1535 if I needed any assistance; But with instructions so clear, there was no need to call them back.
Thanks Partselect.com !!!
Here is how I did it: and why, water filter was clogged up. 1: i unplogged the washing machine. 2: I shut off both, the hot and cold water hoses. 3: I removed the water hoses from the machine. 4: I removed three screws from back of control panel. 5: I pulled back the hose clamp between valve and flex hose to shower head. (if after doing this, the hose will not move, spray some WD40, and will move fast.) 6: remove two electrical connections on valve, one on right, and one on left. 7:remove two screws that hold triple water valve to base. 8: replace valve in reverse order above step 7. that is my friends, if an ignorant 89 years old did it, you can do it aswell. God bless you all, and don't forget, this was only possible through the expert assistance of PartSelect. kindly buy all of your products from them Call them:1-888-895-1535. Thanks, God Bless
Other Parts Used:
Elio from SYLVESTER, GA
Difficulty Level:
Really Easy
Total Repair Time:
15 - 30 mins
Tools:
Nutdriver, Pliers, Screw drivers, Socket set, Wrench set
3 of 3 peoplefound this instruction helpful.
Was this instruction helpful to you?
Thank you for voting!
would not mix properly and/or fill properly
Easy as can be. Similar but not exactly like the YouTube videos, but close enough. Biggest problem was pulling the filler tube off of the mixer and re installing the tube. Nothing to get worked up about.
Other Parts Used:
James from CHARLESTON, SC
Difficulty Level:
Really Easy
Total Repair Time:
15 - 30 mins
Tools:
Nutdriver, Pliers, Screw drivers
2 of 2 peoplefound this instruction helpful.
Was this instruction helpful to you?
Thank you for voting!
Water inlet solenoid valve not working
Easy, even for a mildly competent amateur. Unplug, turn off water, remove three screws holding top piece. Remove plug in electrical connections and screws holding valve in place. Loosen clamp holding rubber hose to the valve. Put new part in place and reverse the process. The only thing a little difficult was removing the hose between the valve and the washer. Although I did it by myself, it would be a lot easier if you had someone holding open the spring clamp that holds the hose in place, while a second person tugs the hose off the valve assembly.
Other Parts Used:
Paul from NAPLES, FL
Difficulty Level:
Easy
Total Repair Time:
30 - 60 mins
Tools:
Nutdriver, Pliers, Screw drivers
2 of 3 peoplefound this instruction helpful.
Was this instruction helpful to you?
Thank you for voting!
Water Dripping into washing machine when not in use. Turned off water supply to back of washing machine and dripped stopped.
turned off off water supply, unplug plugged washing machine and removed back panel to access triple water valve. removal was easy that took about thirty minutes.
Other Parts Used:
John from BLUFFTON, SC
Difficulty Level:
Really Easy
Total Repair Time:
30 - 60 mins
Tools:
Pliers, Screw drivers
1 personfound this instruction helpful.
Was this instruction helpful to you?
Thank you for voting!
< Prev
1
Next >
Questions and Answers
Ask our experts a question about this part and we'll get back to you as soon as possible!
7 questions answered by our experts.
< Prev
1
Next >
Sort by:
Search filter:
Clear Filter
Your search term must have 3 or more characters.
Keep searches simple. Use keywords, e.g. "leaking", "pump", "broken" or "fit".
Sorry, we couldn't find any existing answers that matched.Try using some different or simpler keywords, or submit your new question by using the "Ask a Question" button above!
David
January 2, 2019
Washer drips through the funnel shower head assembly when washer is not in use. I have shut off both hot & cold water, but it keeps dripping. Will replacing the water inlet valve wh13x10053 stop the dripping?
For model number GTWN4950D0WS
Hello David, Thank you for the question. In most cases the valve would need to be replaced. The port becomes stuck open and always water to drip through. Hope this helps, good luck with this repair!
13 people found this helpful.
Was this helpful?
Thank you for voting!
Bilal
July 28, 2021
Even not in use water dripping inside the washer tub. GE washer top loader. When I feel the drop it is cold.
For model number GTAN5250DOWW
Hello Bilal, Thank you for the question. This is an indication the Water Valve is defective and stuck open allowing water to dip into the Tub. The Valve will need to be replaced. We hope this helps!
5 people found this helpful.
Was this helpful?
Thank you for voting!
Arthur
December 13, 2018
Washer fills properly; but only with cold water regardless of settings. I have hot water to the connector on the machine and the inlet filter is clean. Only cold water from the cold supply hose enters the machine. What controls the mixture (or what is preventing hot water from entering the machine?)?
For model number GTWN4250DWS
Hi Arthur,
Thank you for your question. If you are not getting any hot water, the issue is likely the water inlet valve and you will need to replace it. I hope this helps. Thank you and have a great day!
4 people found this helpful.
Was this helpful?
Thank you for voting!
Ralph
December 5, 2021
Water level to low in tub on any setting?
For model number GTWN4250D1WS
Hello Ralph, thank you for writing. First, check the fill hoses for your washer hook up to the main water supply. Next, inspect your hoses for crimps or kinks. Then close the water supply faucet, unthread the hoses and take out the small filtering screen at the water-supply end of the hose. Check the screen for dirt or wear, and replace if need be. The Water Pressure Switch Hose PartSelect Number PS272183. The hose transports water to your water pressure switch, so the switch can control how much water enters the washer during a cycle. If your washer will not fill up with water, or if water continues to fill the tub even after it is full, you may have a damaged water pressure switch hose. Also, the Pressure Switch PartSelect Number PS2354068. The pressure switch senses and controls the water level in the washer. Once the washer has filled up to the appropriate level, it will allow the washer to move forward in the wash cycle. If it is defective, your washer will either not fill with water, or will not stop filling with water. We hope this helps.
I need to replace the water inlet valve. The original valve does not have a center section like the replacement valve part number wx13x10053. Does anything attach to the center section?
For model number GTWN4250D0WS
Hi Jerry, thank you for your question. Yes, the hose that brings the water into your appliance goes in the middle section while the hot and cold water hoses that come from your home go into the other two ports. I hope that helps. Good luck with your repair.
1 person found this helpful.
Was this helpful?
Thank you for voting!
Jerry
November 26, 2019
Washer does not fill to cover clothing regardless of settings. About 6 inches tops.
For model number GHWN4250D0WW
Hello Jerry, Thank you for the question. I suggest checking the Water Pressure Switch Hose, PartSelect Number: PS272183 fist for a blockage or suds build up. If the hose is clear, you may need to replace the Pressure Switch PartSelect Number: PS2354068. Hope this helps!
Hello Bill, thank you for the question. We would recommend checking the water level pressure switch, part number PS2354068, to fix the issue. We hope this helps!