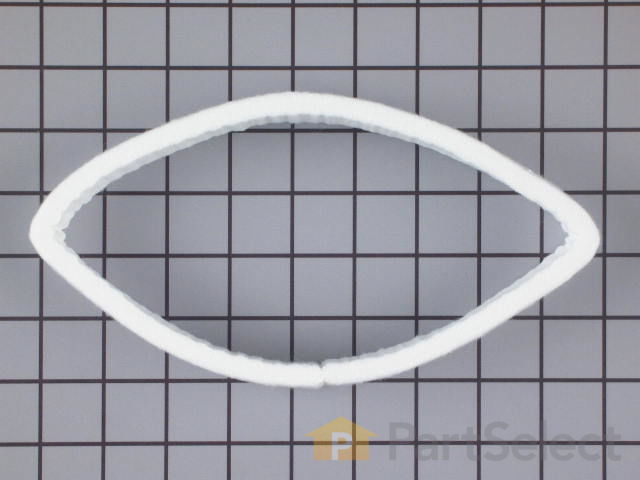
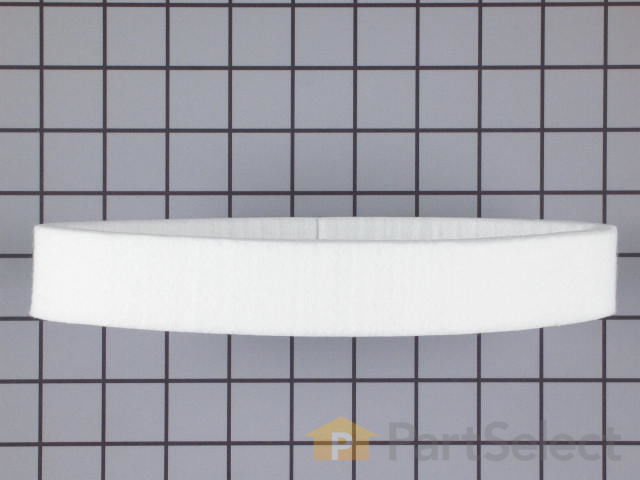
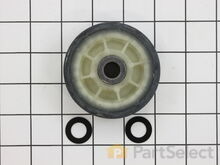
The blower housing seal makes an airtight seal between the blower housing and the blower housing cover in the dryer.
How Buying OEM Parts Can Save You Time and Money
Troubleshooting
This part fixes the following symptoms:
Noisy
This part works with the following products:
Dryer, Washer Dryer Combo.
This part works with the following products:
Maytag, Jenn-Air, International.
Part# WPY312901 replaces these:
AP6024191, 3-12901, 312901, Y312901
Customer Repair Stories
Average Repair Rating: 2.9 / 5.0, 8 reviews.
What's this?
< Prev
1
Next >
Sort by:
Search filter:
Clear Filter
Your search term must have 3 or more characters.
Keep searches simple. Use keywords, e.g. "leaking", "pump", "broken" or "fit".
Sorry, we couldn't find any existing installation instruction that matched.
Belt broke on old machine.
1. Removed front of machine (2 screws at the bottom). 2. Removed 4 screws from inside the dryer, to take off the blower housing. 3. Removed 4 screws and took out the large metal piece which supports the drum at the front. Removed the drum. 4. Replaced the two rollers that support the drum in the rear. Cleaned the pins they run on, and oiled very lightly. Also replaced the idler roller. I was surpirsed to see that these rollers use plain bearings, not ball bearings. 5. On the front support piece, drilled out the rivets for the glides, and replaced the worn out glides with new parts. Applied a little glue (3M weatherstrip adhesive) to the cork pieces, to glue them to the metal. Attached the plastic pieces over the cork pieces, and riveted in place using rivets that came with the glide kits. 6. Replaced front and rear felt seals. This was not as tricky as I expected it to be. They were held in by metal tabs. Glued the ends where they came together. 7. Replaced the felt blower seal. Glued to the blower housing. 8. Reinstalled the drum, installed new belt, which came with good instructions (luckily). 9. Reassembled front support piece and the front of the cabinet.
I also cleaned the lint from the cabinet and from the vent hose.
In general, the job went without a hitch, and the machine probably has quite a few years left, despite the fact that it's 18 years old. This gives me a good feeling.
I'd say this would be challenging, though, for someone who is not pretty experienced with machinery repair. Also, the cost of the parts was significant enough that it would not have been unreasonable to have opted for a new machine.
Loud squealing followed (eventually) by total stopage
After much coercement from my wife, I listened to the squealing noise she kept telling me about. Then it quit working completely and I had no choice. Probably the motor. Not being one to want to do this more than once and figuring after 16 years all of it could be bad, I ordered all moving parts, as well as new front and rears felt seals for the drum and the blower seal. Everything in taking the dryer apart was straight forward and obvious. The tricky part was getting the belt back on the tensioner. Working from the front of the dryer, I did this one-handed via the lower left side around the motor while my wife held the drum in place.
Remove top two front cover screws. Disconnect wiring. Set aside front cover - door assembly.
Remove two screws at top of the vertical riser cover to expose entire dryer interior. Remove filter. Remove screws to blower cover plate. Remove 4 screws that fasten front drum guide assembly. Remove drum. remove and replace 2 drum support rollers . Replace one rusted drum roller shaft. Replace both drum rollers and non-metalic washers.
Drill out 4 rivets holding two front drum glides. Replace and rerivet new drum glides.
Pry back slighty the many retention points around the front drum assembly which hold the front drum felt seal. Refit the new front drum felt, pressing the retaining clips back in place with a screwdriver.
Replace tumbler motor belt.
Install Drum. Install front drum retention assembly. Install new blower seal with reassembly of blower cover.
First I removed the two screws near the bottom of the front panel. Then I removed the front panel by rotating it outwards. Next I removed the front frame section by removing the four screws. The tumbler rests on this frame piece so remove it carefully and it will stay put - no need to take it out. The grinding noise I was hearing was the tumbler (drum) running on the frame - the glides (bearings) were worn out. This had generated piles of metal powder which I vaccumed up. It was easy to locate the reason there was no heat - the thermostat was burned to a crisp. It torched part of the blower seal in the process. The reason the thermostat fails in this manner is the lint duct gets clogged up increasing the duty cycle of the heater which fries the thermostat. I had to strip back the red wire and install a new blade connector but the thermostat just bolts on easy enough. You'll need a rivet gun to replace the glides. Drill out the old rivets and pull them out with some pliers. Easy enough to do and it runs like new! Good luck.
dryer sounded like a freight train and it was taking a long time to dry clothes
four screws removed the front and angled bottom panels exposing the blower wheel and duct work. It was just another few screws to remove the control panel and main duct, exposing the blower housing. 4 more screws and a snap ring came off, then I removed the old blower wheel and replace it with the new one, fitted the seal, reassembled everything in the reverse order of dissassembly, and voila! A quite efficient clothes dryer again. Better than new.
Parts Select accepted my order on a Friday and I received my parts from a Pennsylvania distribution center on Saturday. Total out of pocket expense about $30 - significantly cheaper and quicker than had I called in a service person to perform the repair. Parts diagram and information provided online by Parts Select made it easy to identify the required parts and how things went together, making this repair almost as easy as looking in the phone book for a repair guy.
My Maytag w/d are 33 yrs old. They’ve gone through 5 kids. My dryer had never required repair, I repaired my washer several yrs ago. (Water pump). My dryer stopped heating up. I first started with cleaning and replacing exhaust system. That didn’t correct the problem, so I went to the thermal fuse, which was easy to change but still wasn’t the problem. I then removed the drum to get at the heating element. When I removed the drum I found out that all the felt seals were falling apart. I didn’t think that was the problem but figured I might as well change them while I was in there. I ordered the seals and the heating element. Removing and replacing the heating element was very easy. Removing the old felt seals was a little harder. My dryer does not have the clips, it was glued on. It took some time to remove most of the glue and install the new seals. After putting it all back together it worked great. Hopefully I’ll get another 30 yrs!!!
I had a repair manual on the dryer and concluded it was probably the blower. This was confirmed when I disassembled the front of the dryer without pulling it out from the wall. - Which is difficult because this is a stacked system in a bathroom closet. I took my time made a local call...this SG1000 Magtag has no parts. They suggested on line and I googled the model number and ended up on this site. It was great and I got the part in 3 days. FIxed it and it worked. While at it I put in a new felt seal and have a spare drum roller for the future. - Rollers are more difficult to get at so I curbed my ambition. I was a bit aprehensive because the diameter if my blower measured slightly smaller than the 8 inch blower shown on the web page. However it was correct after all and my wife is happy happy and the dryer sounds like new.
Ask our experts a question about this part and we'll get back to you as soon as possible!
2 questions answered by our experts.
< Prev
1
Next >
Sort by:
Search filter:
Clear Filter
Your search term must have 3 or more characters.
Keep searches simple. Use keywords, e.g. "leaking", "pump", "broken" or "fit".
Sorry, we couldn't find any existing answers that matched.Try using some different or simpler keywords, or submit your new question by using the "Ask a Question" button above!
Robert
October 17, 2019
The old seal appears to have been glued to one part .One side was not glued so it could be slid together. What kind of glue is used to install this part? Thank you.
For model number DG303
Hello Robert, thank you for inquiring. You will need the High Temperature Adhesive, part number PS11757492. Good luck with your repair!
Was this helpful?
Thank you for voting!
David
January 5, 2023
dryer makes noise when it starts
For model number lse7806ace
Hello David, thank you for contacting us. We would recommend checking the following parts to fix your issue: Drum Support Roller Kit, part number PS1570070, Tub Bearing Kit, part number PS2347235, Belt, part number PS2005284, and Blower Wheel, part number PS2200270. We look forward to hearing from you if you need assistance with placing an order through our 7-days-a-week customer service. We hope this helps!
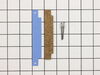
This front glide kit comes with a blue plastic glide, a brown cork pad, and two metallic rivets. Two kits are required per appliance. A rivet tool is required for this installation.
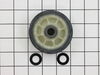
The tumbler and motor belt in your dryer allows the drum to spin during the drying cycle. At 100 inches in length, this dryer drum belt is 3/8 of an inch wide and has five ridges. The belt is black in color and it is mad...
Model Cross Reference
This part works with the following models:
PartSelect Number: PS11757541
Manufacturer Part Number: WPY312901