Use this part to secure the lower spray arm of your dishwasher.
How Buying OEM Parts Can Save You Time and Money
Part Videos
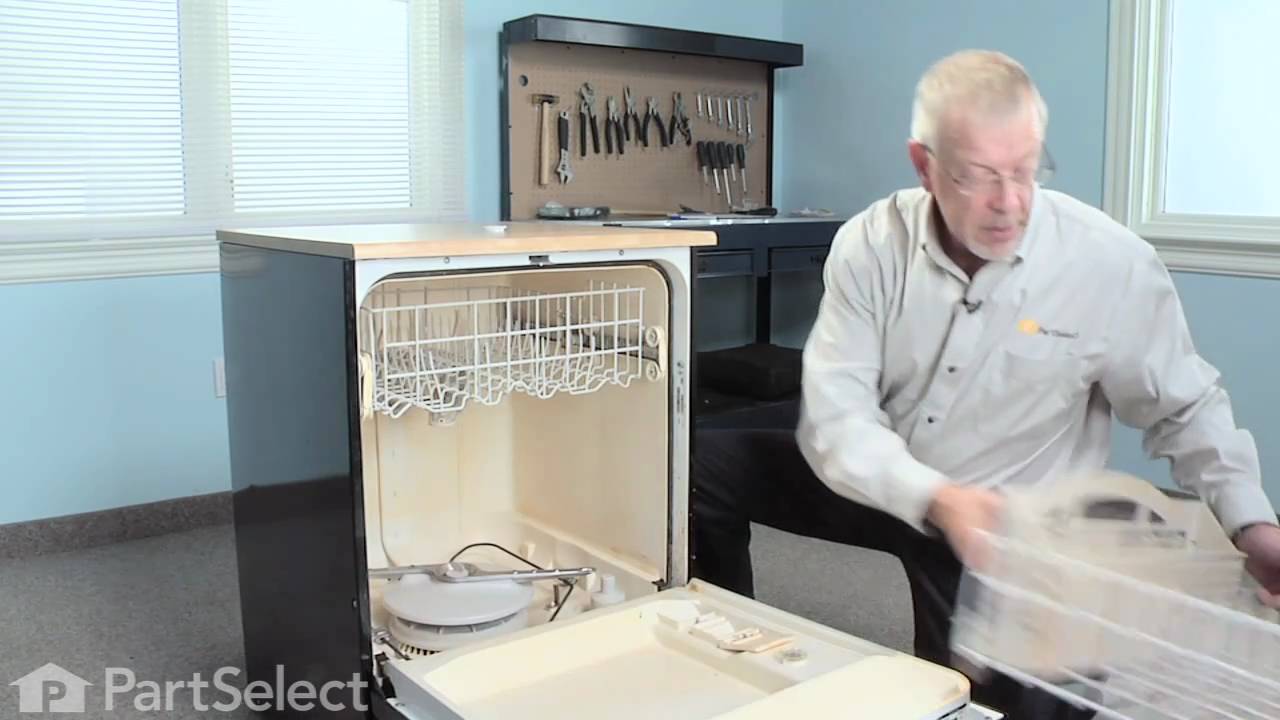
Replacing your Kenmore Dishwasher Wash Arm Retainer Nut
Troubleshooting
This part fixes the following symptoms:
Not cleaning dishes properly | Noisy | Leaking | Not draining
This part works with the following products:
Dishwasher.
This part works with the following products:
Kenmore, KitchenAid, Whirlpool, Inglis.
Part# WP9742945 replaces these:
AP6013836, 9742945, WP9742945VP
Customer Reviews
Average Rating:
★★★★★
★★★★★
53 Reviews
4.9
Filter By Rating:
5 Stars
50
4 Stars
2
3 Stars
1
2 Stars
0
1 Star
0
< Prev
1
2
3
Next >
Sort by:
Search filter:
Clear Filter
Your search term must have 3 or more characters.
Keep searches simple. Use keywords, e.g. "leaking", "pump", "broken" or "fit".
Sorry, we couldn't find any existing reviews that matched. Try using some different or simpler keywords.
★★★★★
★★★★★
Nicole M - September 27, 2023
Verified Purchase
Worked as expected
Easy to install, saved me money ??
★★★★★
★★★★★
Bruce M - May 13, 2023
Verified Purchase
Easy cheap fix
Exactly what we needed. Saved us buying a new dishwasher
★★★★★
★★★★★
Edward M - May 10, 2023
Verified Purchase
Part for dishwasher
The part was the right one and the dishwasher is working great Thank you
★★★★★
★★★★★
Margaret M - February 23, 2023
Verified Purchase
Easy
I’m 65 easy to fix problem
★★★★★
★★★★★
John A - February 18, 2023
Verified Purchase
Very easy repair and the part arrived quickly
Ordering was easy and the part arrived very quickly. Excellent experience.
★★★★★
★★★★★
Donna M - December 29, 2022
Verified Purchase
received exactly the part we needed
Repair has been completed and dishwasher working fine.
★★★★★
★★★★★
Walter O - November 7, 2022
Verified Purchase
Part was exactly what I needed and the repair was easy.
The part arrived quickly and was essentially identical to the original. Repair was very easy and only took a minute.
★★★★★
★★★★★
James B - September 1, 2022
Verified Purchase
Easy Repair
My appliance is back in working order... Part fit perfectly
★★★★★
★★★★★
John E - February 10, 2022
Verified Purchase
Fit perfectly
No problem it fits perfectly
★★★★★
★★★★★
Chris B - February 3, 2022
Verified Purchase
great part
works fine
< Prev
1
2
3
Next >
Customer Repair Stories
Average Repair Rating: 4.8 / 5.0, 62 reviews.
What's this?
< Prev
1
2
3
Next >
Sort by:
Search filter:
Clear Filter
Your search term must have 3 or more characters.
Keep searches simple. Use keywords, e.g. "leaking", "pump", "broken" or "fit".
Sorry, we couldn't find any existing installation instruction that matched.
Water washing out under front door onto floor
The plastic parts on this spray arm assembly wear with time and the rotation wobble effect creates a wave action in the pool of water at the bottom of the dishwasher. This waves the water onto the front door and forces a leak outside the unit. Replace the lower arm assembly, washer, bearing and nut. They all wear. Also remember to tighten the screws on top of the pump assembly. They loosen and aid in the wobble. Good Luck!
Lower spray arm was not turing properly and causing poor wash results
I noticed the upper bushing washer was worn thin. this caused the lower spray arm to rise too high and wobble during all the wash cycles. Also the rotation of the lower spray arm was wearing grooves in the lower bushing.
I removed the retaining nut and simply replaced teh defective parts. While I was at it I figured equal wear might be evident on the upper spray arm so I bought a complete rebuild kit to bring all rotational parts back to new and equal preformance that was achieved by removing the ss screw and removing the upper spray arm, bushing and clip then replacing them in the order of removal. Noticed a huge difference in the quality of the washed dishes!! Thanks Parts Select 100% to yoru company!!
After reading the diagrams and other readers' repair stories, I found that the plastic nuts and rings had worn out. The arm-spray wobbled excessively.
I simply twisted off the spray arm bearing ring and removed the other parts. The arm-spray was covered with mineral deposits that cleaning did not remove.
I received my parts overnight and replaced them according to the diagram. It's like having a new dishwasher!
This gets a little lengthy... but it explains where Cascade Dishwashing Powder came up with its brand name - it's been a cascade project. I started by replacing the Middle Wash Arm Tube as the old tube developed leaks. As others have stated this is a new design but directly replaceable and easy to do. This didn't solve the cleaning issue so reading the experiences of others on this site realized I also had broken parts in the Upper Spray Arm Assembly and the Upper Wash assembly. I replaced these and the dishes were suddenly much, much cleaner. These were very easily replaced. I did find that I did not need the Mount for the upper spray arm (PS402277) as a redesign of the Upper Spray Arm Mounting bracket no longer required it - the bracket simply clipped in -the diagram was out of date. Everything seemed to go well for about 3 loads when the dishwasher started leaking heavily out of the bottom of the door. I then noticed that the lower Wash Arm Bearing Ring and the Seal, Lower Spray Arm had disintegrated so I replaced those but this didn't affect the leaking. Someone had stated that if the lower wash arm assembly had too much 'wobble' that it cause 'waves' that would leak out the front door... mine had some wobble so I added a nylon washer from Ace Hardware that reduced wobble but still leaked. I then replaced the Door Seal Kit - this was by far the most difficult part as the door needed to be removed and it was somewhat difficult - and it seemed apparent after we had removed the door that these parts weren't the problem but we replaced them anyway. Also, someone else had noted that they had to attach the door seal (this is NOT the gasket that goes around the door opening) with a sealant - I had the same problem; the original seal fit tightly with friction but the new replacement required an adhesive - I used silicone. Still leaked. From here on I can't guaratee any useful information: I took the strainer screen out of the bottom of the dishwasher and found one slightly loose screw holding what I believe is the 'pump outlet' according to the diagram. I had also read that the water fill is controlled not by the float at the bottom of the washer but by the electronics and it was suggested that I disconnect the DW from the power to 'reset' the timer, this I did and hit the 'Cancel' cycle a couple of times to make sure that all programs were cancelled. Whether any of this made a difference I have no idea - except that the dishwasher suddenly stopped leaking and hasn't leaked a drop for at least 20 washes. So I don't know, for sure, why it leaked or how I fixed it, but it's working and washing great now - except the tines on the lower rack are beginning to rust out and breaking off. The rack is pretty expensive but so far I've saved a lot of money and my family thinks I'm a dishwasher genius.
Flopping Wash Arm due to broken retainer nut spelt disaster three days before Thanksgiving.
Once I removed the wash arm from its base and figured out what had happened I ordered the repairs I needed from PartsSelect.com. It was extremely easy to see what was needed. I had to have them sent overnight, because it was three days before Thanksgiving and the arrival of 7 extra people on Wednesday evening. The package arrived Tuesday afternoon, I opened it, removed the old spray arm bearing ring, put the new one in place, placed the wash arm bearing ring on the bottom of the wash arm, set it in place, and tightened all of it in place with the new wash arm retainer nut. Started the dishwasher and I was in business!! It took longer to open the package and unpackage everything than it did to make the repair AND no chapped and cracked hands doing Thanksgiving & weekend dishes.
remove the lower arm and pieces.. get the parts stacked in the right order and hand screw the retainer nut... done! I decided to spend a little more and replace the whole washer arm and I'm glad I did. My dishes are coming out clear then they have in years!! Ordered the parts Thurs morning... thought i might get a load or two done but when I opened the washer on friday it was obvious I was facing a weekend of teens having to handwash dishes! 15 minutes later the doorbell rang and there were the parts!! Woo Hoo!!
Lower washer arm came loose- dispenser door would not stay closed
Replaced the lower washer arm retaining nut,bearing ring.and seal in about 3 min.The retaining nut had broken off inside - make sure to remove the broken piece-I used needle nose pliers. The dispenser took about 35 mins. Removed all the screws around the inside of the door and removed panel.Removed screws holding the dispenser and replaced.I took time to give the dishwasher a good cleaning(inside edge). Now my wife is happy.
Plastic parts on this Kitchenaid dishwasher suffer repeat wear problems from heat and chemical detergents. The retainer nut on the bottom wash arm split horizontally int the thread area, and during operation, the wash arm would rise up and hit the bottom of the lower basket so there was a worn groove in the wing on top of the nut and the dishes weren't getting very clean. Simple replacement, just screw the nut down. Also decided to replace the bearing ring right under the wash arm because it was getting pasted with white crust-like material from hard water and chemical detergent residues. I've dealt with PartSelect twice now, and they are fast and efficient. The online parts breakdowns are easy to follow.
Removed the rest of the broken retainer plug. Part number was on the top of the plug. Went to Partselect.com looked up the part and ordered it. The right part (important) arrived in a few days. I put the arm back in place, screwed in the new retainer plug and we were back in business. Cost of part about $5.00. Price of not having to share in cleaning the dishes, priceless. Any future problems with any of my appliances, this is the first place I'll look for the needed part.
Other Parts Used:
James from Canterbury, NH
Difficulty Level:
Really Easy
Total Repair Time:
Less than 15 mins
6 of 6 peoplefound this instruction helpful.
Was this instruction helpful to you?
Thank you for voting!
The wash arm retainer nut broke in half and the wash arm bearing ring was completely worn away.
I simply unscrewed the remainder of the wash arm retainer nut, removed the wash arm bearing ring and spray arm bearing ring and replaced them; No tools were required. At the same time I decided to replaced the upper wash arm with a kit from Part Select. This did require the use of a philips head screwdriver. The job was real easy and accomplished within 1 hour.
Ask our experts a question about this part and we'll get back to you as soon as possible!
2 questions answered by our experts.
< Prev
1
Next >
Sort by:
Search filter:
Clear Filter
Your search term must have 3 or more characters.
Keep searches simple. Use keywords, e.g. "leaking", "pump", "broken" or "fit".
Sorry, we couldn't find any existing answers that matched.Try using some different or simpler keywords, or submit your new question by using the "Ask a Question" button above!
Peggy
August 25, 2017
The old nut broke off. How do i get the rest of it out of the hole?
Hi Peggy,
Thank you for your question. If the little tab that you turn the nut with has broken off, you may have to use pliers or have a technician come to service your appliance to remove the nut. Good luck with your repair.
18 people found this helpful.
Was this helpful?
Thank you for voting!
Tom
July 14, 2021
I also need the trim ring that the wash arm retainer nut #9742945 sets in. I cannot find that part number. Can you identify it?
For model number 1999 Kenmore #665_____________
Hi Tom,
Thank you for your question. The part number listed under your model number for the wash arm retainer ring is PS11747064. If you would like to place an order for it, you may order it either online or by calling our customer service line and anyone will be happy to assist you. Here is a link to one of our YouTube videos that you may reference on how to install it, https://www.youtube.com/watch?v=CIBc2oG5cdY. We hope this helps! If you have any questions, please let us know.